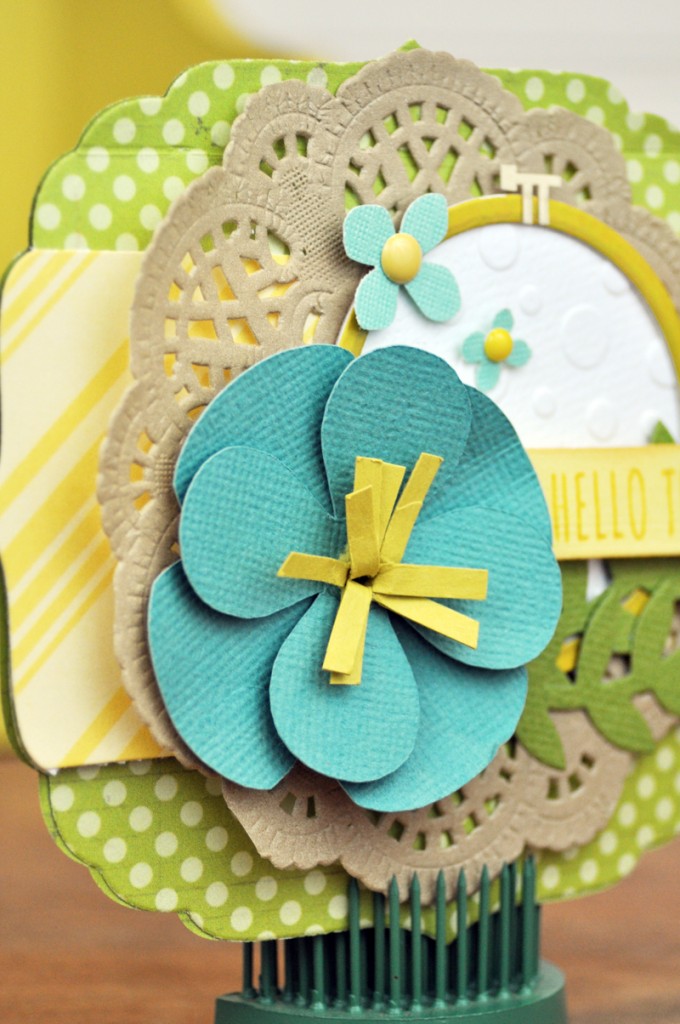
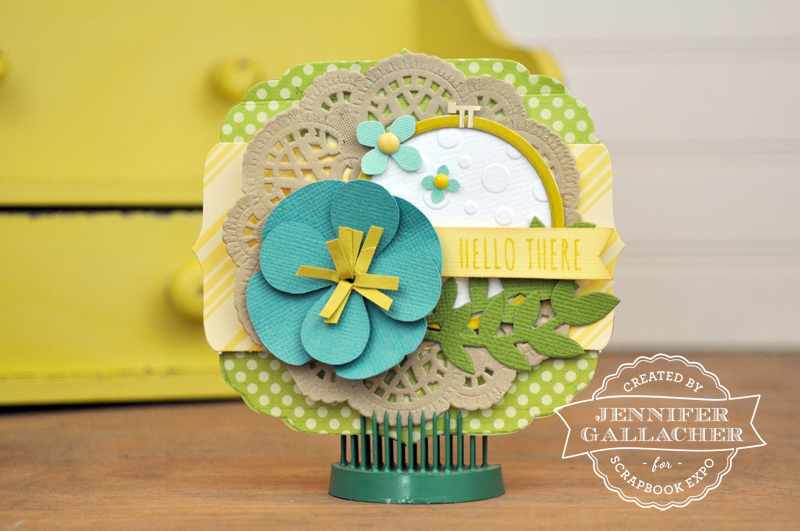
Welcome back to another “Inspiration Station” post in which I share a few ideas for dressing up your projects. In this week’s tutorial, we’re going to layer paper and a sticker to create an embossed embroidery hoop embellishment. Here’s a look at what we’re going to create:
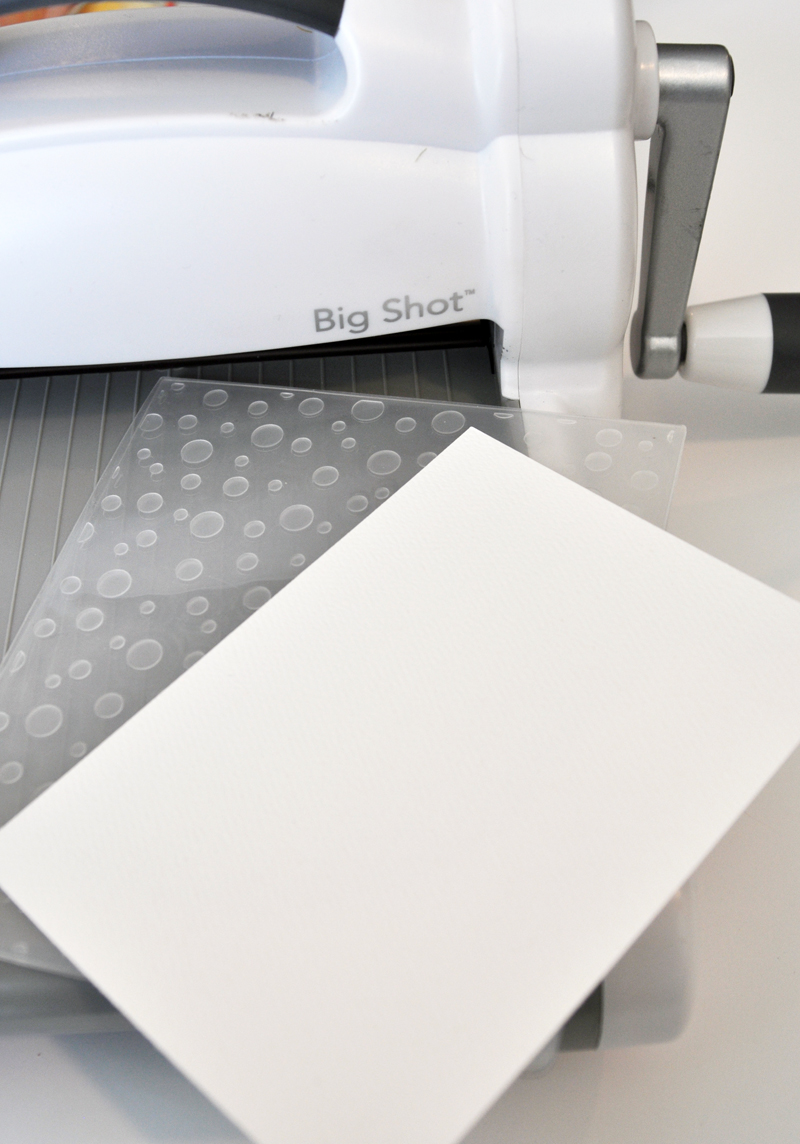
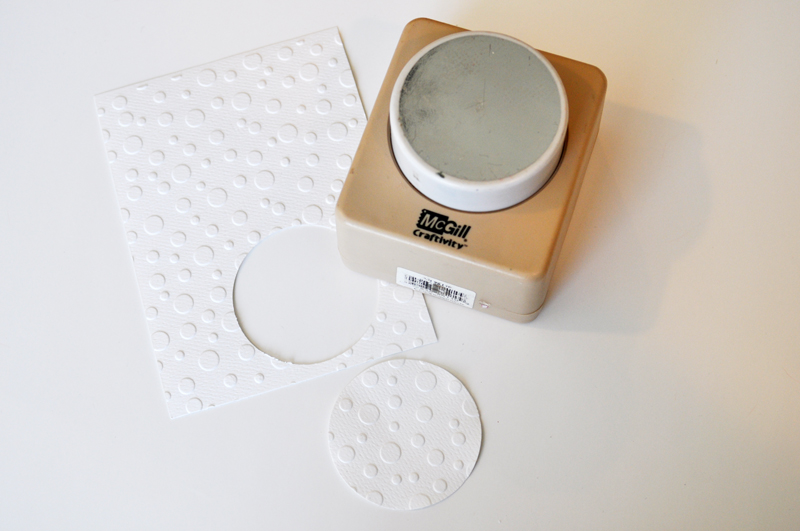
To create the embossed layers to this sticker, you will need an embossing folder, a manual die cut machine, and a sheet of white cardstock cut to size. Place the paper inside the embossing folder. Run the paper through the machine using the correct cutting plates per your machine’s instructions.
Find a circle punch that is the same size as the sticker you’re going to use (these stickers are from Crate Paper). Punch a circle from the embossed paper.
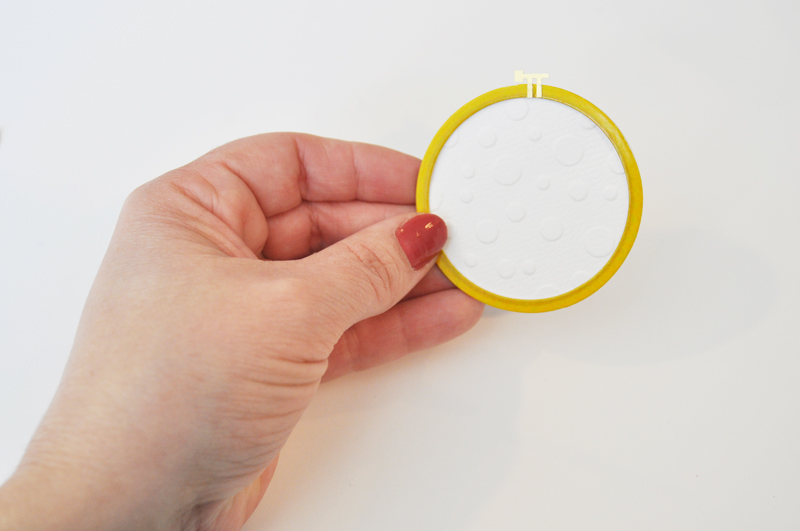
Place the sticker on top of the embossed paper.
Here’s a closer look at the embossed circle on the project:
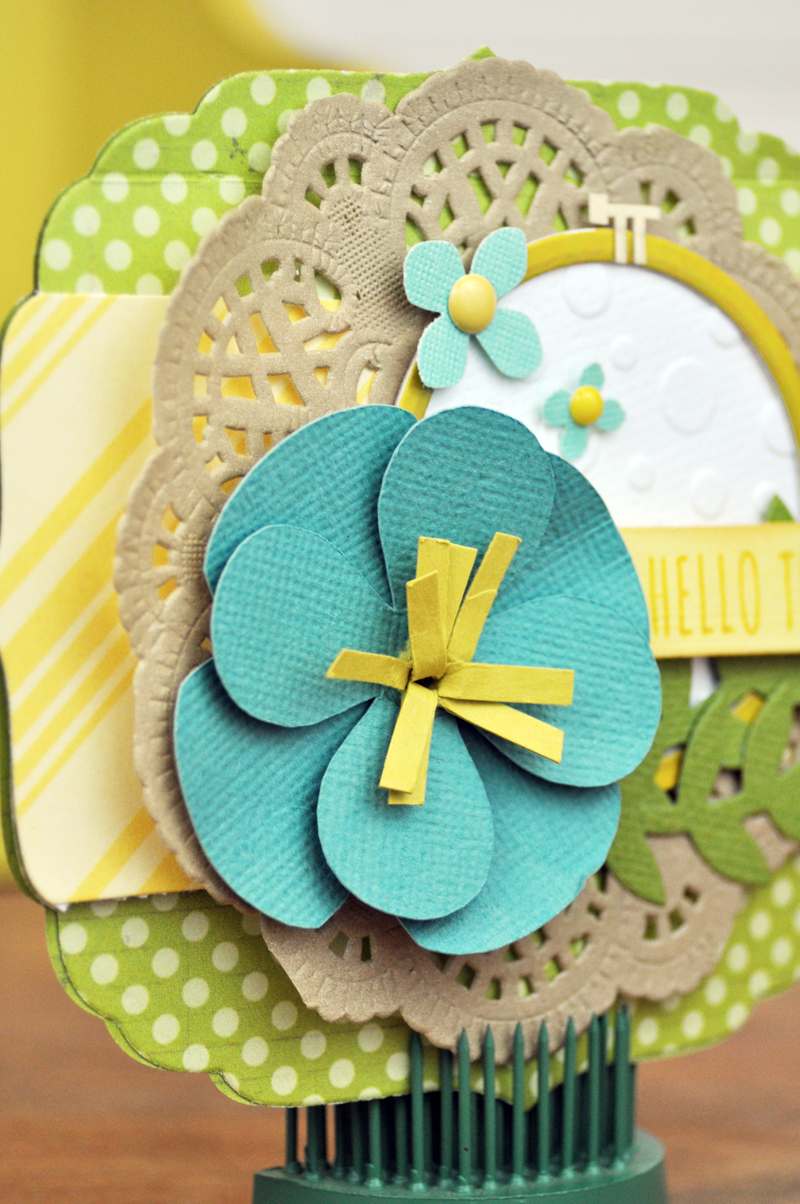
This technique works best for stickers or embellishments with an opening like the middle of the embroidery hoop sticker we used here. You could also try this with a chipboard frame, an open die cut shape, and more. Be sure to check back next week for a DIY project that uses scrapbooking paper and embellishments to dress up a pre-made object.