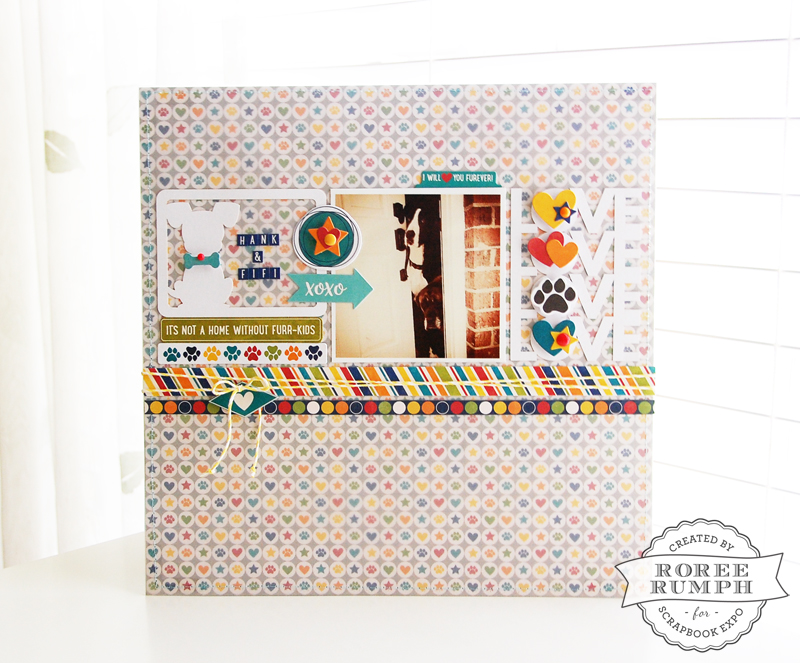
Hey, everyone! Roree here with another Make It! Monday project. Today I am sharing a layout I created, muting my patterned paper background with vellum.
Some of the brand new Fur Fusion collection by Jillibean Soup (coming this October) found its way into my happy little hands and I just couldn’t wait to play. It is so stinkin’ adorable!!! If you have any little fur-babies at home, you will need this super-cute and colorful collection!
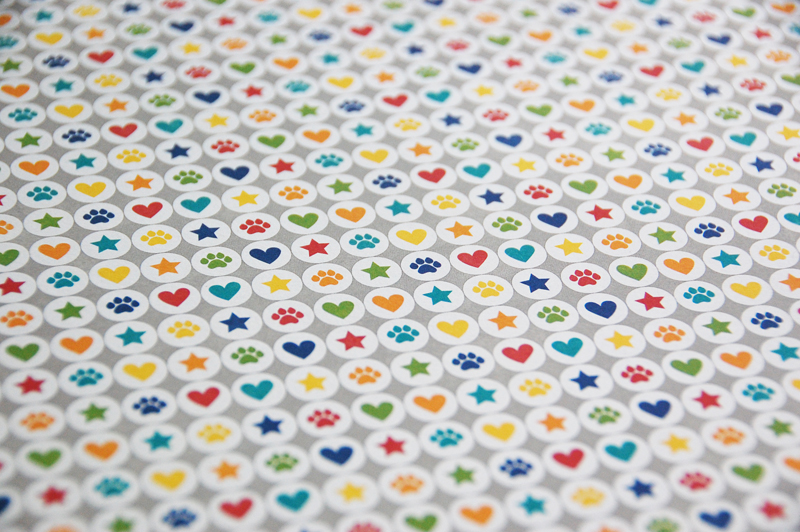
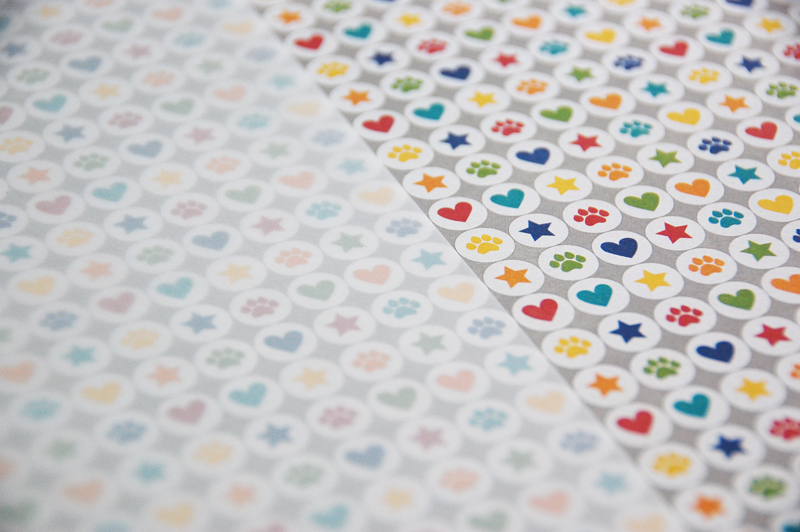
One of my favorite papers is Dancing Dogs (b-side).
I also fell in love with Mini Placemats.
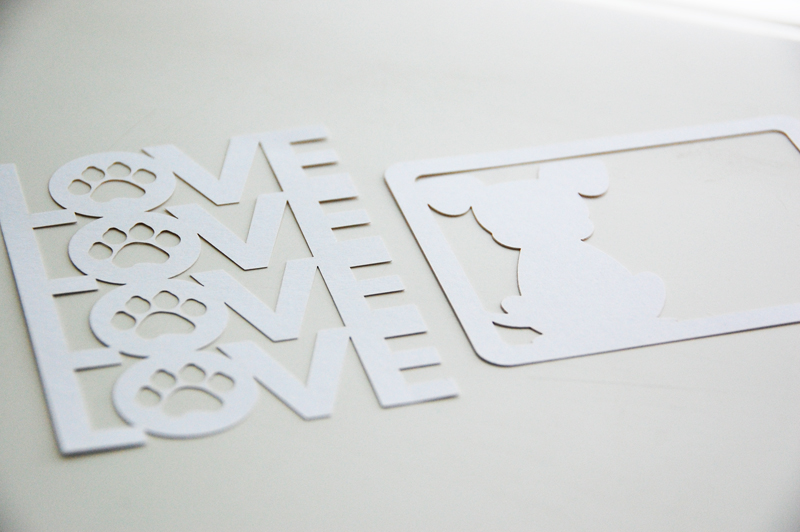
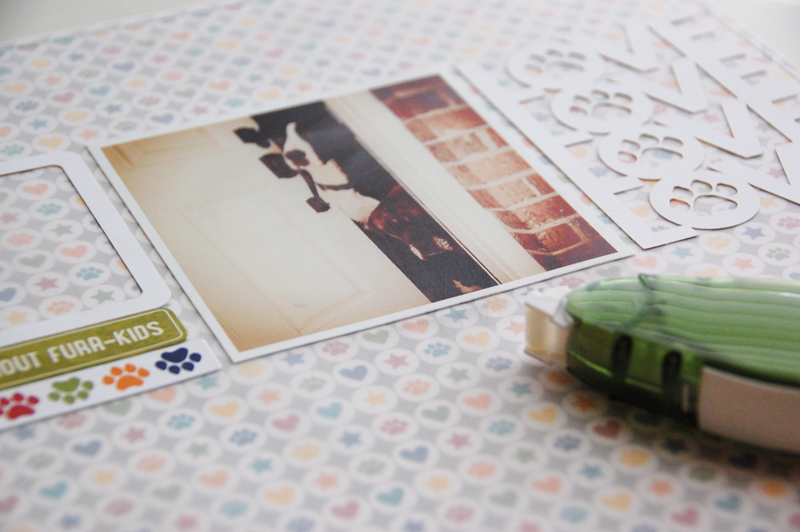
I wanted to use them together but when I paired them, the die cuts got a little lost amidst the pattern.

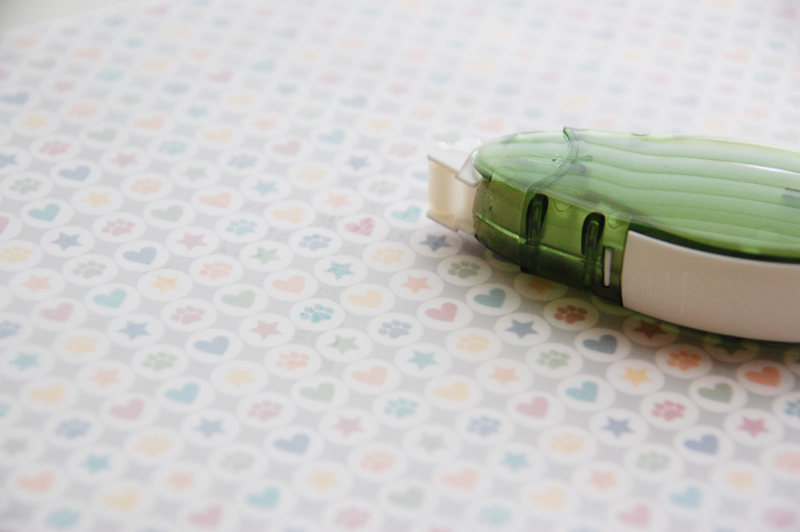
Instead of choosing a different paper or coloring the die cuts, I decided to mute the pattern with a sheet of vellum.
To start, I first decided on the placement of the die cuts and my photo.

I removed the die cuts and the vellum and added adhesive directly behind where my photo would be. (I hear there are some wonderful vellum adhesives out there, but I didn’t have any on hand.)
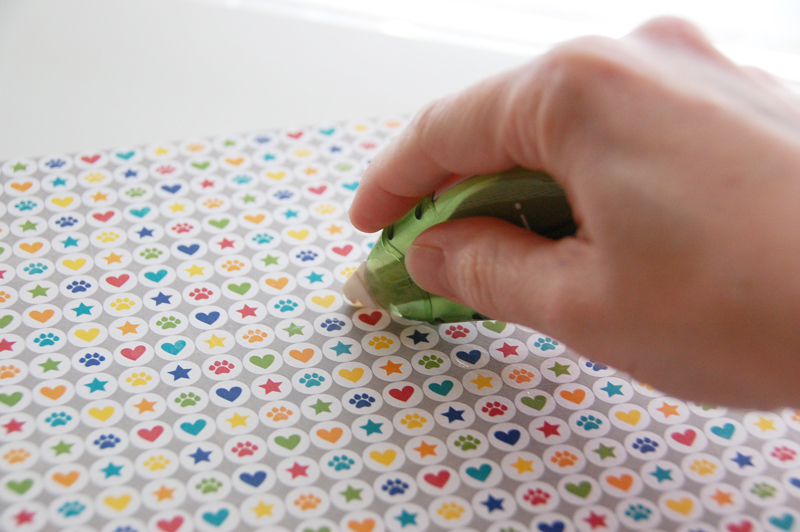
I placed the vellum on top of the patterned paper, adhering it at the one spot where I placed the adhesive.
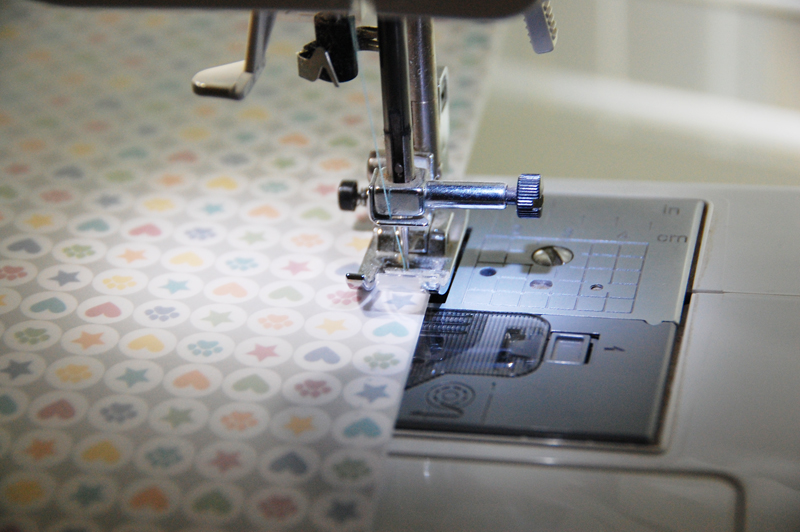
Because I like to sew, I added some stitching around the outside edges of the paper to hold the corners down and add some texture to the layout.
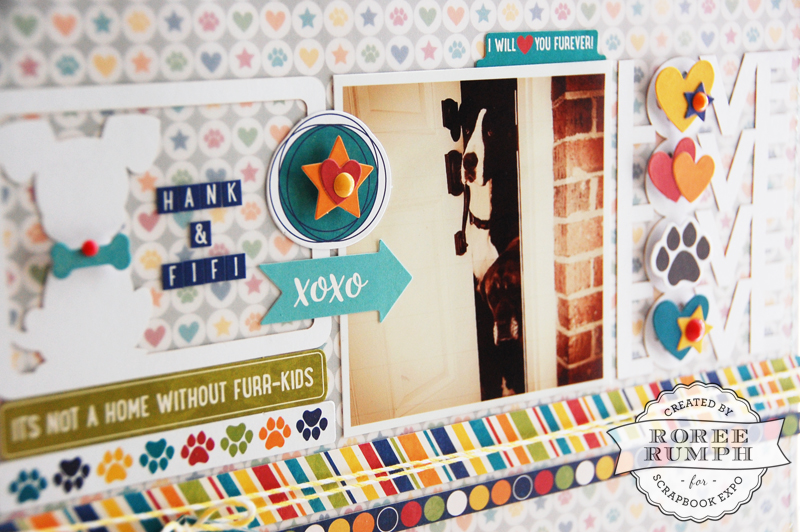
I then adhered the photo and die cuts to the layout base.
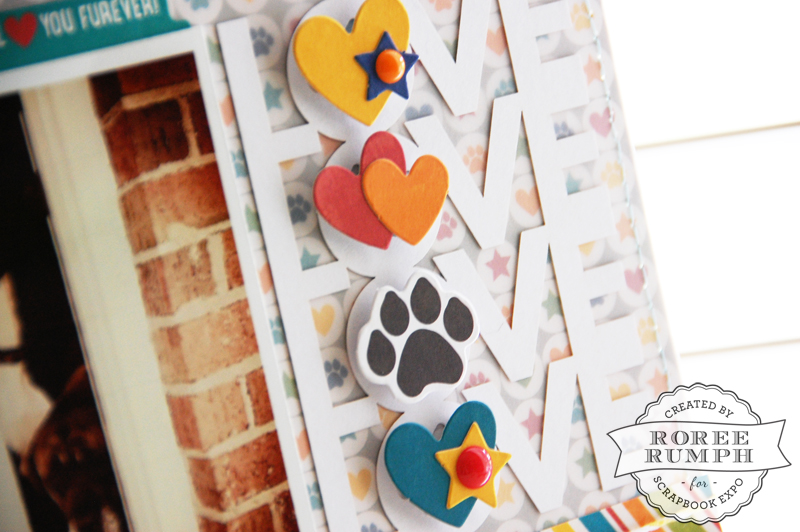
I started adding more die cuts to add some color and dimension.
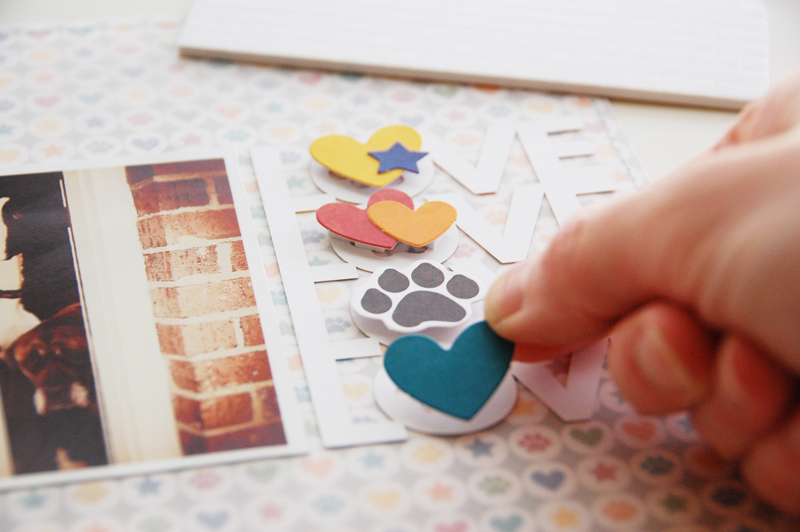
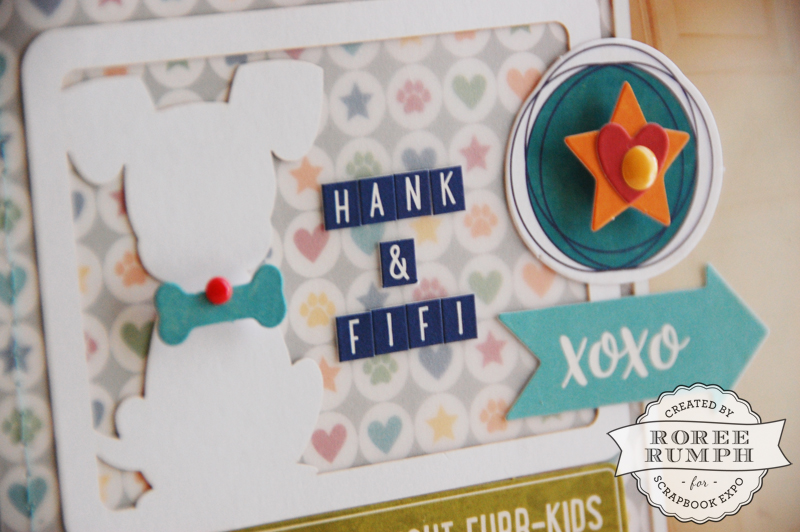
I added letter stickers for the title.
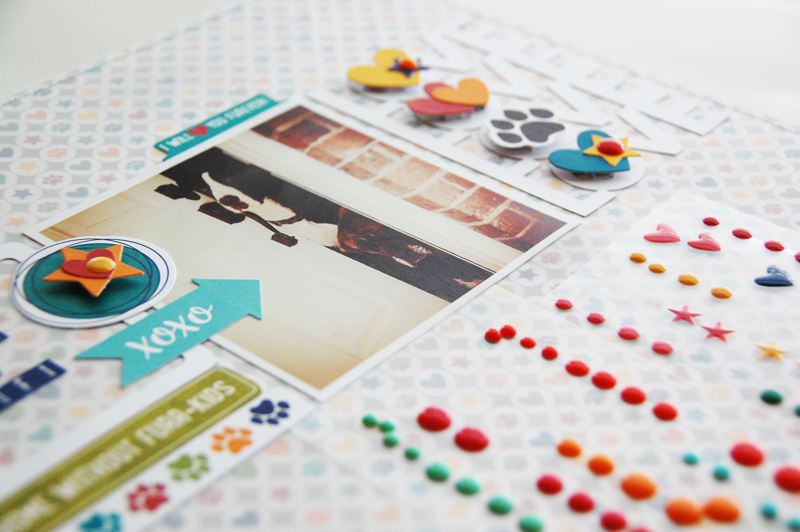
I also added some enamel dots for even more dimension and color.
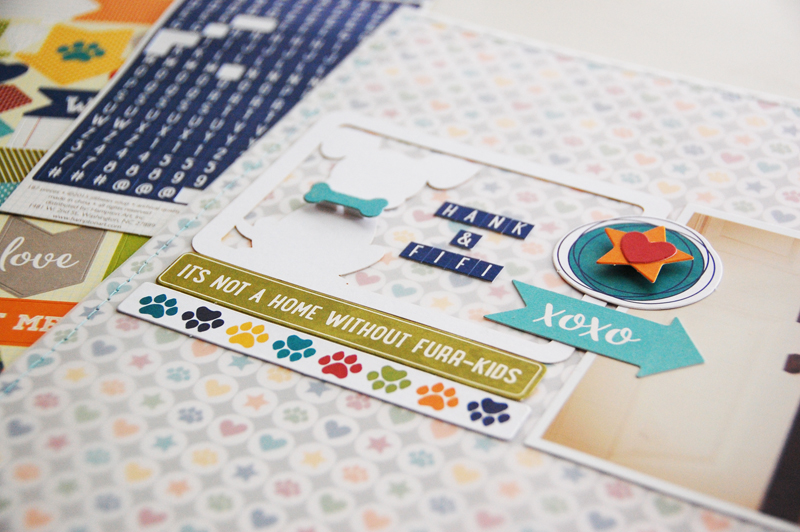
I added a few strips of patterned paper to create a border under the photo and die cuts.

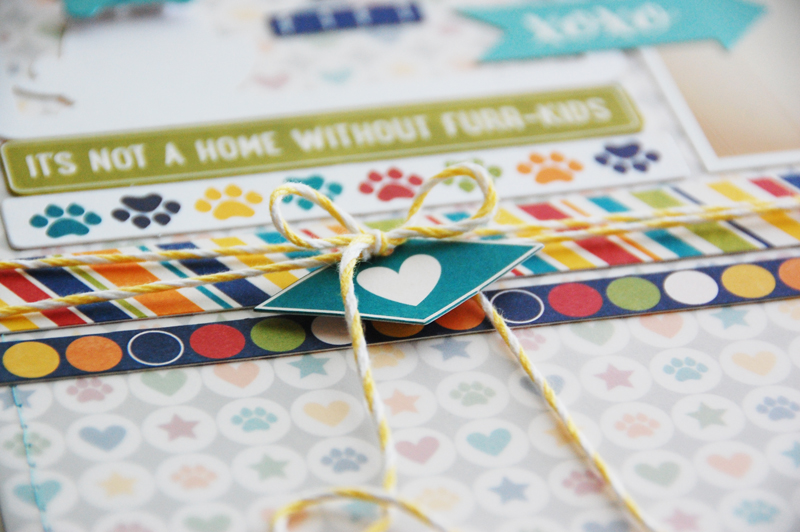
I finished the layout with some baker’s twine and a die cut tag.
I love that I still see the patterned background of the paper I fell in love with without it taking away from all of the wonderful stickers and die cuts in this collection.
I hope you enjoyed today’s Make It! Monday project. Thanks so much for stopping by!
Great project. Thanks for sharing. Where did you get the cute dye cuts?
Patty
Thanks, Patty! The die cuts are Mini Placemats from the Fur Fusion Soup collection by Jillibean Soup.
Very clever idea to mute the brightness of the paper by covering it with vellum. I don’t think I would ever thought of that in a million years. I also love the die cuts (colored), as well as what you refer to as “Mini Placemats” Are these items part of this collection from Jillibean Soup? As a dog-sitter, I will have plenty of uses for this collection, and can’t wait for October to roll around. Thanks for the preview.
Thanks, Linda! The collection I used is called Fur Fusion Soup by Jillibean Soup.