
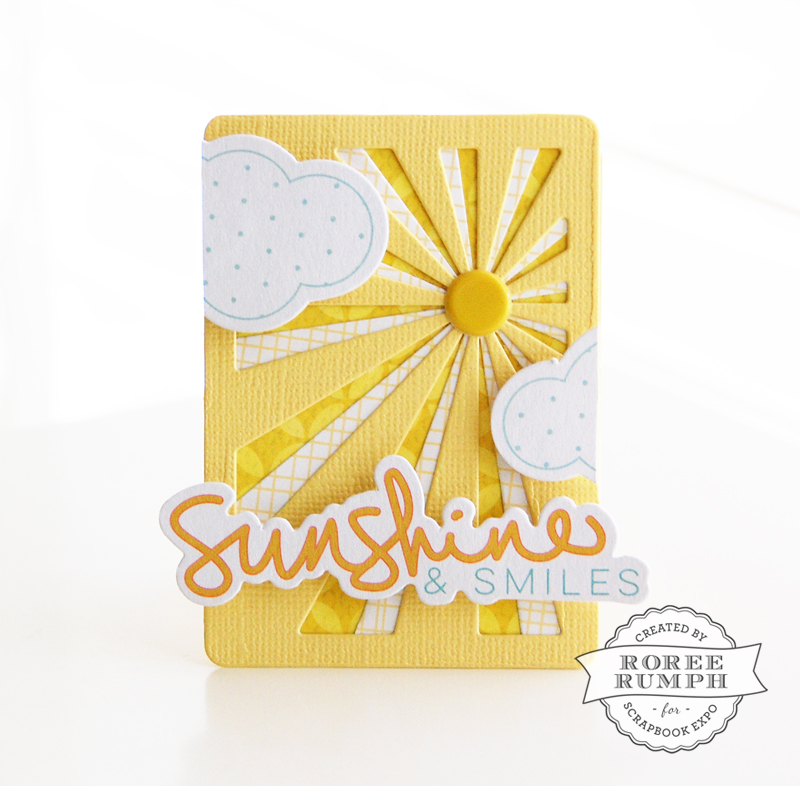
Hey, everyone! Roree here with another Make It! Monday project. Today I am sharing a layered mini card I created with Maya Road‘s Sunburst ATC Die.
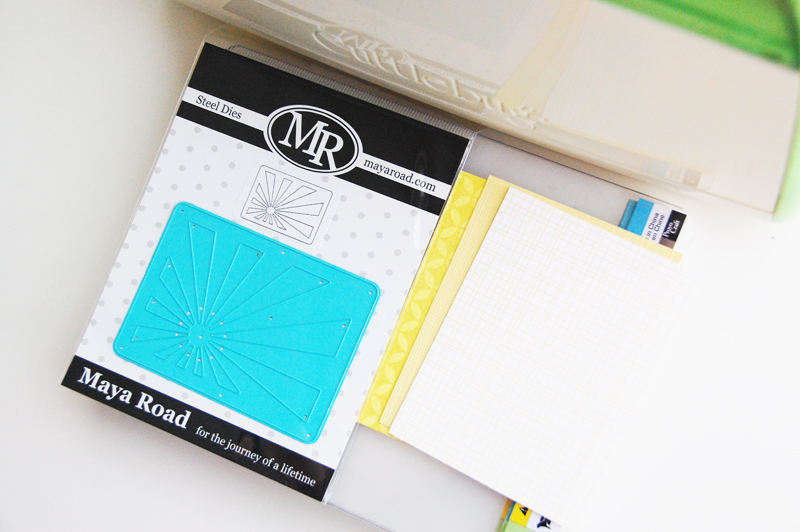
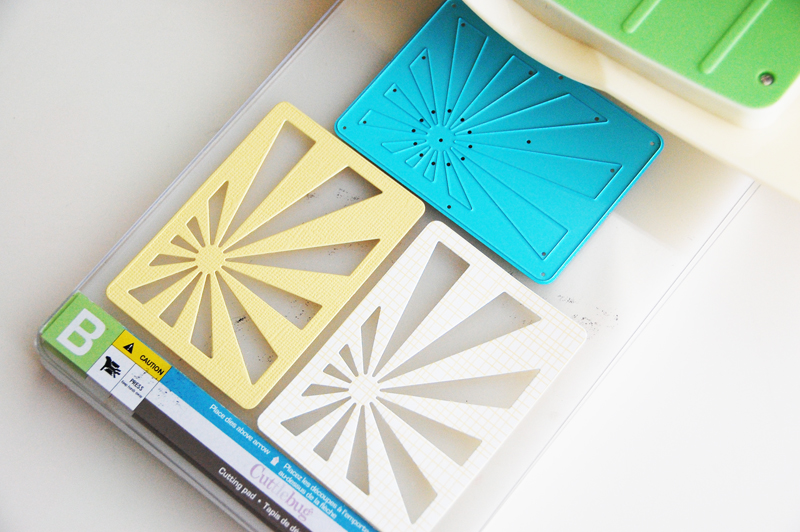
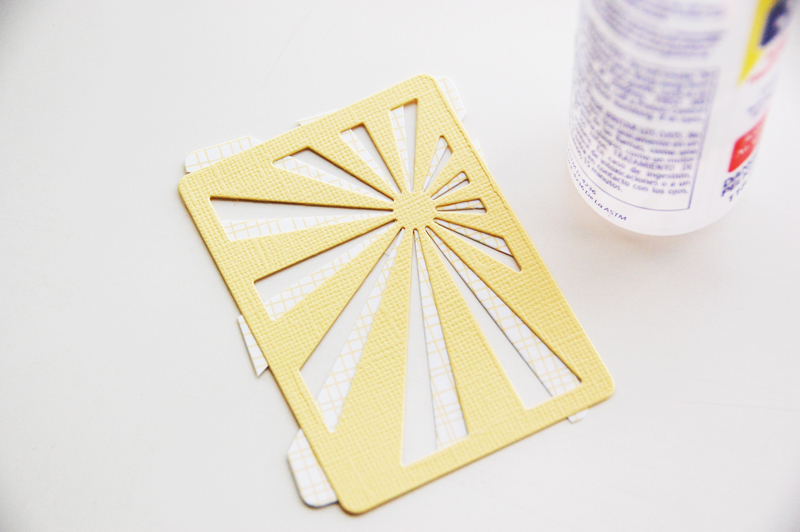
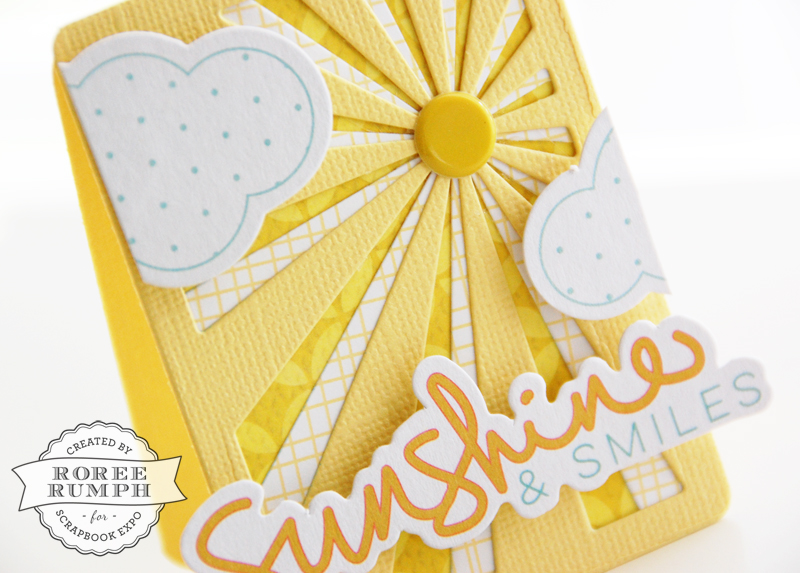
First, I got out my Sunburst ATC Die, my Cricut Cuttlebug® machine, my A, B, and C plates, and some coordinating cardstock and patterned paper.
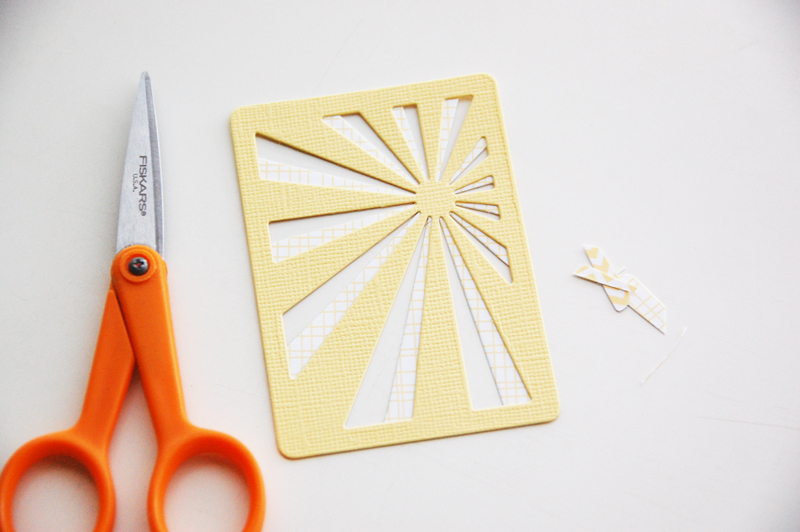
I cut out two Sunburst ATC shapes, one from cardstock and one from patterned paper.
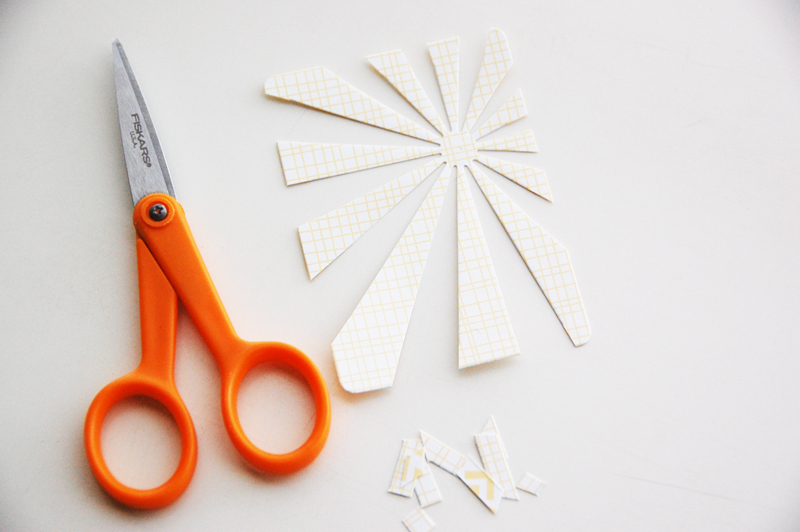
On the patterned paper die cut, I trimmed off the frame portion of the cut with scissors.
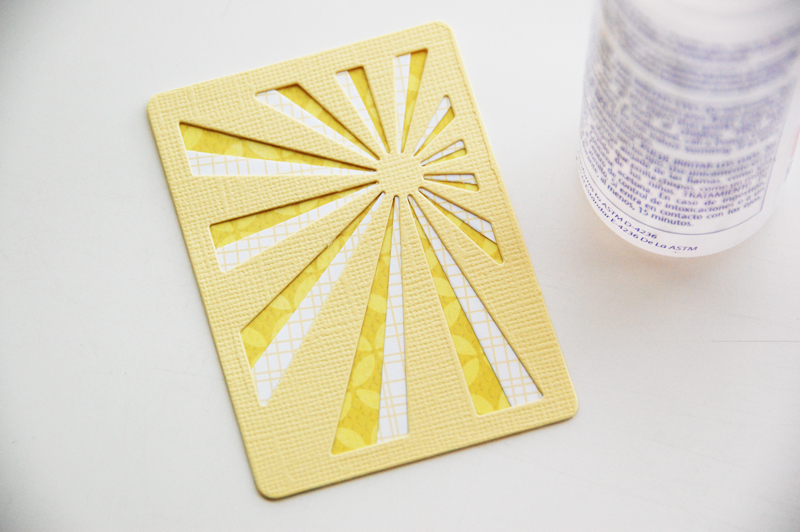
I layered and adhered the cardstock die cut over the altered patterned paper die cut, offsetting the die cuts slightly to create a shadow.
I trimmed off the excess paper with scissors.
I layered and adhered the remaining panel of patterned paper behind the layered die cuts.
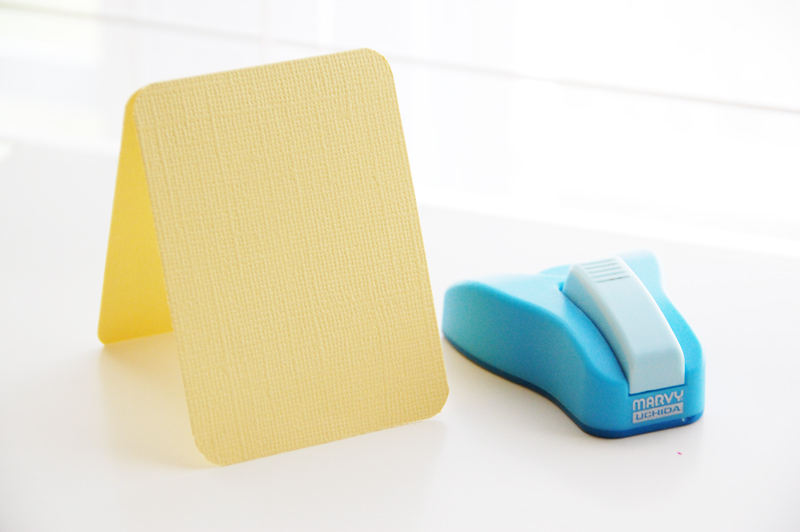
I then created a card the same size as the Sunburst ATC die cut and rounded the corners with a corner rounder. (The card measures 2 1/2 x 3 1/2″.)
I adhered the layered die cut panel to the card front and decorated it with Ephemera die cuts and a Puffy Dot Sticker from Fancy Pants Designs‘ Life Is Beautiful collection, popping them up with foam adhesive to add dimension.
I hope you enjoyed today’s Make It! Monday project. Thanks so much for stopping by!
Save
Save
Save
So cute, thanks for sharing!
I have a similar sunshine die plate and have struggled with it. Your design is AWESOME!!!!! Thank you so much for the inspiration.
Very cool! Thank you for showing us how to make that terrific background.