
Hi friends! Today I’m sharing a thank you cut file (you can never have enough thank you cards, right?) and a few process shots of putting the card together.
To start with, here is the file to download: Thank You So Much. I use my Silhouette to cut out the card front, so those are Cameo files, but you’ll find a high-contrast black & white image in there too, that you can use in other design programs.
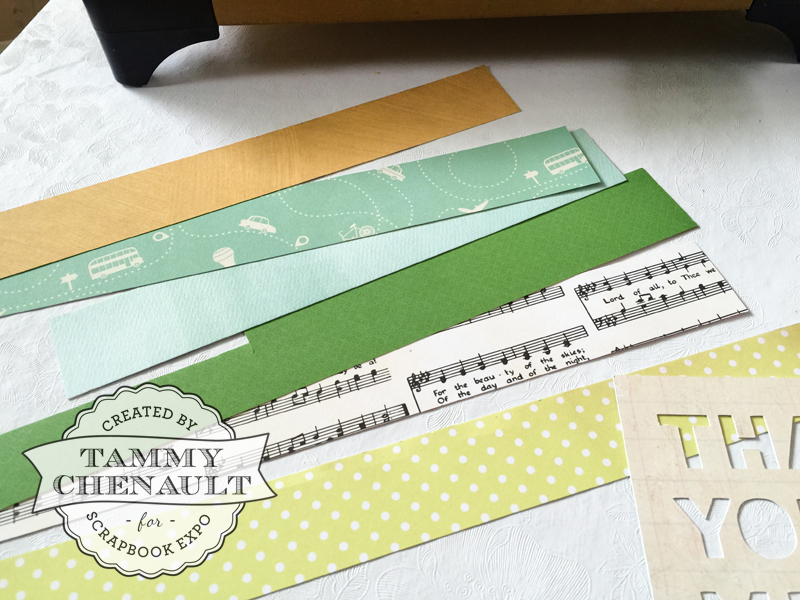
To start with, I chose papers in the color scheme I wanted to use – greens and blues with a touch of mustard yellow. No particular reason, those just looked nice to me today. (I almost always have some kind of pink in everything I make, but I guess today was the exception!) I started with just two papers, then held them up against other papers in my stash to find ones that looked good together.
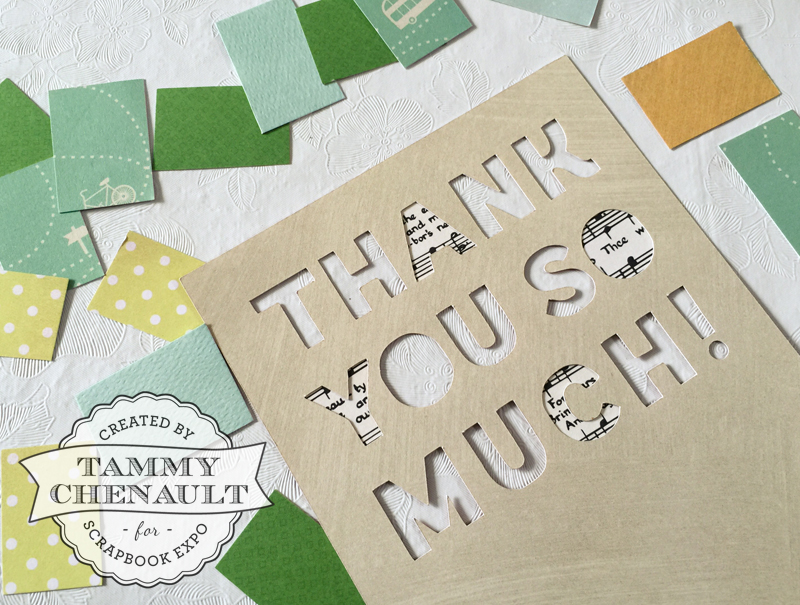
Once you’ve got your papers chosen, cut them into strips that are about 1/4″ higher than your letters. Snip off little rectangles, these will go behind the letters. Start with one pattern and place it behind several of the letters.
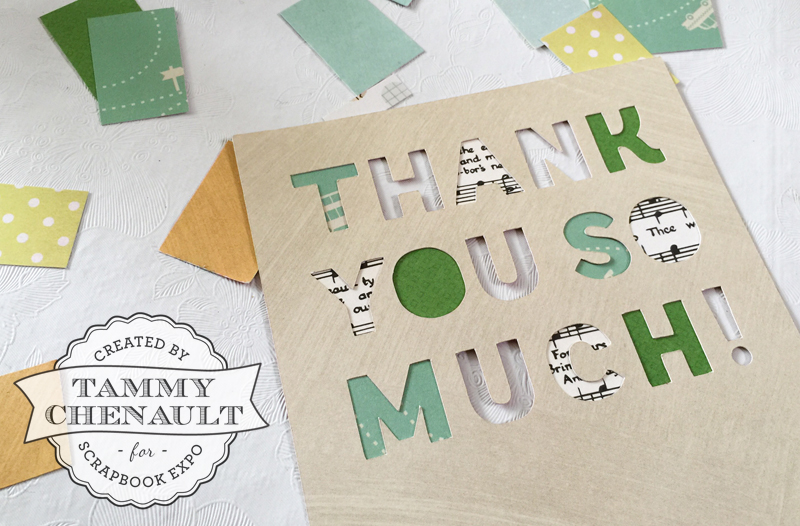
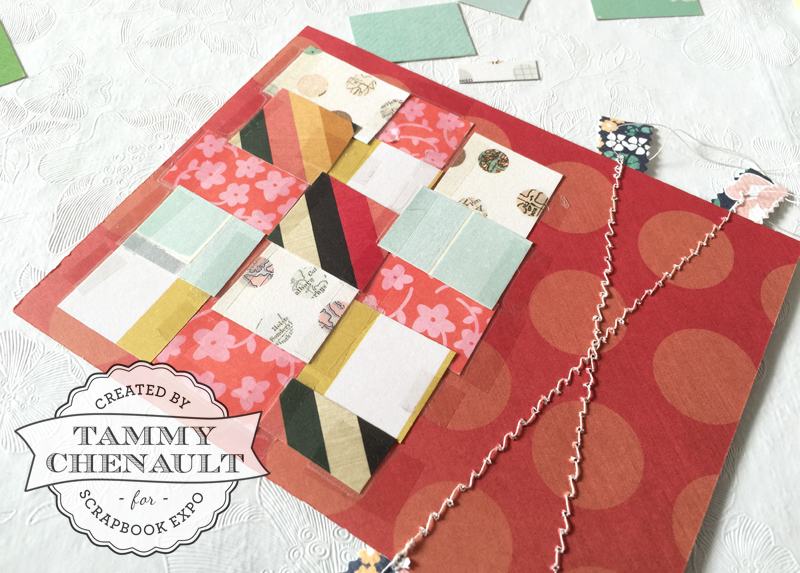
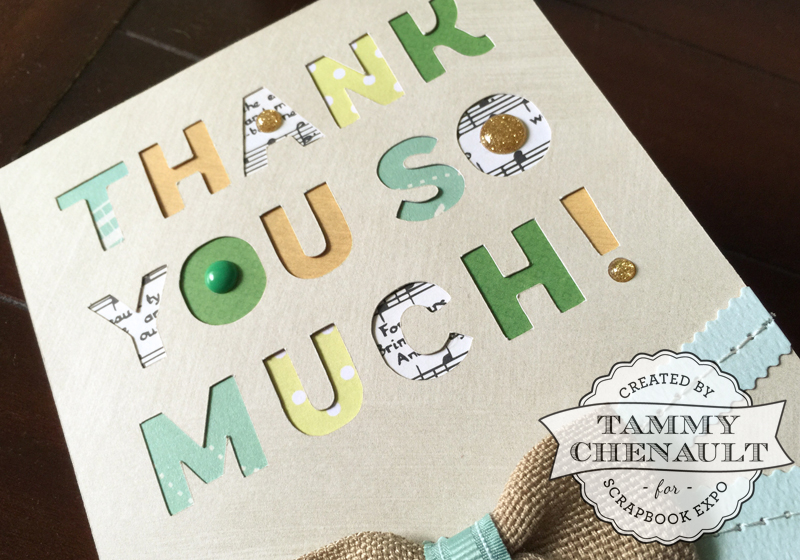
Continue with another color, then another. I tape these in place as I go along – I just use regular gift-wrapping tape, washi tape, or what ever’s handy. It tends to peel off pretty easily if I need to rearrange. The key is to help each pattern of paper get distributed fairly evenly around your design. Arranging three pieces of a strong color into a triangle is usually a safe bet, like with the green paper here. Here’s what the back looks like.
And the finished front.

Thanks for visiting, I hope you’ve liked this card! If you make a card using this cut file, we’d love to see – share your creations in the comments, on our Facebook page, or in our Flickr group. Thanks for stopping by!
Pretty cute and thanks
for the cut file!
Carla from Utah
Thanks for such a beautiful way to create a card