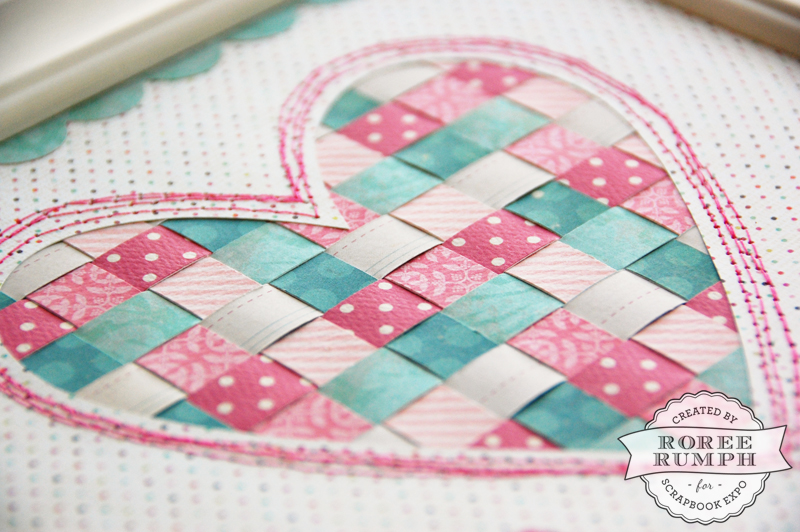
Hey everyone! Valentine’s Day is fast approaching and I am back today to share a love-themed project with you all – a basketweave heart frame. Creating a basketweave pattern with paper instantly adds texture to your project; it’s a great way to mix patterns and colors, and best of all, it’s easy!
I started off my project with a 6 x 6″ panel of white cardstock for the base, which was slightly larger than the heart I wanted to create. I then chose six patterned papers that coordinated well. I cut the papers into 1/2 x 6″ strips (24 strips in all, 4 of each color).
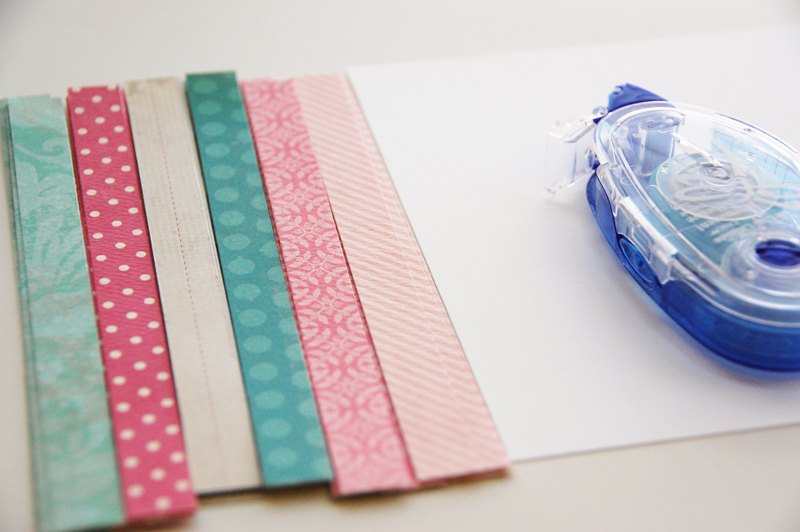
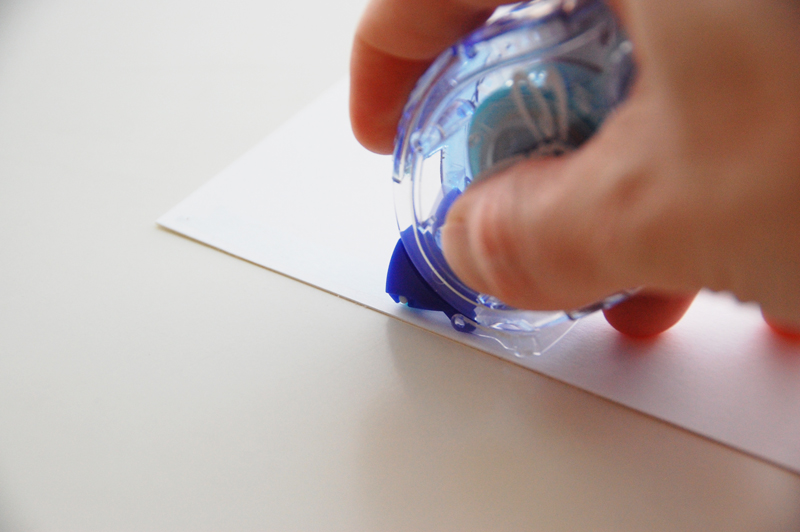
I added a strip of adhesive along one edge of the white cardstock base panel.
I placed strips of three of the patterned papers in an alternating pattern along the adhesive strip to hold the paper in place.
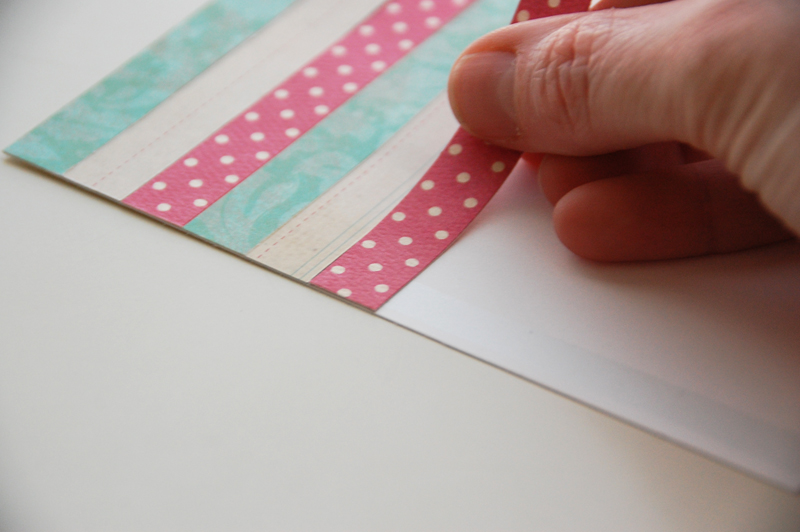
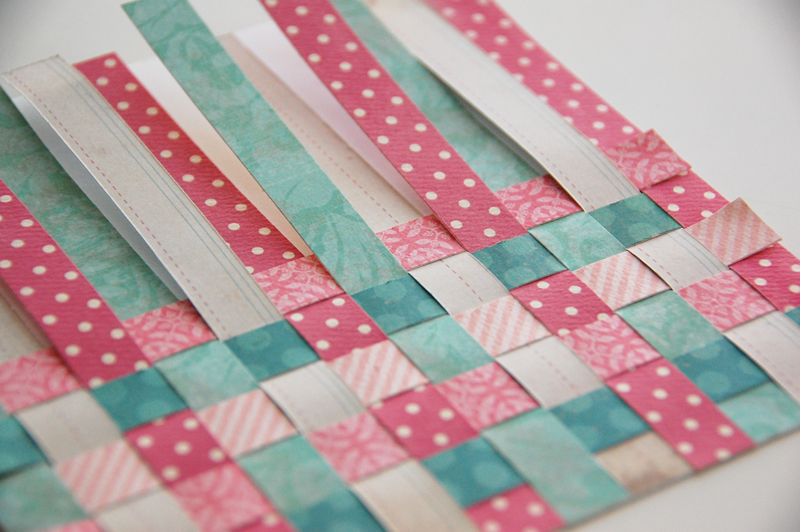
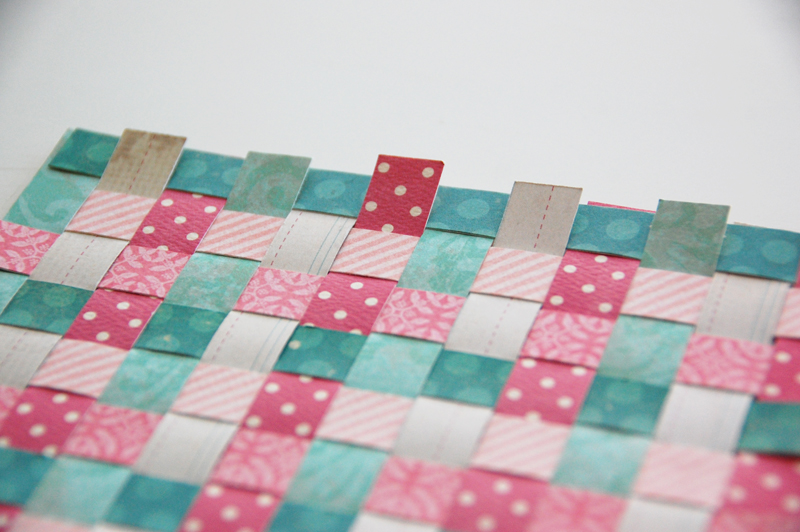
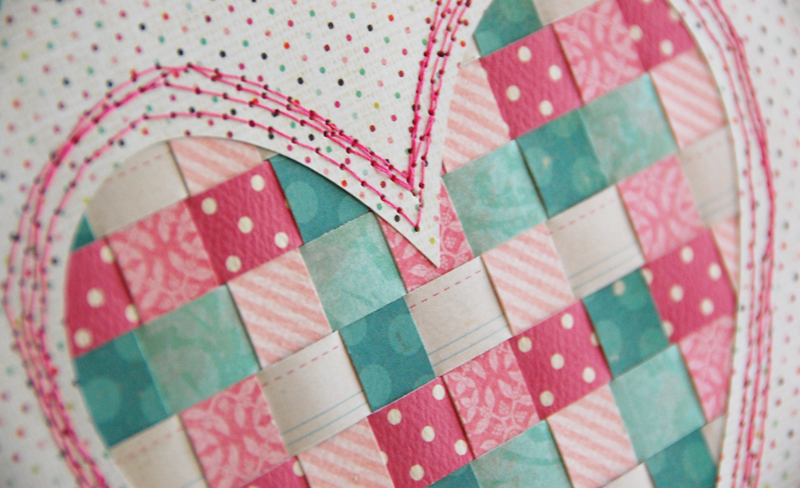
I interlaced the remaining patterned paper strips, again in an alternating pattern, to form a simple criss-cross pattern.

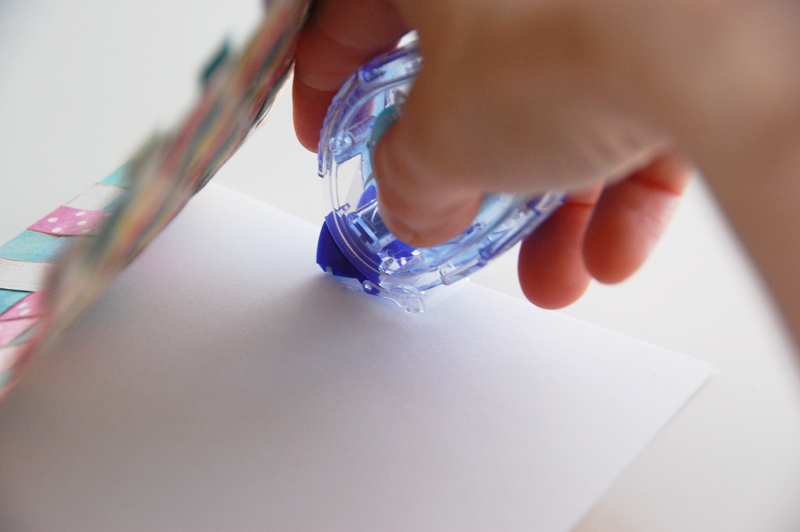
When I finished weaving, I lifted the panel and added more adhesive to hold the panel in place.
I adhered the basketweave panel under a negative die cut heart and added multiple rows of machine stitching to hold the panel in place.
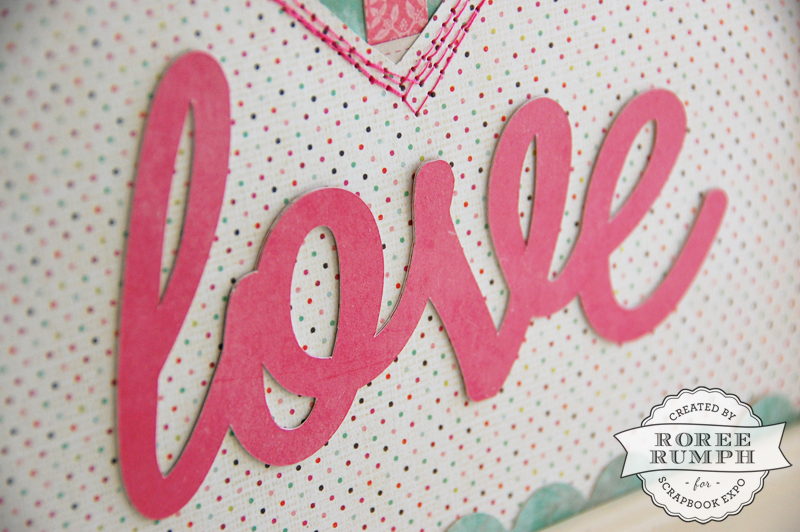
I added a die cut sentiment below the heart, attached a couple of scalloped border strips,
then finished the project by adding it to a frame.
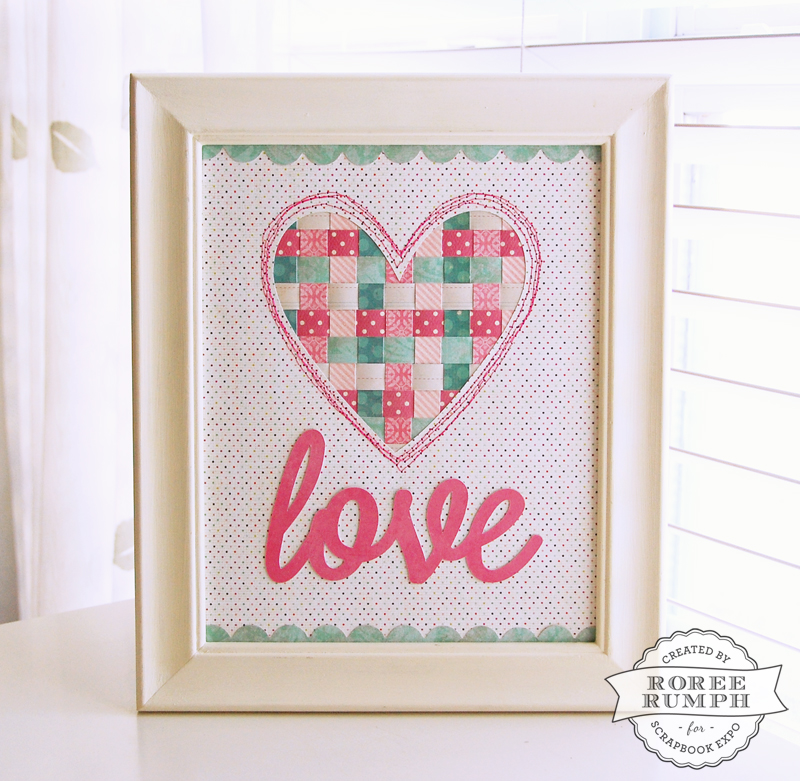
That’s all there is to it! It wasn’t difficult at all, and the basketweave pattern really is beautiful.
I hope you enjoyed today’s project. Thanks so much for stopping by!
Well this was sure a fun tutorial of how you made this cute project. You make it look so easy. Other than the sewing part, I think I might be able to pull this off. Thanks again for the clear instructions.
You’re so welcome, Linda! It really was pretty easy. Good luck with your project!
I just love this. It is so bright and cheerful. Thanks for the great instructions.
Thanks so much, Stephanie!
That is so cool, that I am going to make one for my daughter. Thanks for the inspiration#