 This week for our Inspiration Station tutorial I want to show you how to easily design at least part of a card on the diagonal. We’re also going to use some of the neon colors you’ve seen trending in fashion. Follow the steps below to quickly design any project on the diagonal.
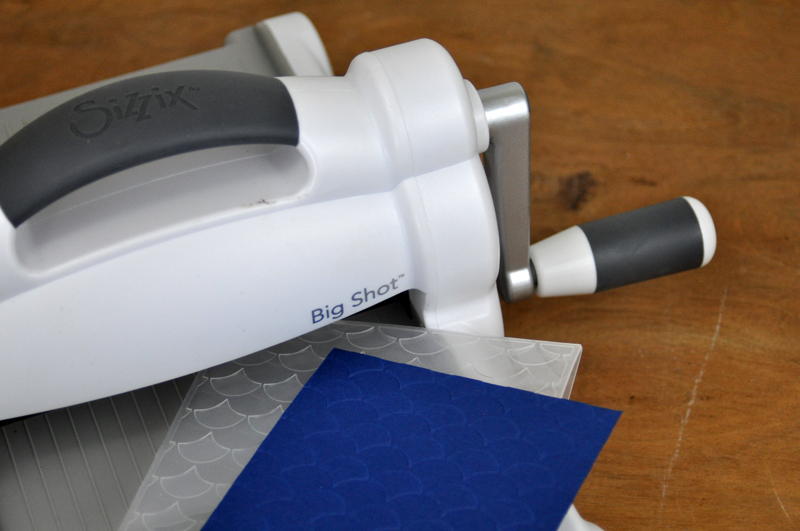
Step 1: To create the background for this card, run a rectangle of navy blue cardstock through a manual die cut machine using an embossing folder to create texture.
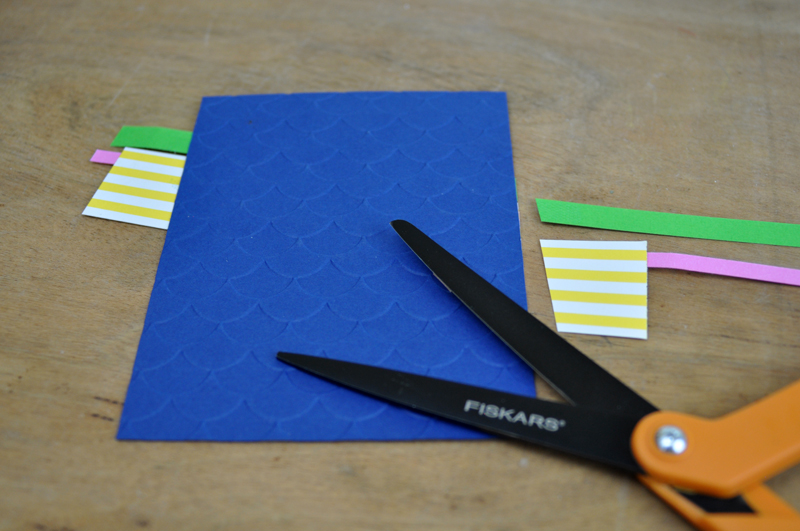
Step 2: Start with one strip of paper and lay it over the front of the card on any angle you wish to create the diagonal. Layer additional strips of paper following this same diagonal line.

Step 3:Turn the card over and trim off the extra edges of the paper. Use the edge of the card as a guide when cutting.
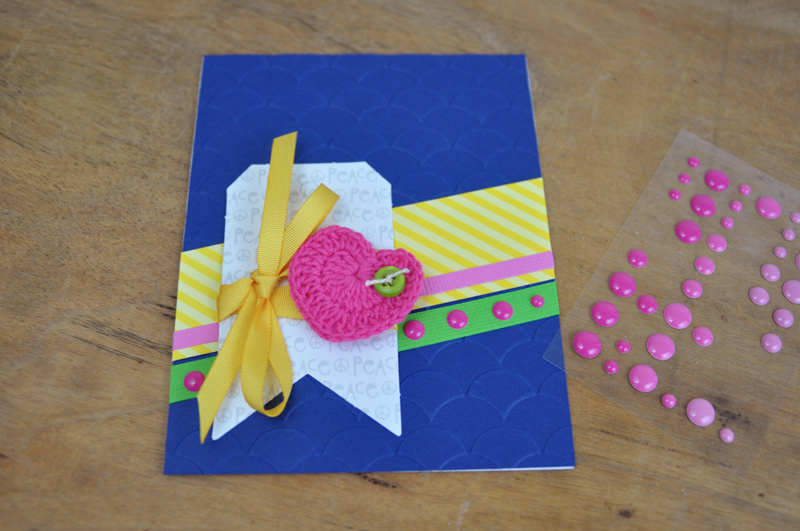
Step 4: Place the main part of the card on the front and then add embellishments (here I used enamel dots). Continue along the diagonal.
Here’s the completed card again:
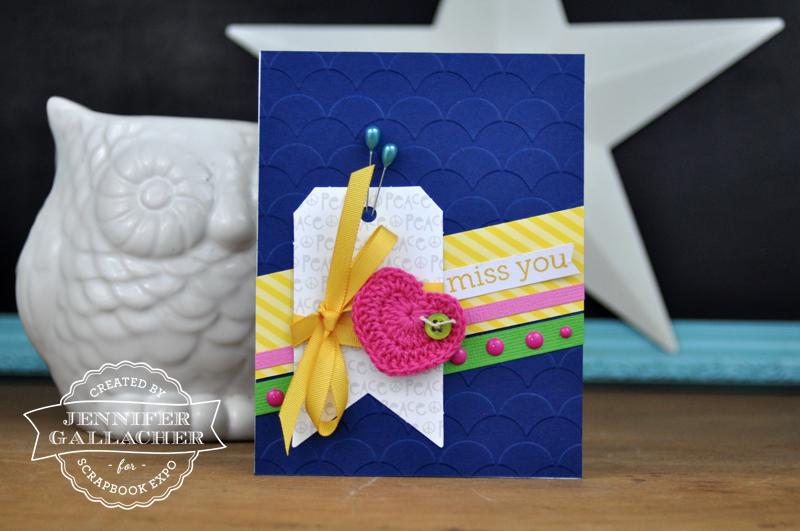
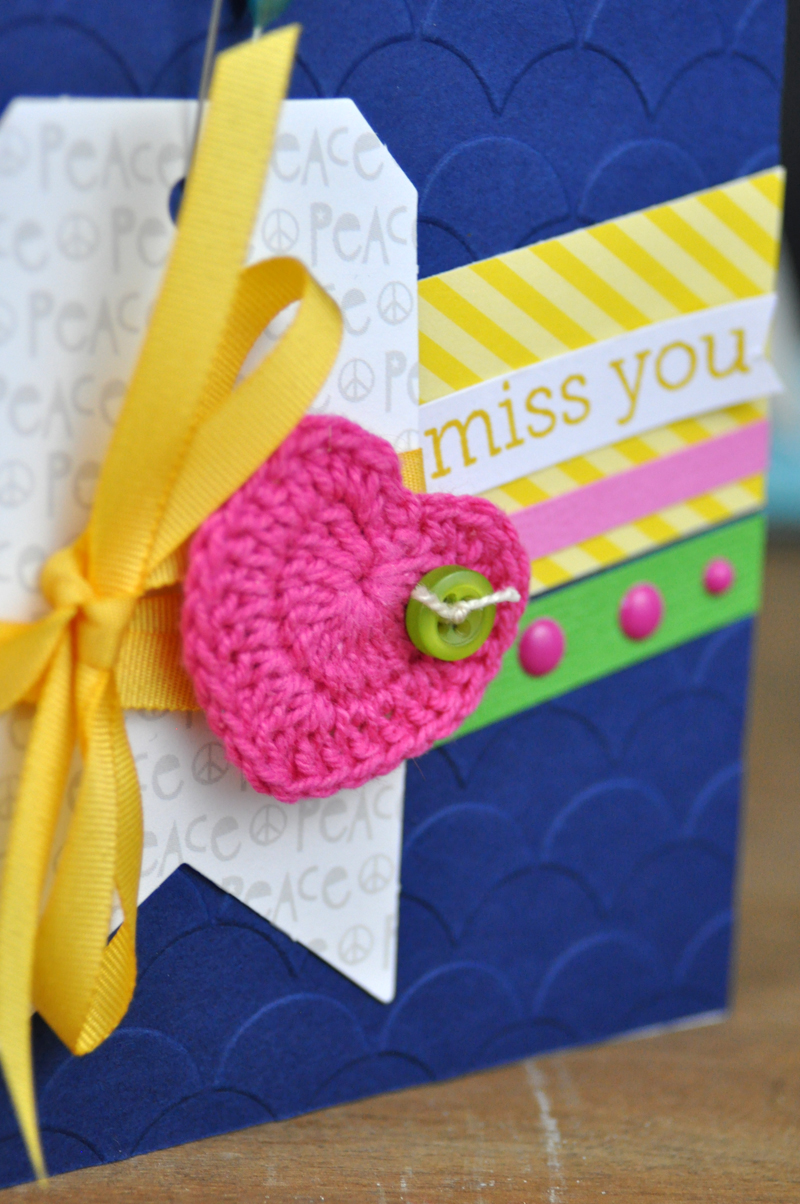
And here’s a closer look at the diagonal details:
Are you enjoying the “Inspiration Station” series? If you have a request, you’re welcome to add it to the comments section below. Be sure to pin your favorite photos from this tutorial and share the projects you love with your friends. Join me next week as I share a fun technique for creating a special treat bag for a friend!
MUST scraplift! beautifully done. LOVE IT!
Beautiful card! What co makes the the embossing folder? Thanks, Helen