
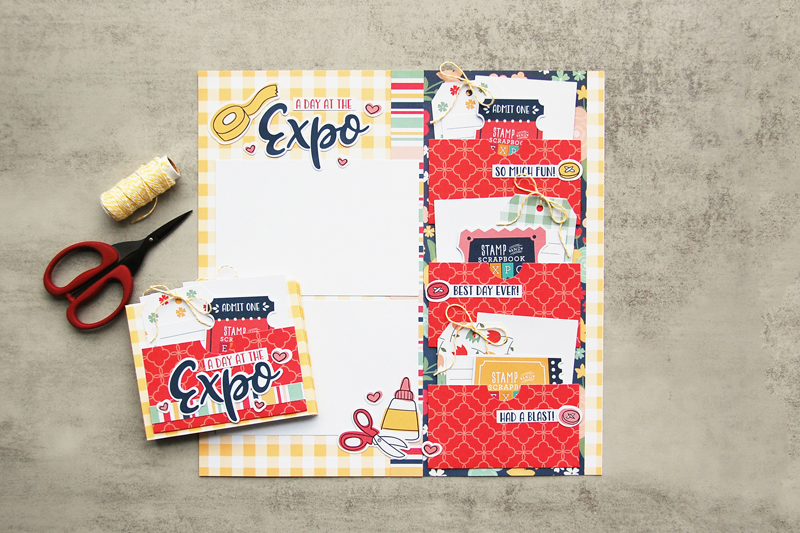
For the project, you will need to choose to create either a 12 x 12″ scrapbook layout or an accordion-fold mini album.
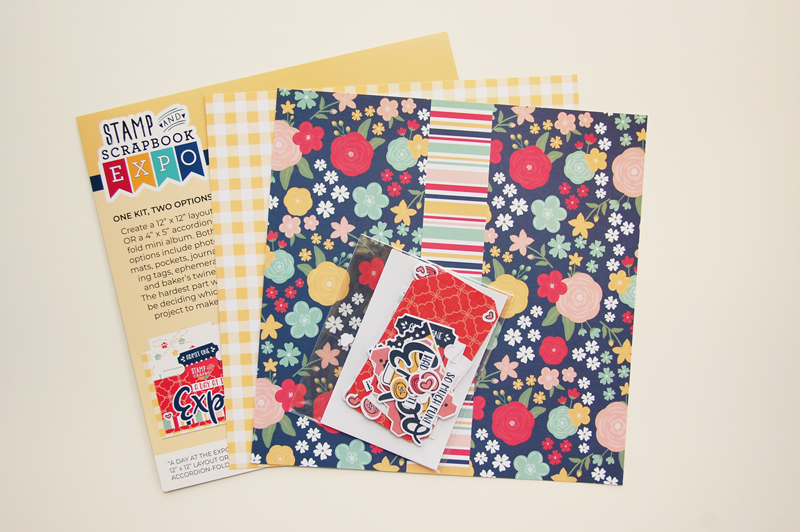
Your kit comes with two 12 x 12″ papers and an ephemera pack. Along with the kit, you will need a 12″ paper trimmer, scissors, adhesive, a journaling pen, and photos to complete your project.
“A Day at the Expo” Layout Instructions
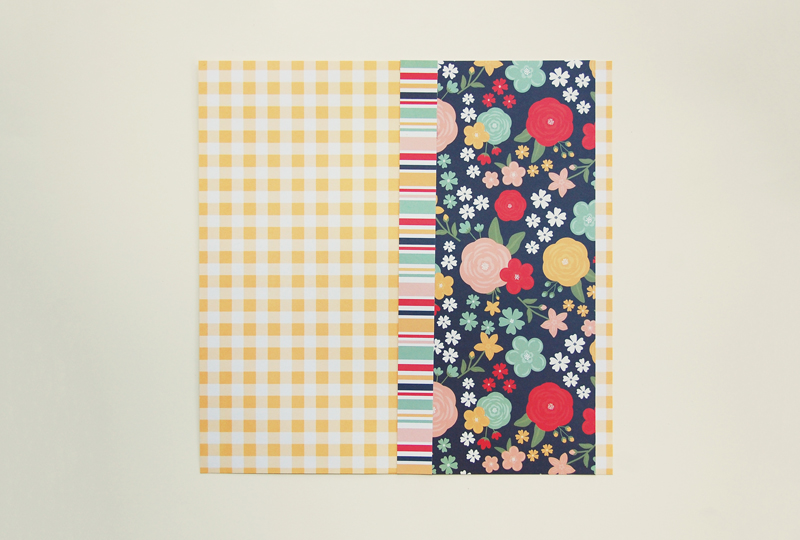
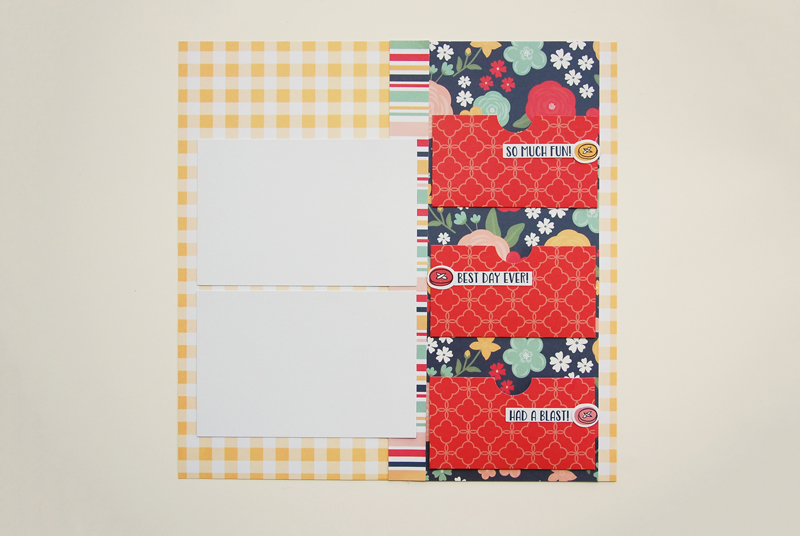
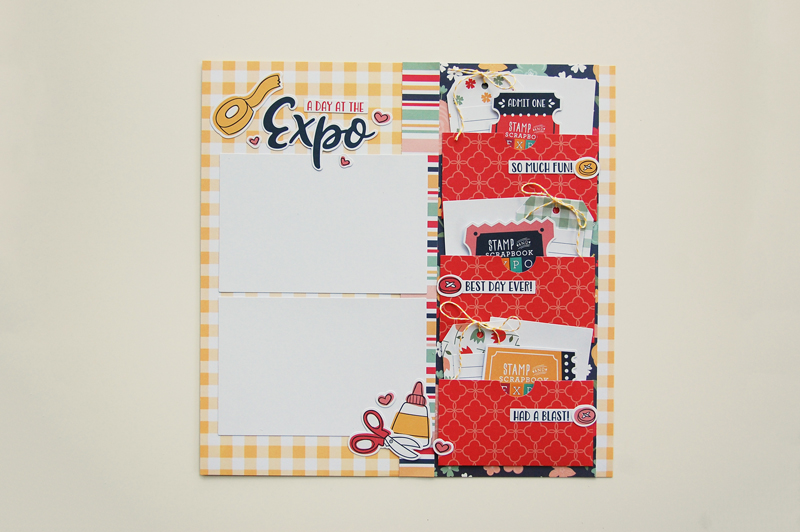
Cut a 5 x 12″ floral panel and 1 x 12″ striped strip from the floral/stripe paper.
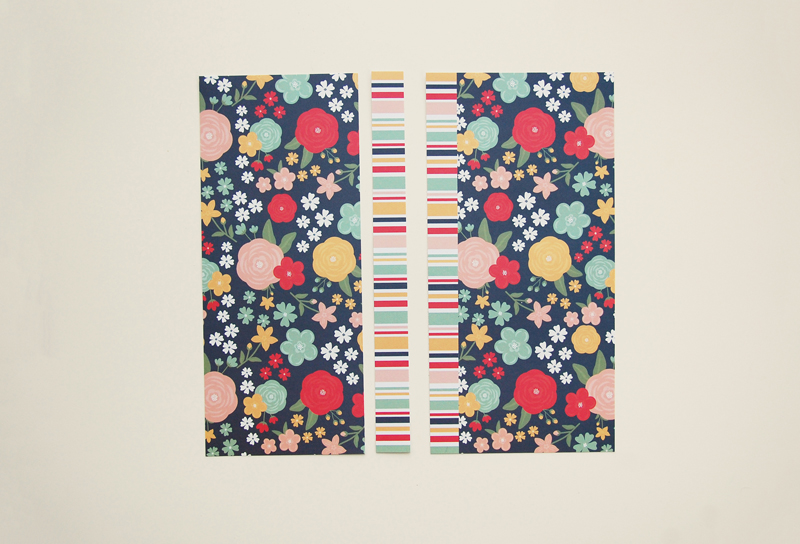
Layer and adhere the panels to the 12 x 12″ yellow gingham paper about 1/2″ from the right edge.
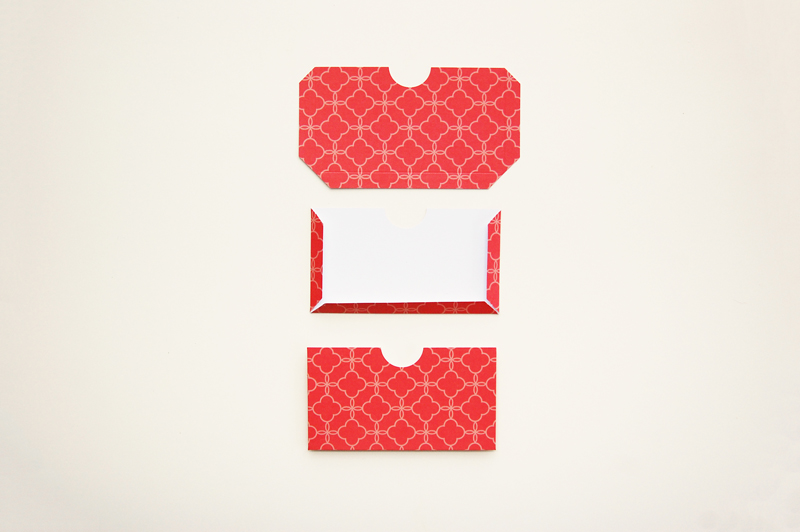
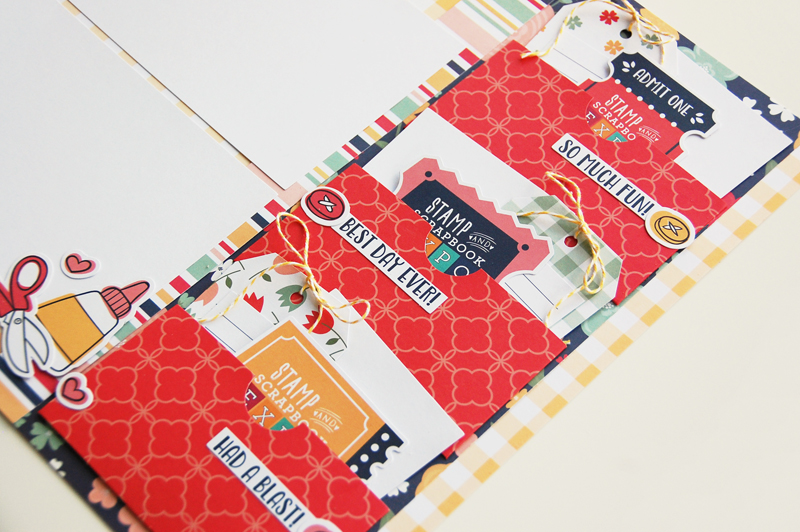
Fold the side and bottom edges on all three pocket die cuts, and adhere them on the floral panel adding adhesive only along the flaps.
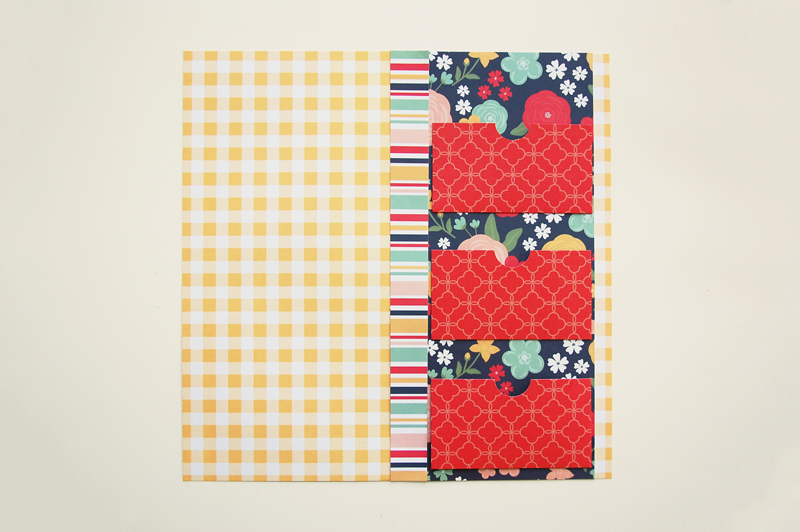
Adhere the first pocket 2″ from the top edge. Adhere the remaining two pockets below, leaving 1″ between each pocket.
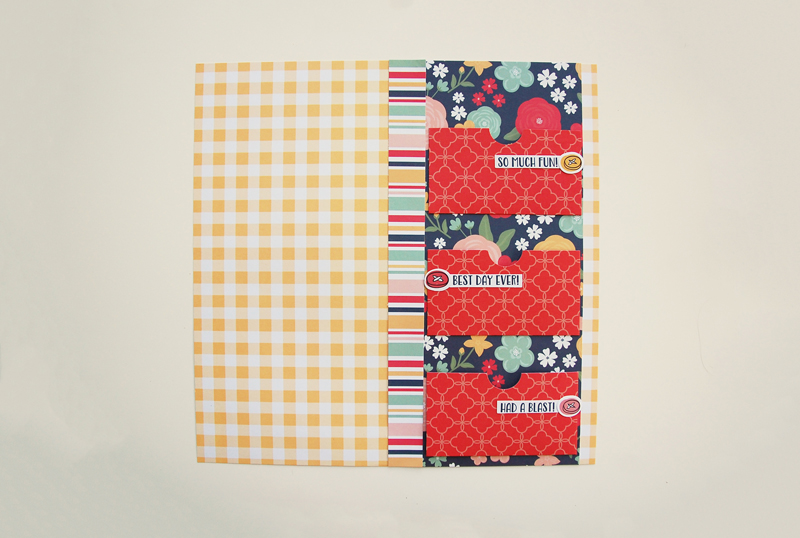
Adhere a sentiment strip and button die cut to each pocket as shown.
Adhere the two 4 x 6″ photo mats with photos on the left side 2 3/4″ from the top and 1/2″ from the left edge.
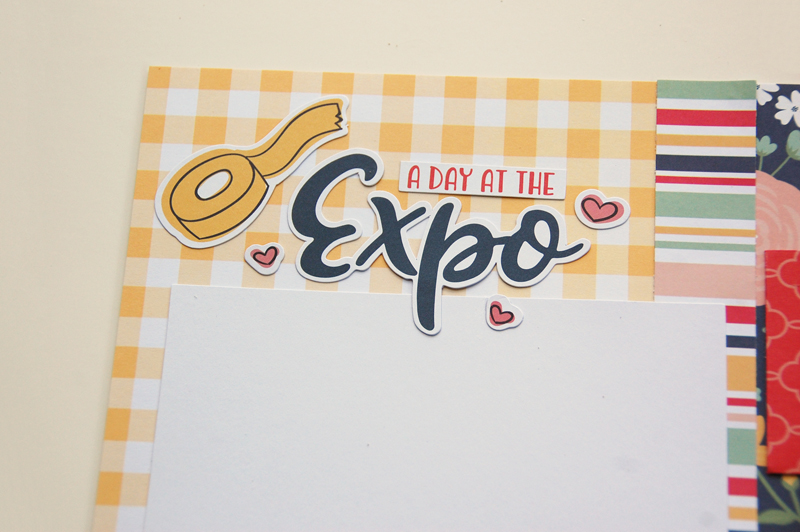
Adhere the “A Day at the” sentiment strip, “Expo”, Washi tape, and three heart die cuts at the top left corner above the photo mat to create a title.
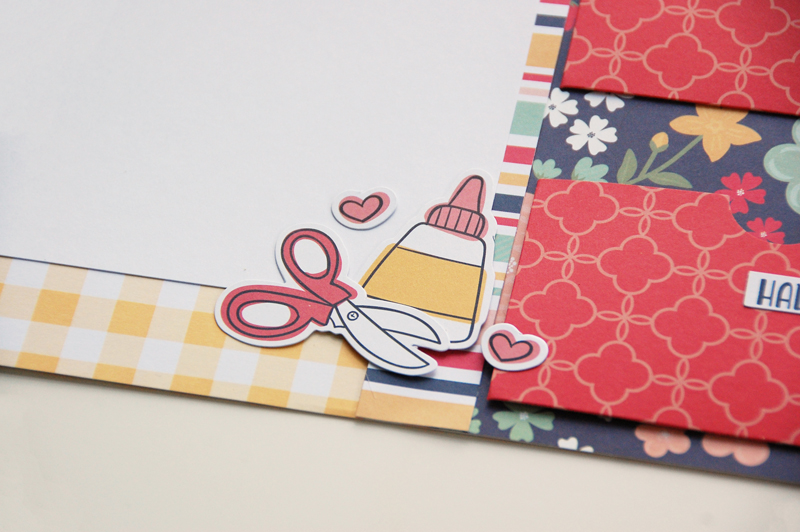
Layer and adhere the glue bottle, scissors, and two heart die cuts at the lower right corner of the bottom photo mat.
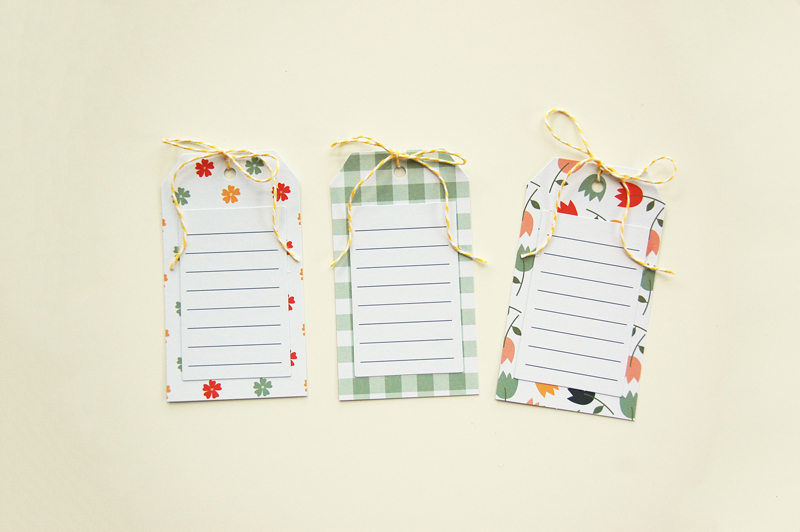
Layer and adhere a journaling die cut to each of the tags. Add a yellow baker’s twine bow to each tag.
Add a 3 x 4″ photo mat with photo, a tag with journaling, and a ticket die cut to each pocket to finish.
“A Day at the Expo” Mini Album Instructions
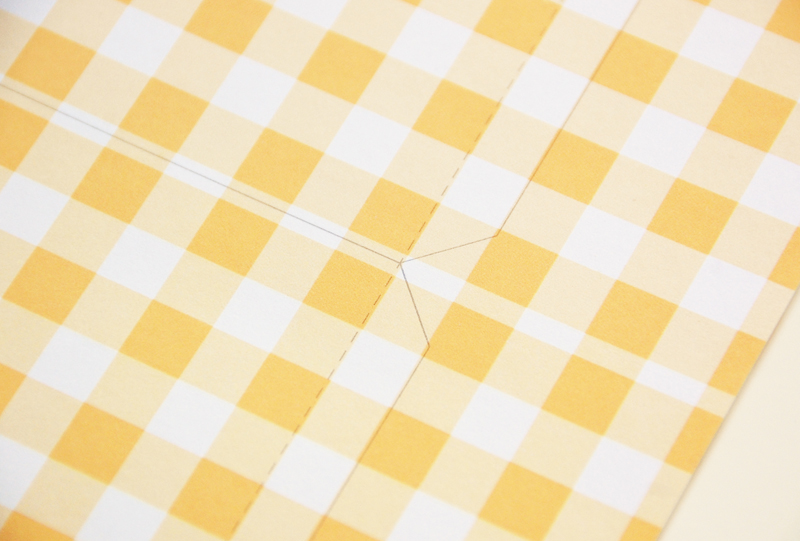
Using the guides on the back of the yellow gingham paper, cut three panels (two at 4 x 10 3/8″ and one at 4 x 10″), making sure to cut only on the solid lines. Then, score on the dotted lines.
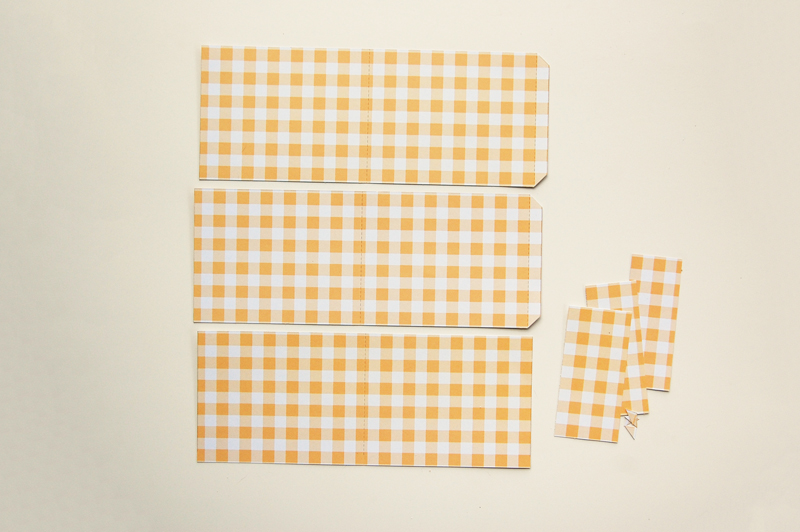
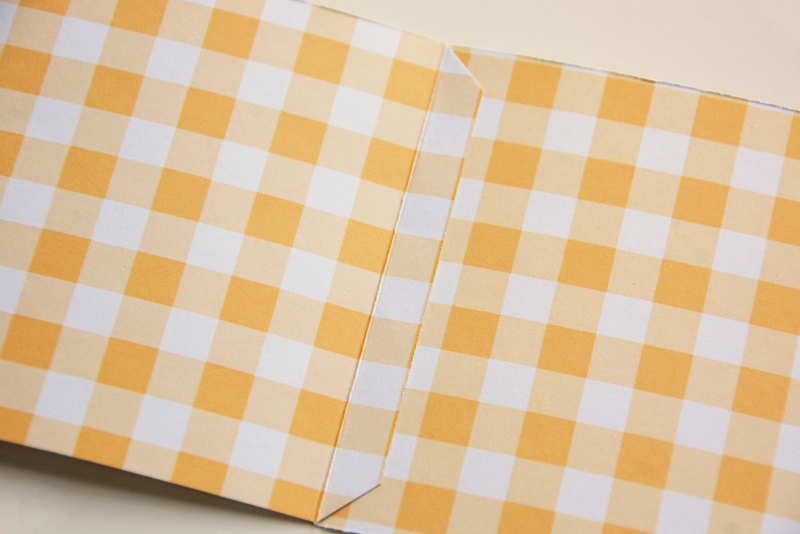
Adhere the panels end to end, adding glue only on the tabs. Your mini album base will be 4 x 30″.
Fold the side and bottom edges on all three pocket die cuts, and adhere them on first, third, and fifth panels from the left on the mini album base, adding adhesive only along the flaps.
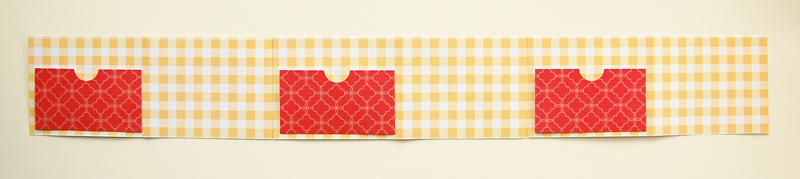
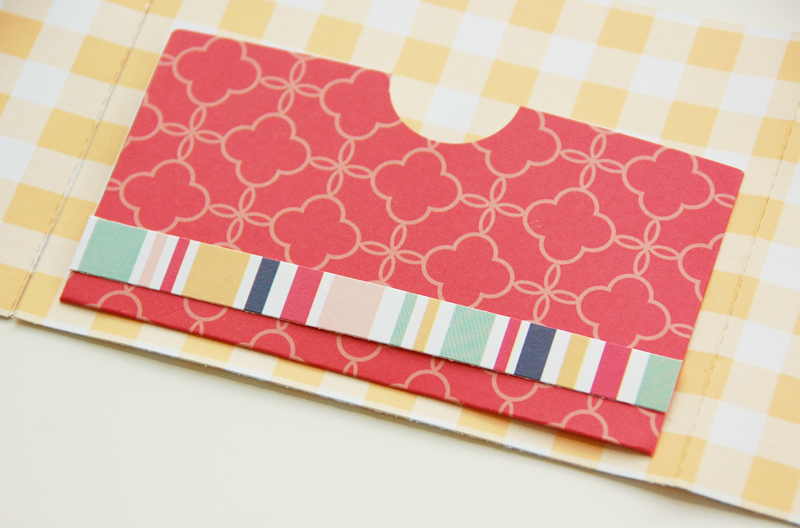
Cut three 1/2 x 4 1/2″ striped strips from the floral/stripe paper. Adhere a strip to each pocket 1/4″ from the bottom edge.
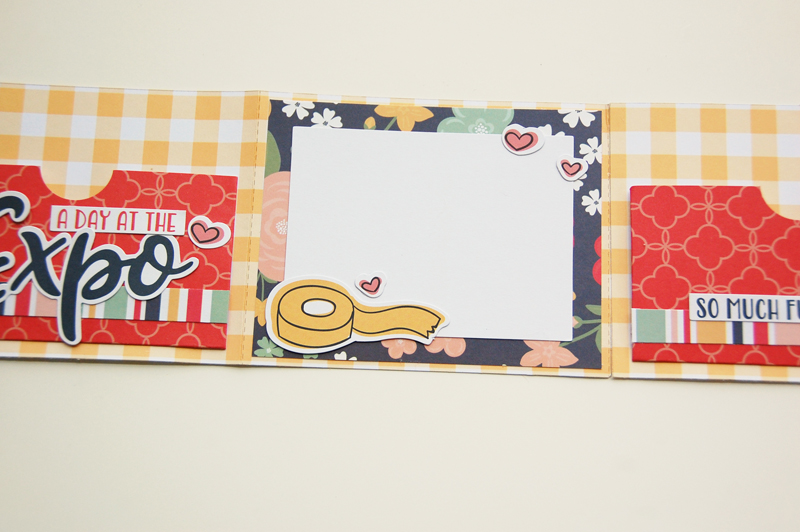
On the first pocket, adhere the “A Day at the” sentiment strip, “Expo”, Washi tape, and three heart die cuts to create a title.
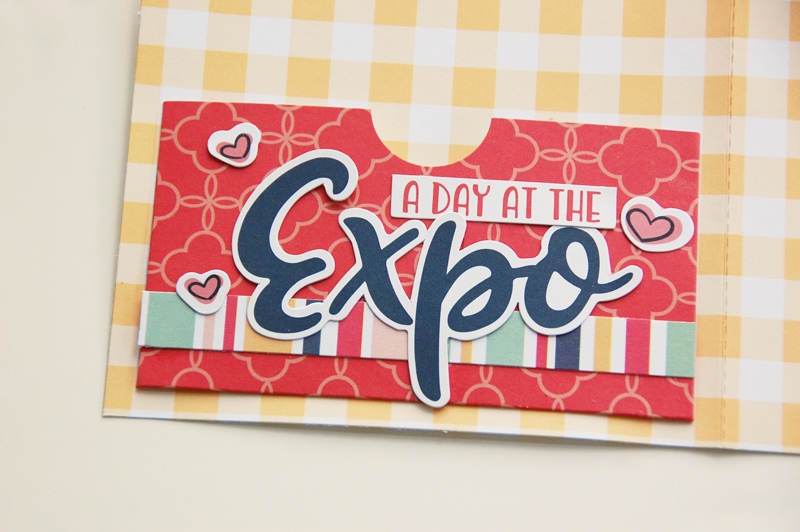
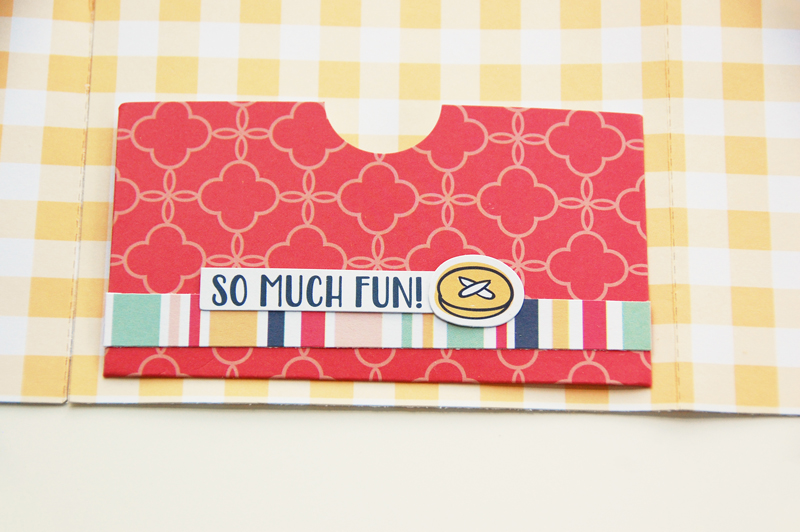
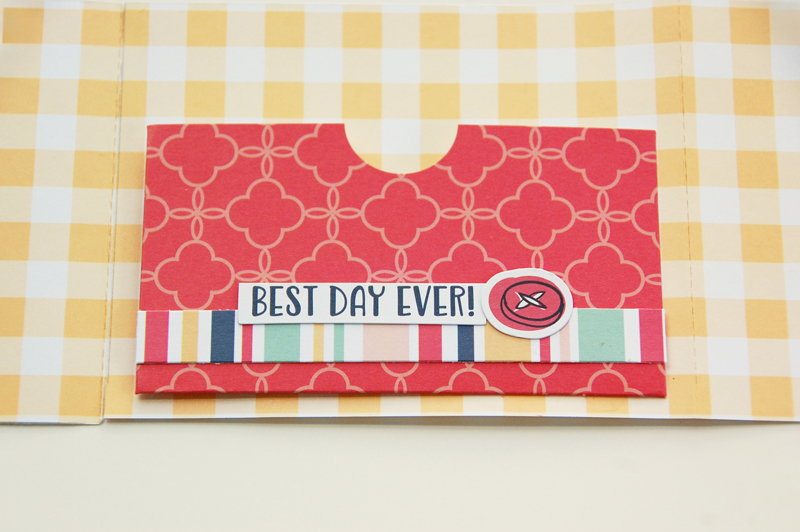
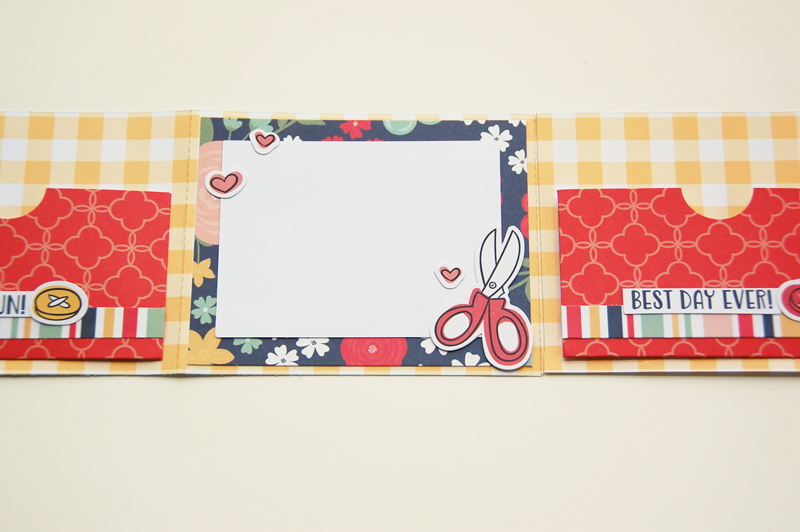
On the remaining two pockets, adhere a sentiment strip and button die cut slightly overlapping the top of the striped strip.
Cut three 3 3/4 x 4 3/4″ floral panels from the floral/stripe paper.
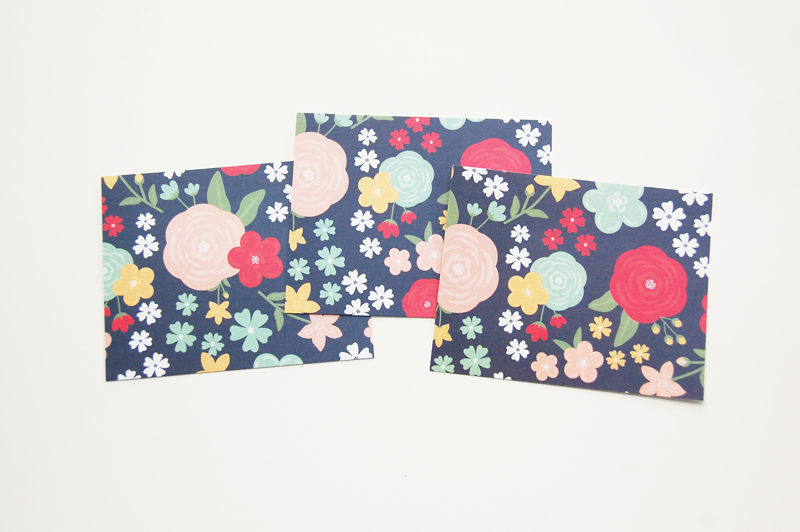
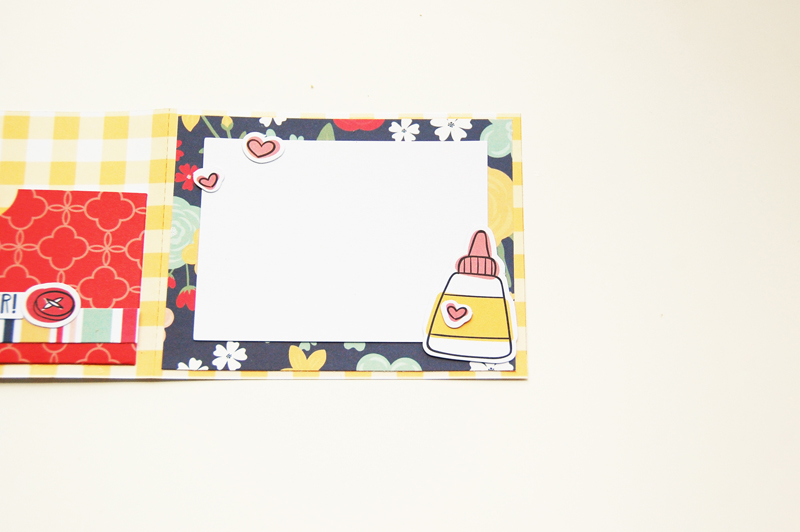
Layer and adhere a floral panel and 3 x 4″ photo mat with photo onto the second, fourth, and sixth panels from the left on the mini album base.
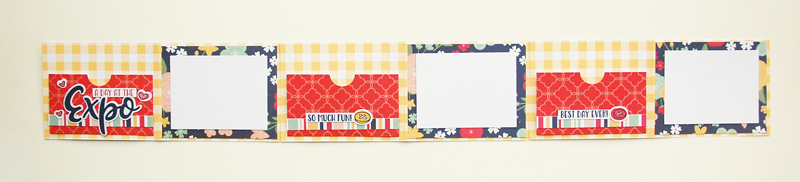
Decorate each panel with three hearts and one of the craft supply die cuts (Washi tape, scissors, or glue bottle) at the corners of the panel.
Layer and adhere a journaling die cut to each of the tags. Add a yellow baker’s twine bow to each tag.
Cut the 4 x 6″ photo mats in half to create four 3 x 4″ photo mats.
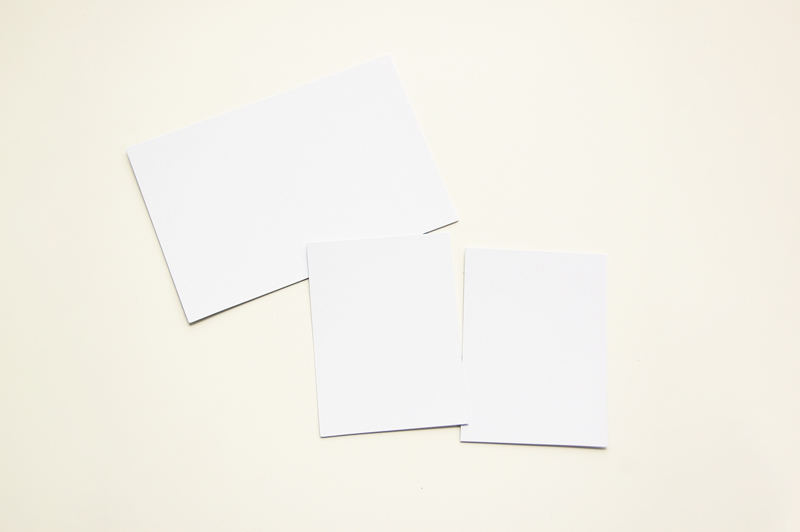
Add a photo mat with photo, a tag with journaling, and a ticket die cut to each pocket.
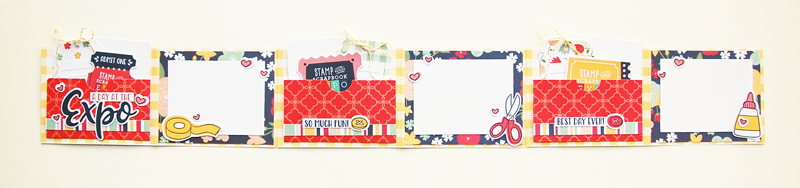
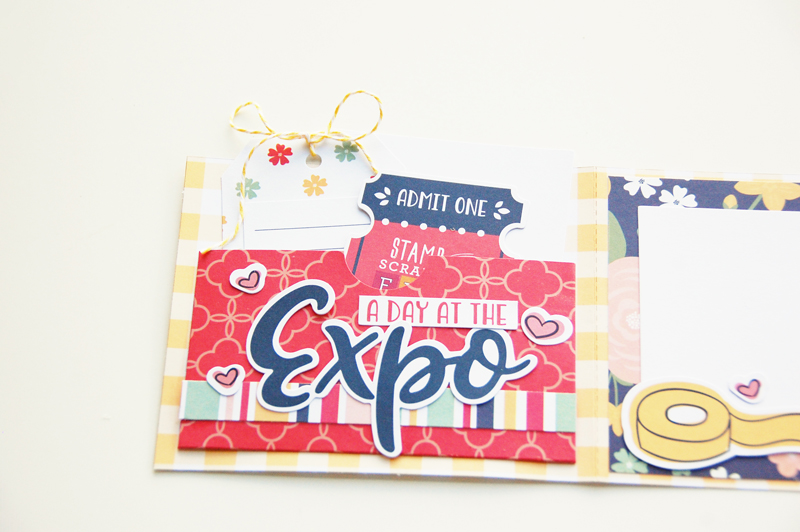
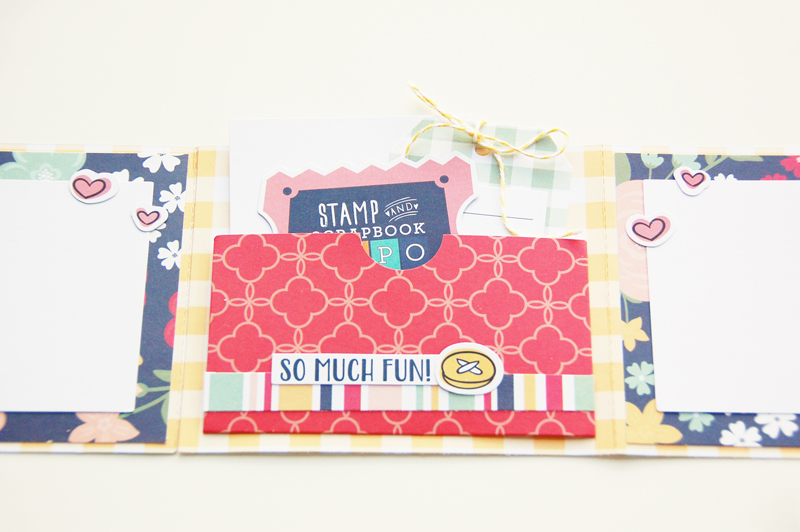
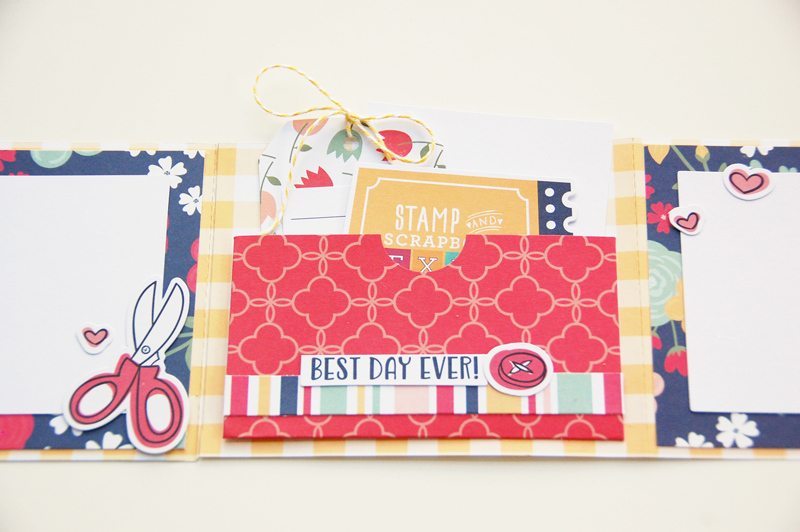
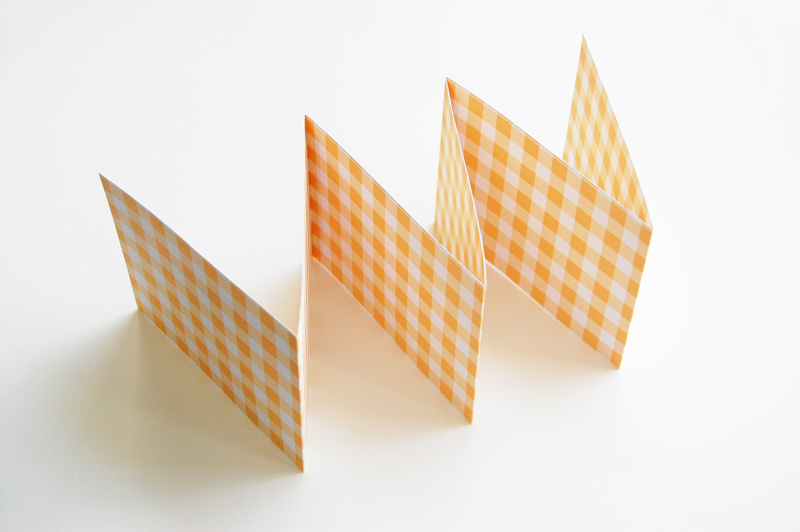
Accordion fold the mini album to finish.
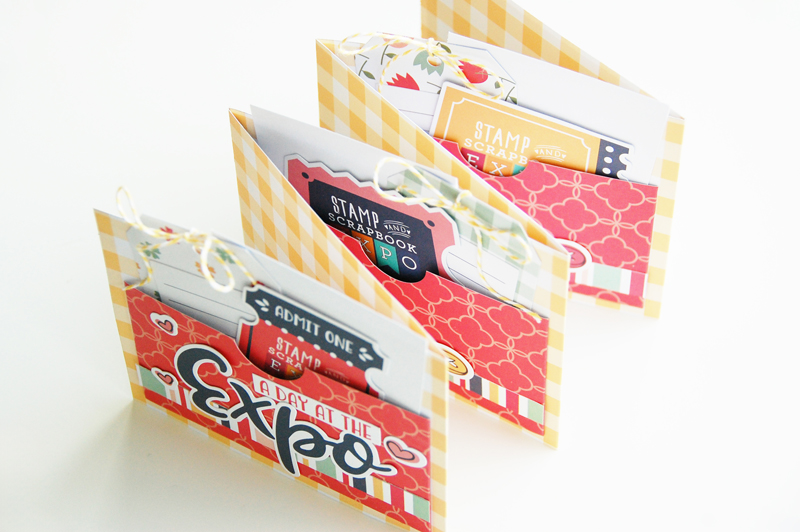
Whichever project you chose to create, we hope you had fun making it! And we hope you had fun at the Mega Make & Take event!