
Hey, everyone! Roree here with another Make It! Monday project. Today I am sharing some themed treat cones—perfect for passing out Halloween candy to your favorite trick-or-treaters this Halloween.

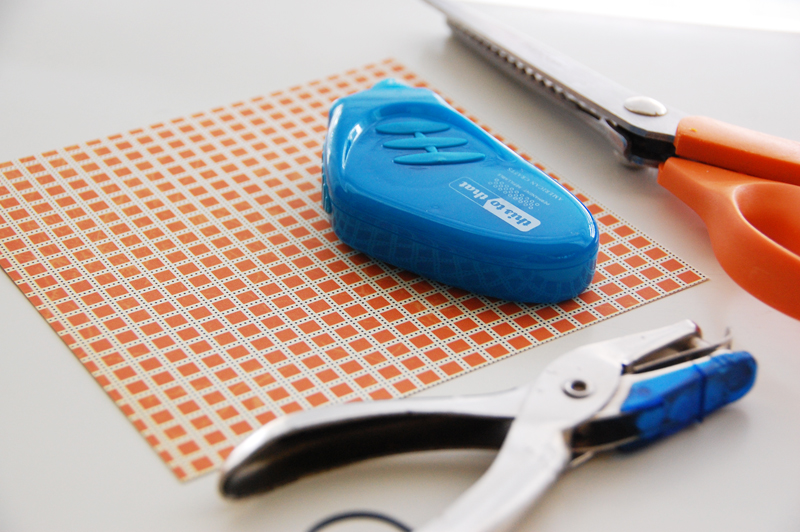
I started off with a 6 x 6″ patterned paper panel (from the October Afternoon Witch Hazel collection), adhesive, pinking shears, and a hole punch.
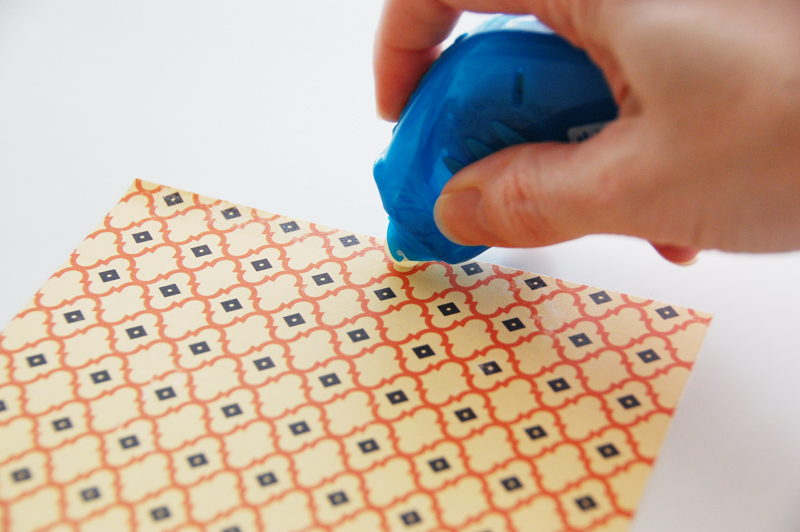
I flipped the panel over and ran adhesive along two of the edges on the side and the bottom.
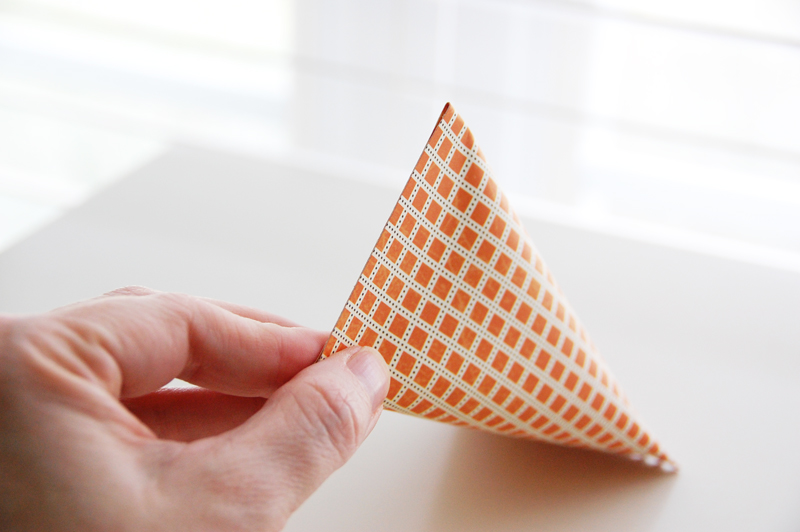
I rolled the panel and adhered the ends to create a tube.
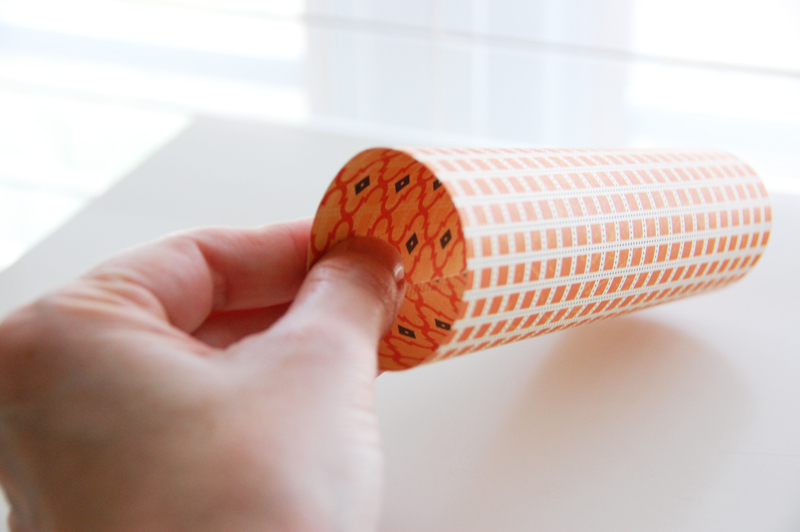
I closed the end of the tube with the adhesive, sealing it shut.
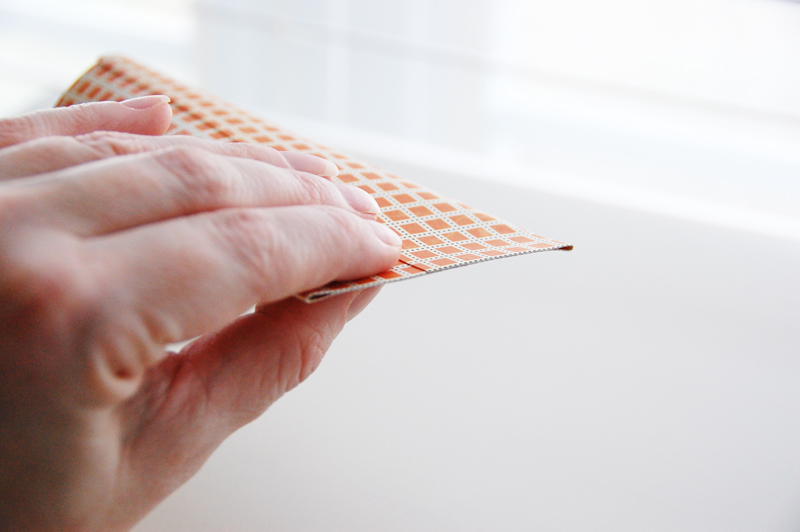
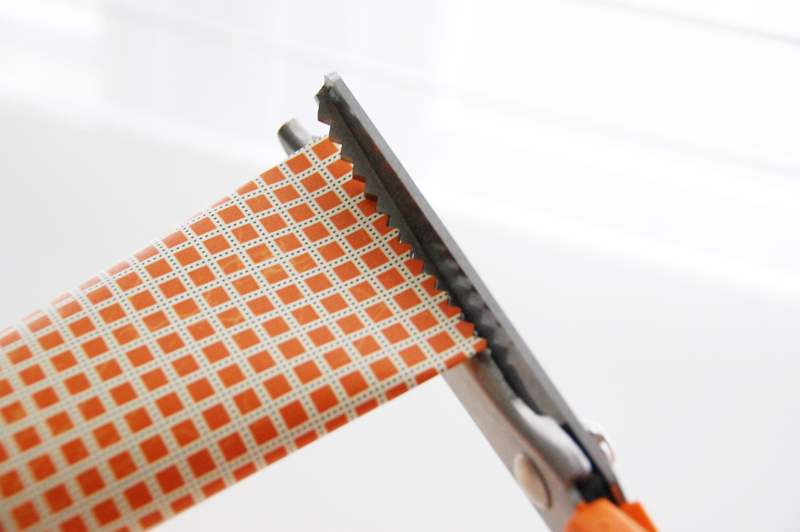
I used my pinking shears to create a decorative edge.
I then closed the other end of the tube (the one without adhesive) going the opposite direction.
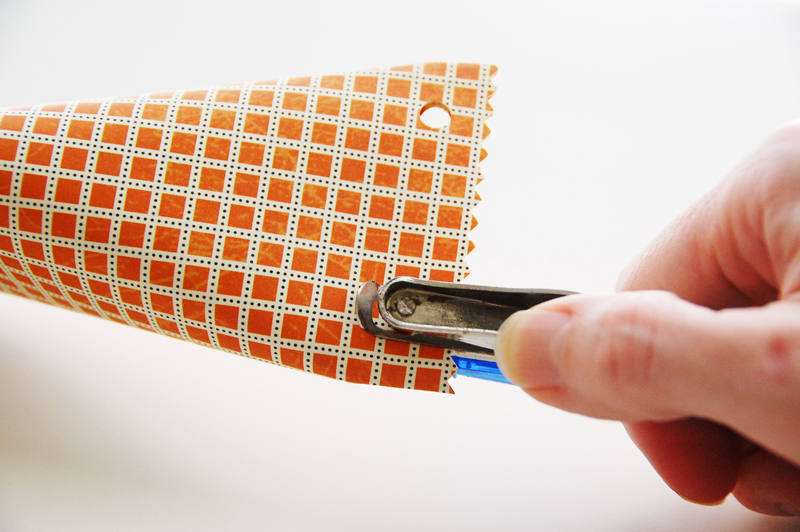
I trimmed that end with pinking shears to create another decorative edge and punched a hole on each side with a hole punch.

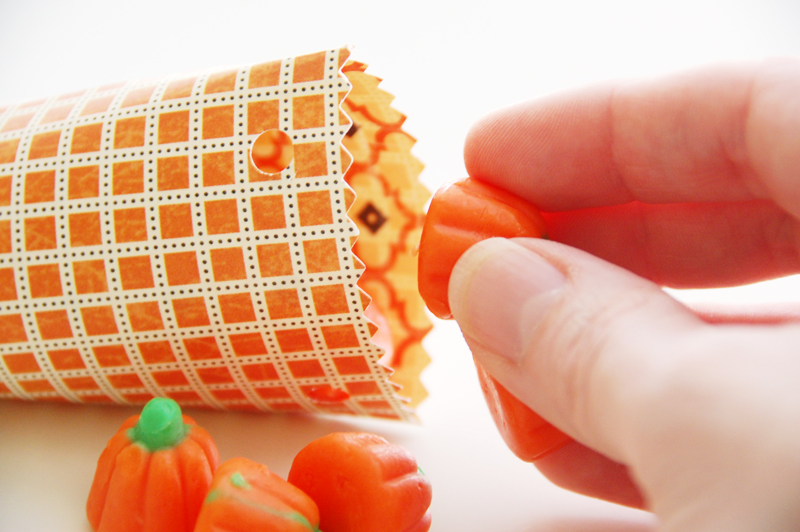
I added a few treats to the open end of the treat cone.
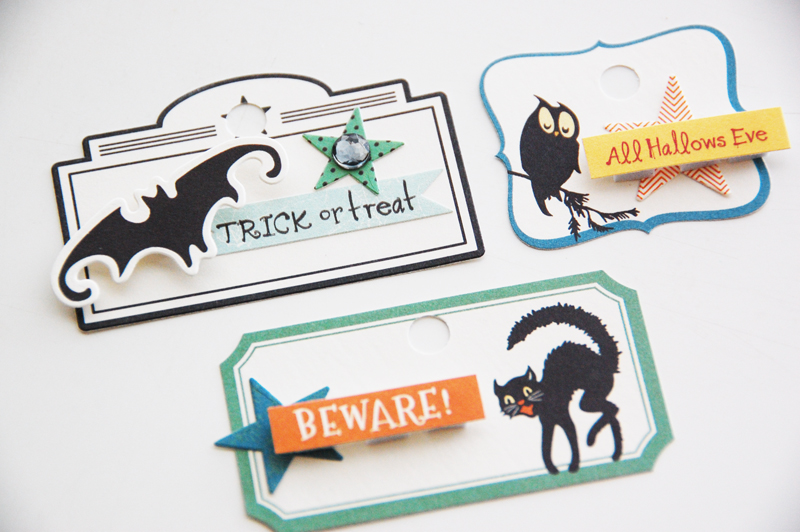
I created a few more cones repeating the steps above with some other patterned papers. Then, I created a few quick and easy tags with labels and stickers (also from the Witch Hazel collection).
I threaded each of the cones with ribbon, added a tag, and tied a bow to close them up.
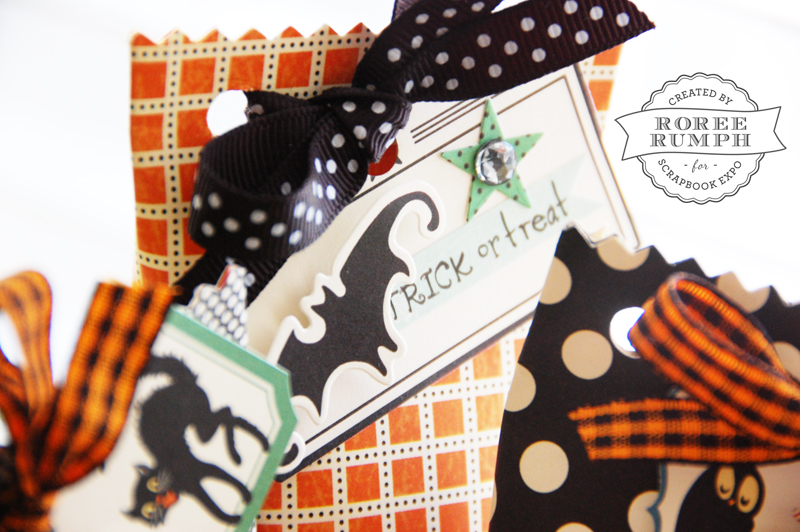
Such a fun and easy way to pretty up your treats this Halloween, don’t you think?
I hope you enjoyed today’s Make It! Monday project. Thanks so much for stopping by!