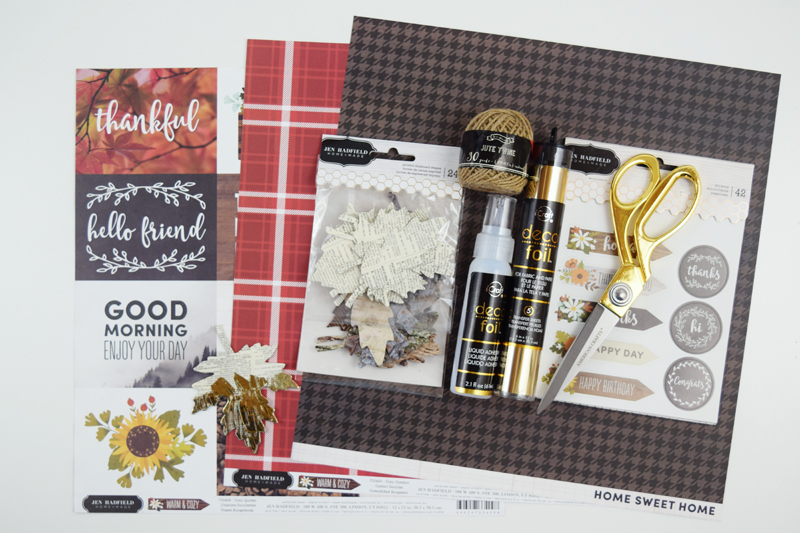
 Hello, Weekly Scrapper friends. Summer is winding down which means… my favorite season (Fall) is right around the corner; yay!! I’m so excited to share these adorable Fall treat bags with you today. Gathering the supplies was one of the best parts of this project. I love diving into a box of brand new supplies. For this project I dove into the brand new Warm and Cozy collection from Pebbles and Jen Hadfield, some decofoil, and decofoil adhesive from Therm O Web.
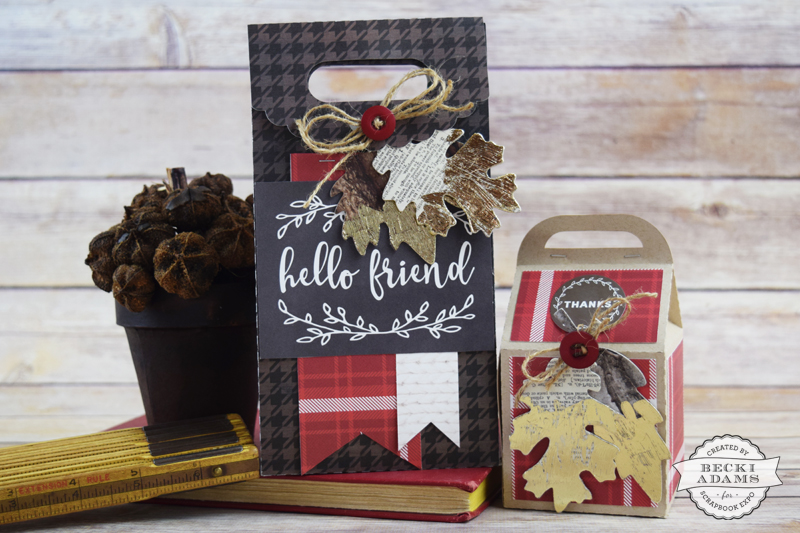
This is one of my all time favorite projects. I love how these little treat bags came together. I can’t wait to show you my favorite element of this project – the foil brushed leaves. They look hard to make but they’re really not.
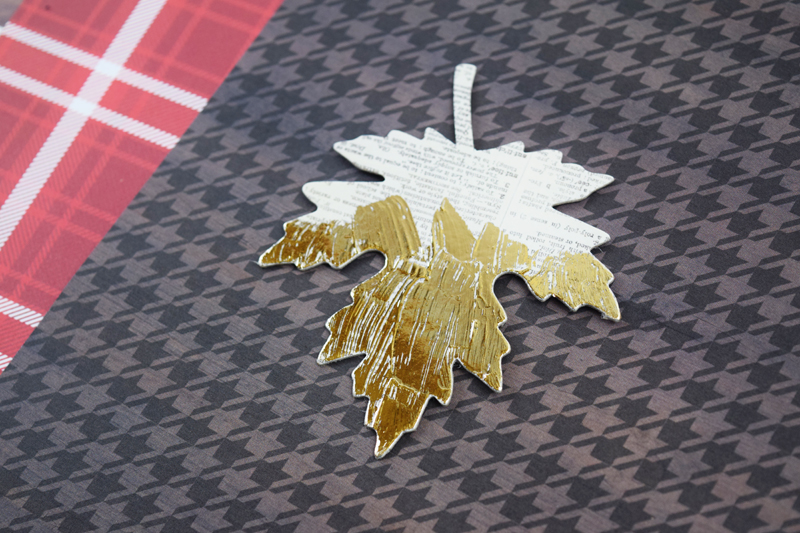
In this video, I show you how easy it is to create these gorgeous foiled leaves. You can make one in just a minute or two (plus a little bit of drying time).
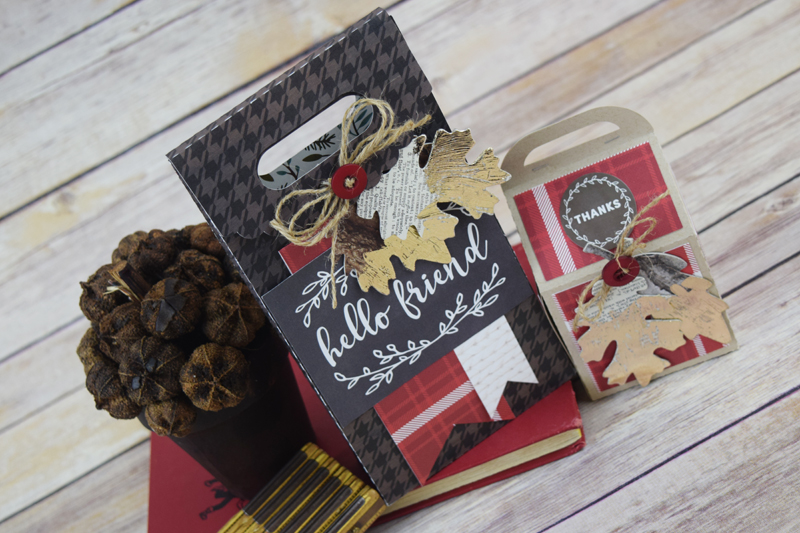
These gorgeous gold foiled leaves made the perfect embellishment for these little treat bags. Now, let’s talk a little bit about the treat bags themselves. They’re so easy to make. I used my Silhouette Cameo to cut the bags out.
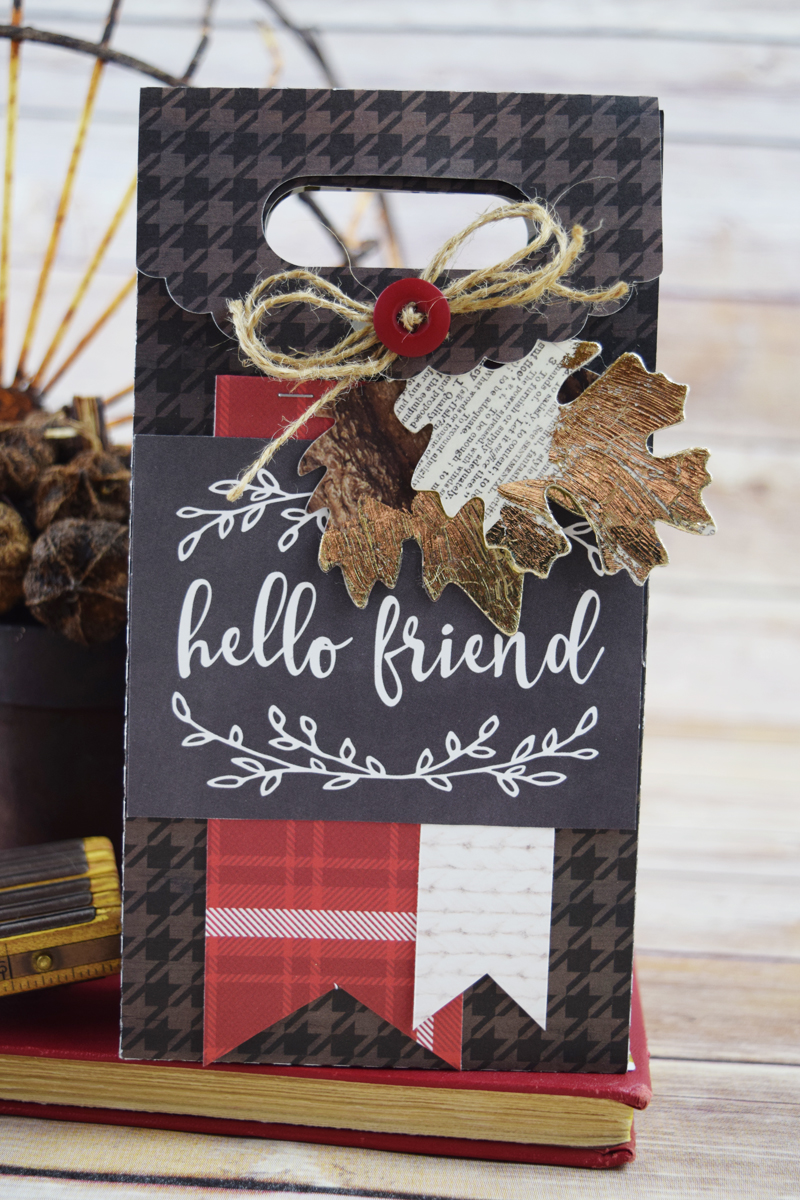
I used this awesome cut file many times before (you can find it HERE). It’s so easy, there’s only one piece. All you have to do is simply fold along the score lines and glue it together. It takes two minutes, tops.

Another added bonus is that it only takes one piece of patterned paper to make the bag. Then, I used a few bits of patterned paper for embellishing.
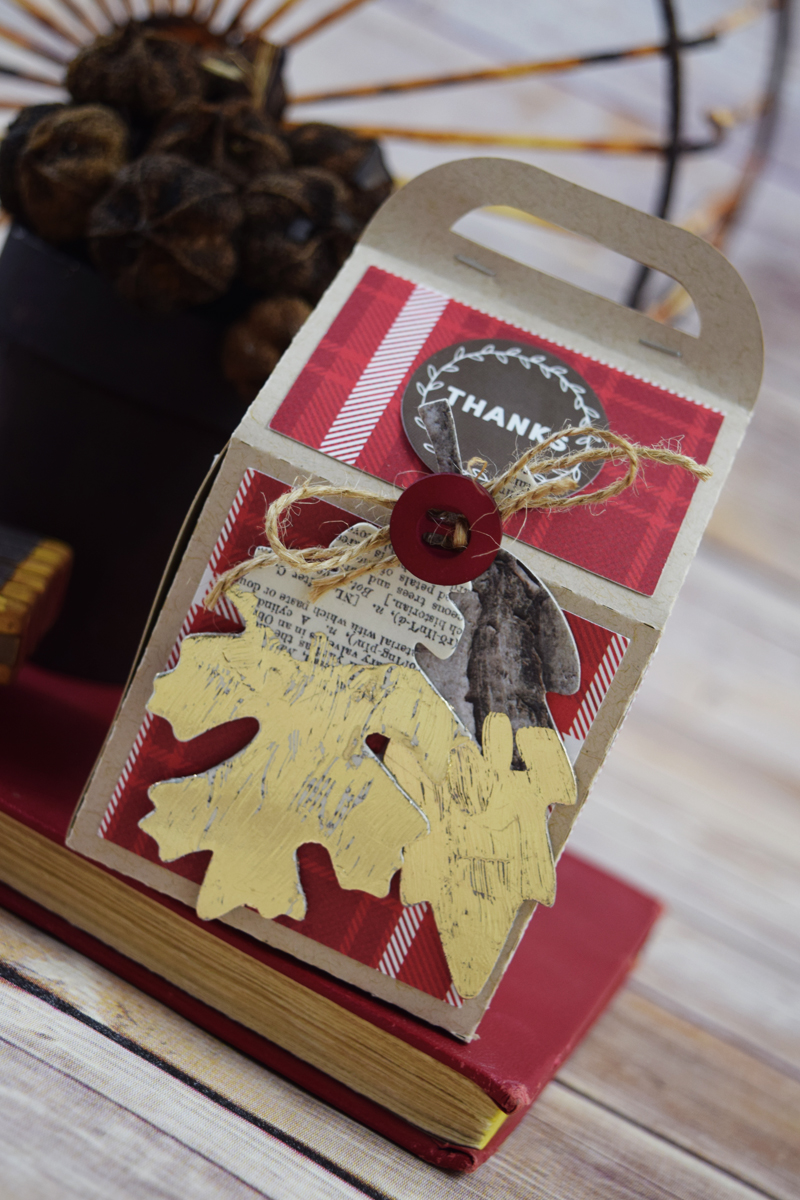
You can find the cut file for the smaller treat bag HERE. To make this little milk box there are 2 steps instead of one, although if you wanted to cut the base of the box out of patterned paper it would be just as cute with only one step. I chose to cut the base of the box out of kraft cardstock and then cut patterned paper to embellish the box (these are included in the cut file). It still only took a few minutes to assemble the box, even with the patterned paper pieces; so easy!
I am thrilled with how these treat boxes worked out. I can’t wait to fill them with yummy Fall treats and share them with friends. Thanks for stopping by for Inspiration Station with Becki Adams. Next week, I have an adorable card to share with you (don’t be surprised if I dive into Fall products once again). I’ll see you next week!
I really love this look. The foiled leaves makes the boxes so pretty. Can another adhesive be used besides the one you used. I have the foil but not the glue. Thank you. Edwina Brown
Hi Edwina, Thanks! As far as I know, you do need the deco foil adhesive. I’ve tried a few other adhesives and they don’t work. I hope that helps!