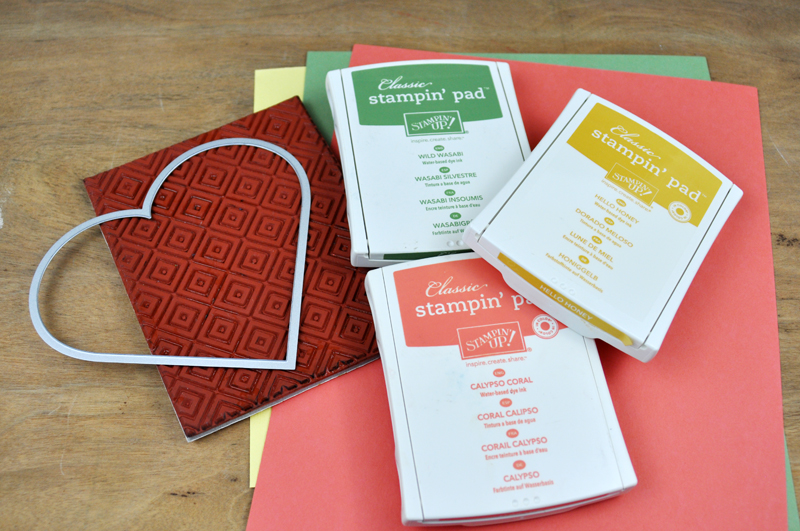
Welcome back to another “Inspiration Station” tutorial! For this week’s project, we’re going to use a background stamp to create a heart-shaped card. To create the foundation for this card, you’ll need the following supplies: Manual heart die cut (or a template of a heart shape), a manual die cut machine, a background stamp, three coordinating colors of cardstock (I used coral, green, and yellow), ink in matching colors, and tape.
Follow the directions below to recreate the base for this card.
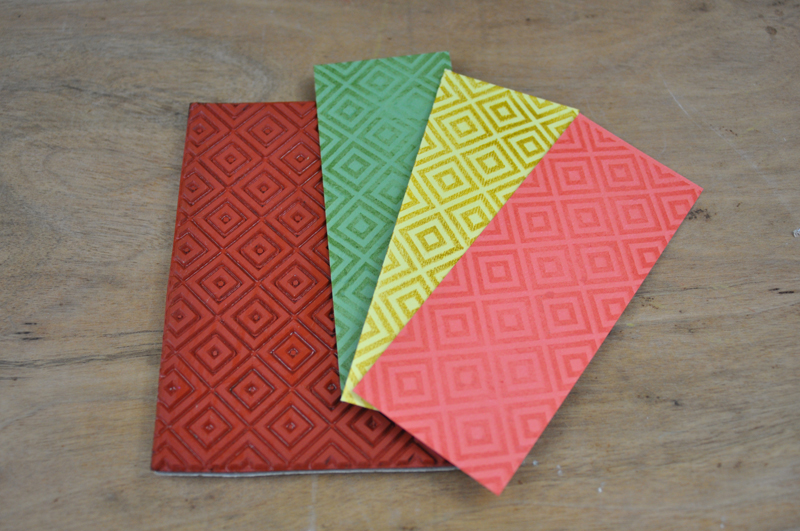
Step 1: Ink the background stamp with the first color of ink and then stamp the image onto a strip wide enough to fit the heart shape in a coordinating color of the ink that you chose. The height of the strip is up to you. For this stamp I inked the stamp vertically but then turned the strips horizontally when creating the card.
Step 2: Repeat Step 1 for each color of cardstock and ink that you’ve selected.
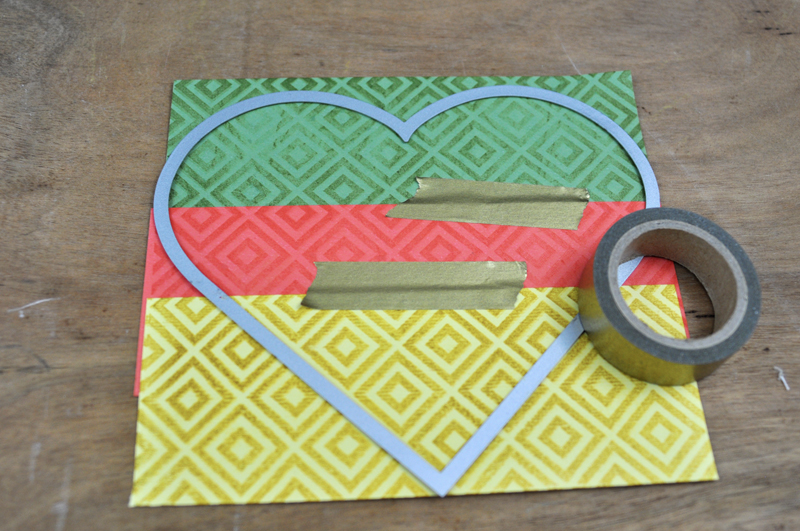
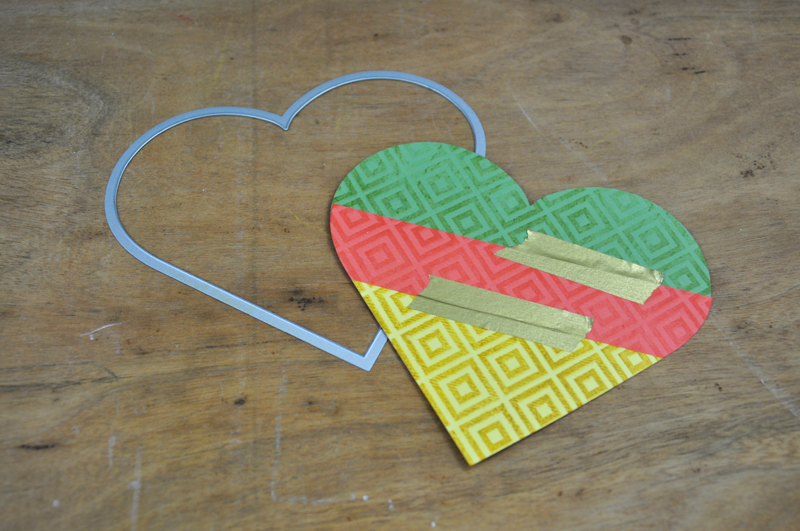
Step 3: Layer the stamped strips together. Match the pattern you’ve stamped so it appears to be repeating even though there are different strips of color. Tape the layers together with washi tape. Place the heart die cut shape on top of the taped paper strips and run it through your manual die cut machine.
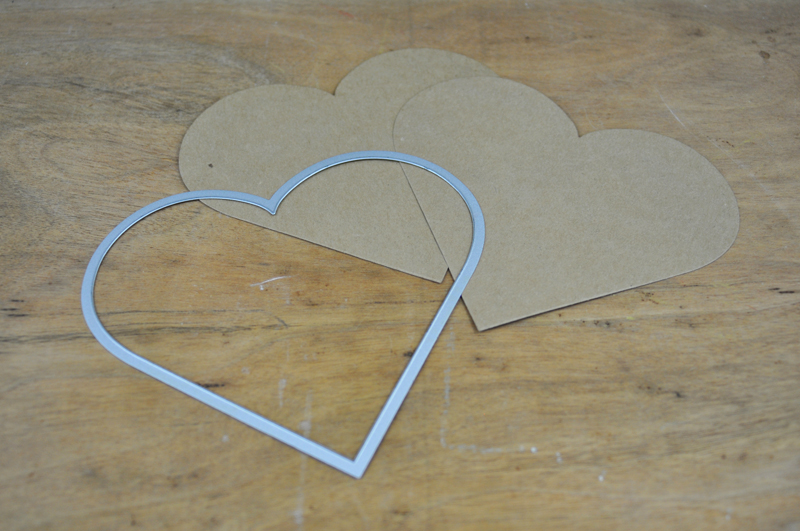
Step 4: Cut two additional heart shapes from any color of cardstock you want your card foundation to be. Attach the shapes only at the top so it creates the card base.
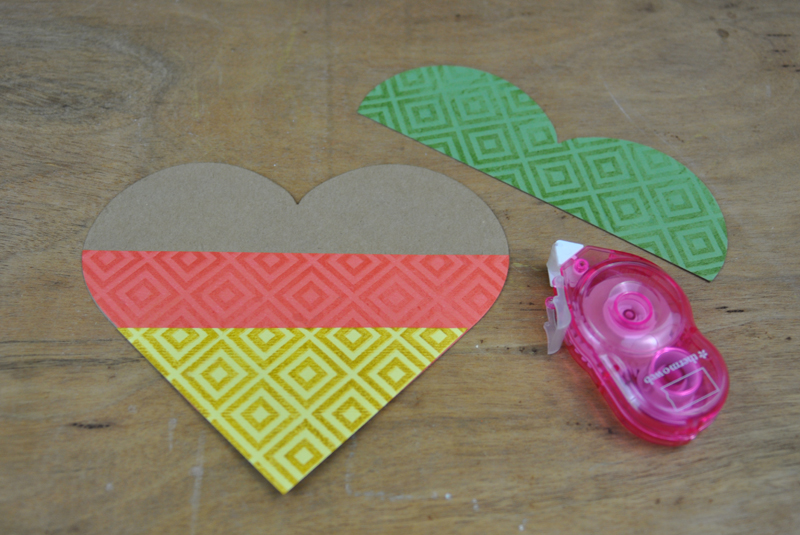
Step 6. Assemble the stamped, die cut pieces on top of the card. Embellish as desired.
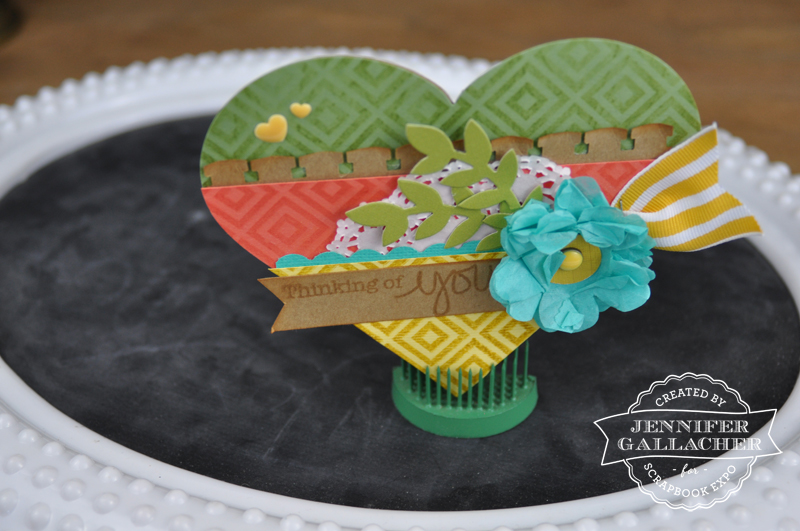
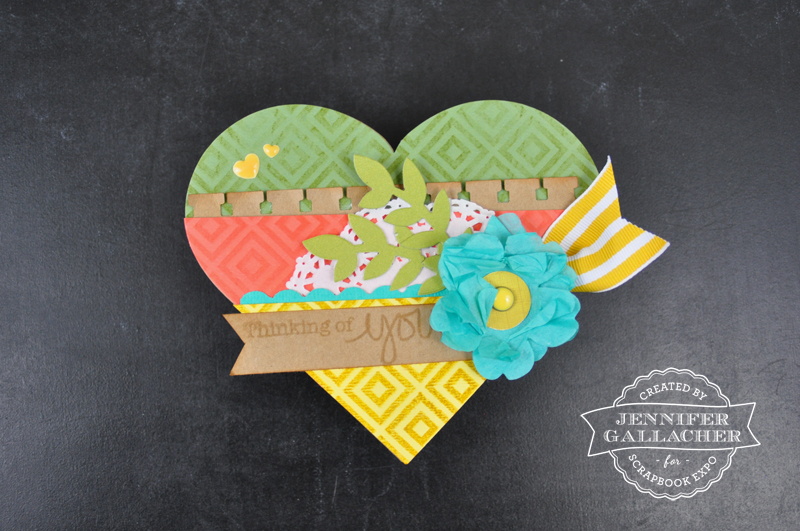
Here’s a look at the completed card:
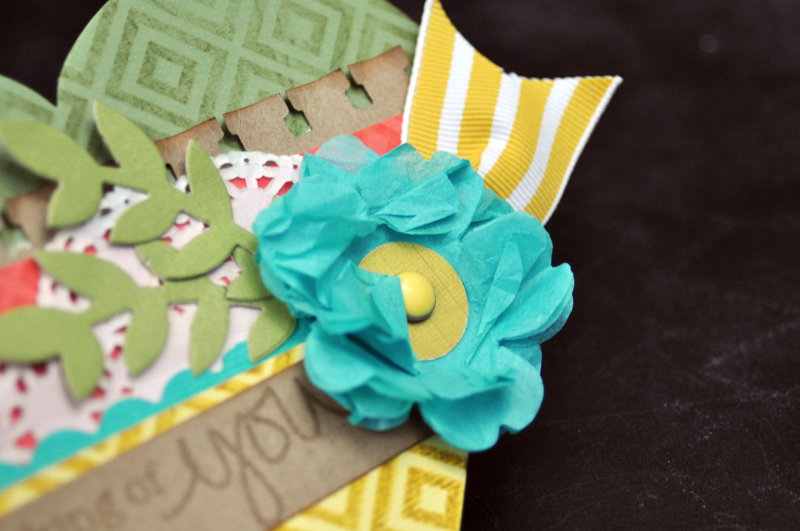
Here’s a closer look at the details on this card:
This application has so many uses. You can stamp as many layers as you’d like. Think of all the shapes you could cut from this layered and stamped background! It’s a great way to customize any card.




Love this! And I will definitely be trying with the new background stamps that I just got. Thanks for the inspiration!
Lynn, I’d love to see what you make with your new background stamps. 🙂 – Jen