
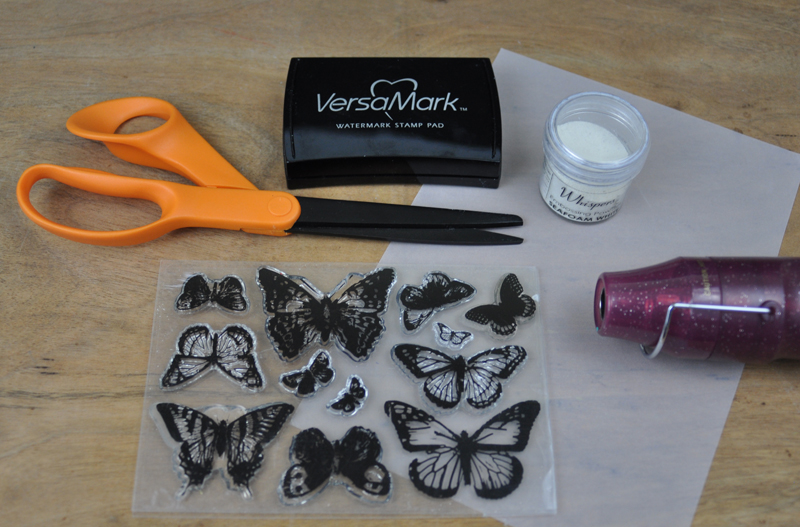
 Welcome back to this week’s “Inspiration Station” tutorial blog post! This week we’re going to create something you can display in your home. To create the vellum stamped butterflies in this project, you will need the following supplies: Vellum, Versamark Ink Pad, White Embossing Powder, Butterfly Stamps (in a few sizes), a clear acrylic block, a heat gun, and a pair of scissors.
To create the butterflies, follow the instructions below.
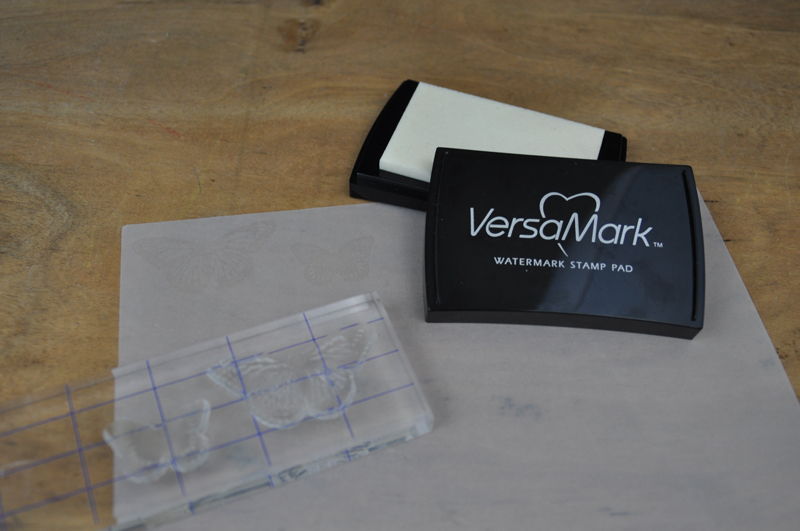
Step 1: Place two different sizes of butterflies on a clear, acrylic block and ink with the Versamark Ink pad. Stamp the images onto a sheet of vellum.
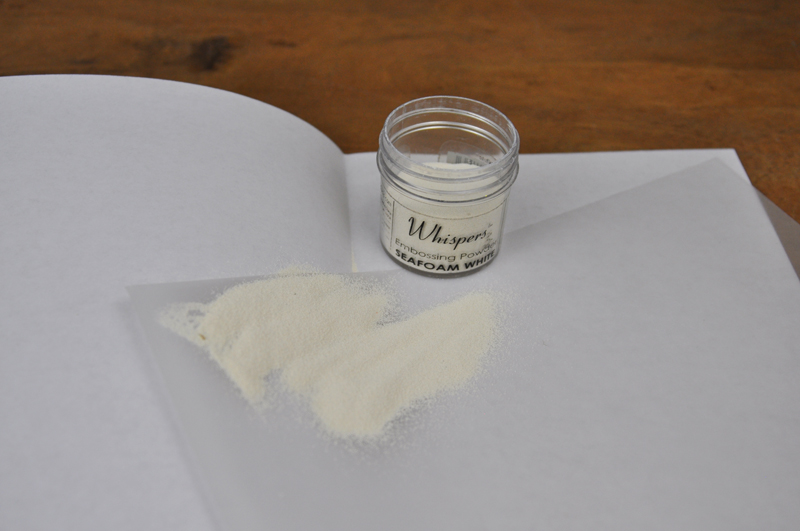
Step 2: Pour white embossing powder over the stamped images, being careful to coat them thoroughly.
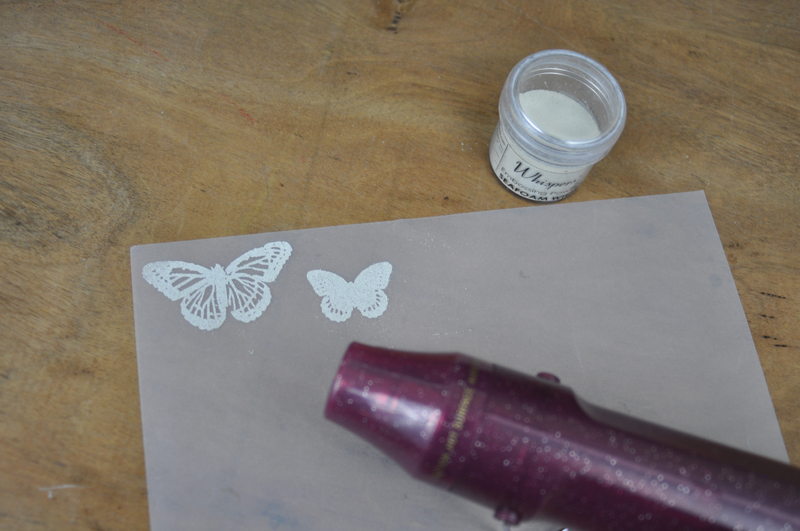
Step 3: Tap off the excess powder and set the powder with a heat gun. Vellum is prone to curl so hold the heat gun about 4″ away from the project. Heat from the back as well if the vellum does begin to curl. This will cause the image to uncurl.
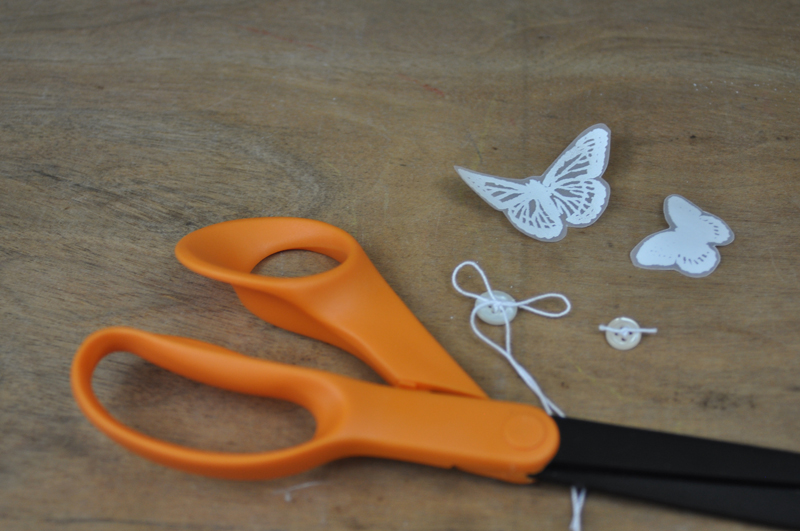
Step 4: When the images have cooled, cut out the butterflies with a pair of scissors.
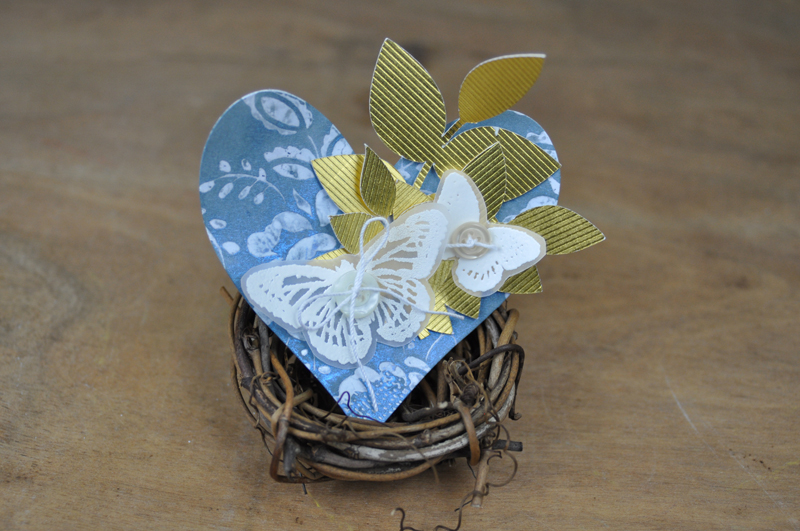
Step 5: Add a button tied with twine to each butterfly and mount on a die cut heart and gold leaf die cut shapes.
When the butterflies have been added, you can add this to a nest. Place the nest inside the cloche. Decorate the cloche to match your home décor style and colors. Here’s a look at the completed cloche. You can see how the vellum stamped butterflies add a soft touch to this beautiful project.

Be sure to join me next week for a special tutorial video!