
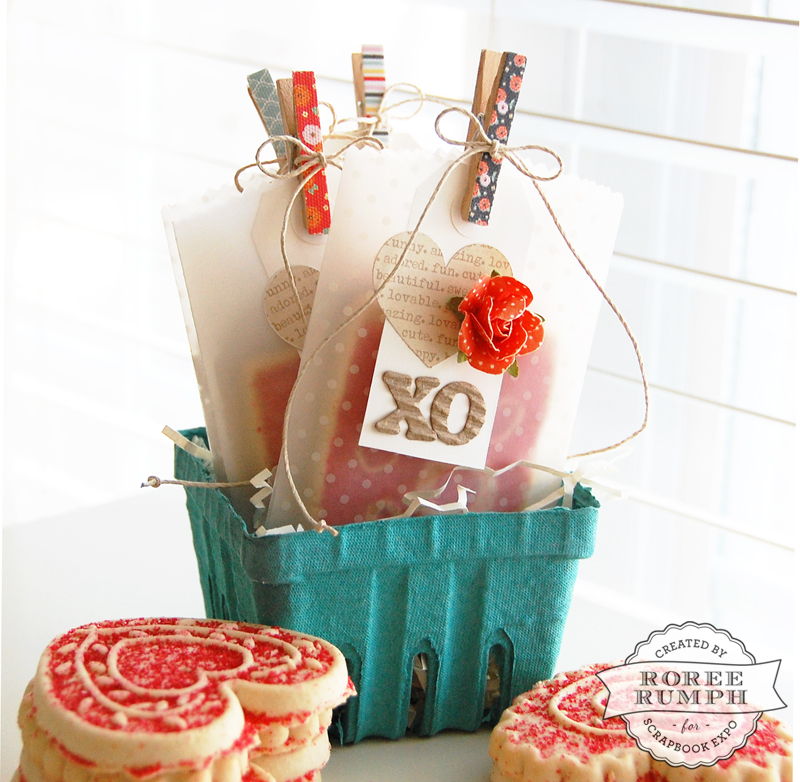
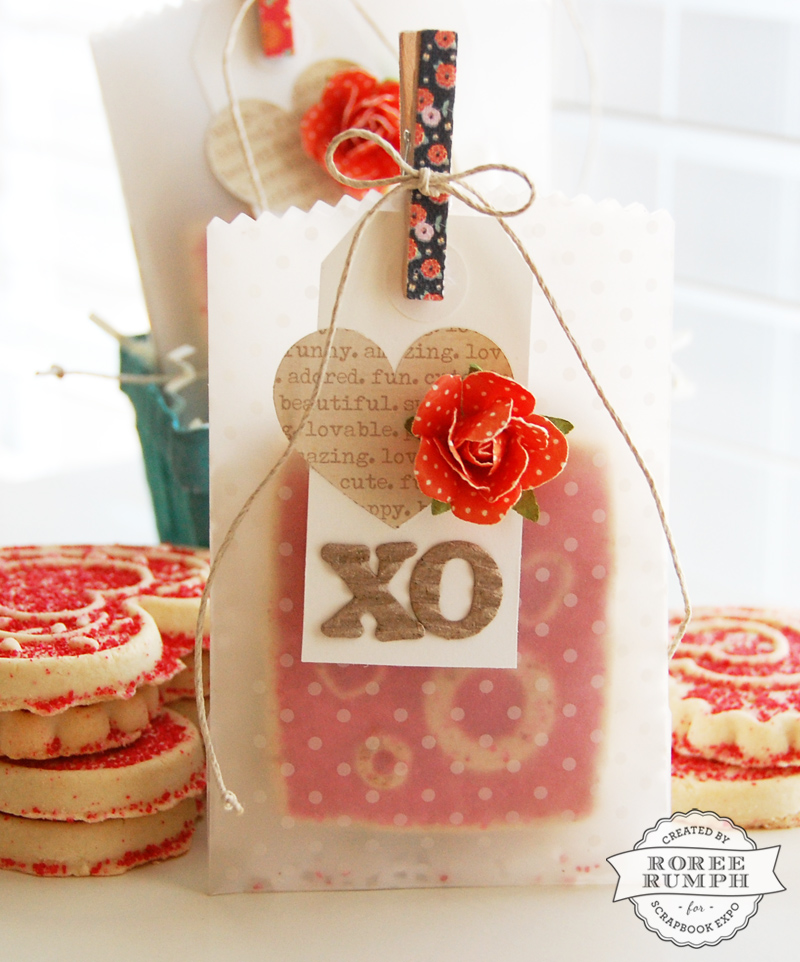
Happy Monday, everyone! Valentine’s Day is only a few days away, so I thought I would sneak in one more Valentine-themed project before this lovely holiday is over. While I was shopping at the grocery store this past week, I found some super cute Valentine cookies and thought they would be perfect for sharing. With that in mind, I decided to create some vellum treat bags to gift them.
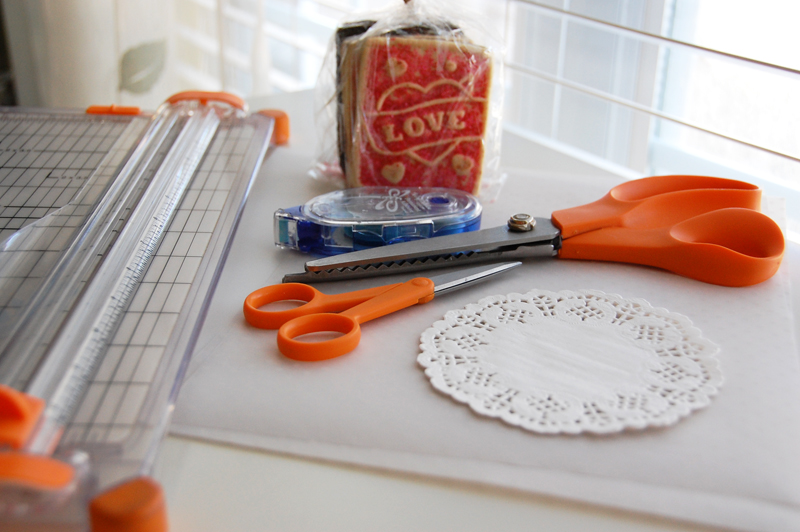
To re-create these vellum treat bags, you will need: vellum, paper doilies, a paper cutter with a scoring blade, scissors, decorative scissors, adhesive, and cookies.
First, you will need to decide on the dimensions of your bags. The cookies I was packaging were 3 x 2 1/2 x 1/2″, so I wanted to create a bag that was slightly bigger. I decided on a 5 1/4 x 3 1/2″ bag. Having the bag an 1″ wider made extra room for the thickness of the cookie.
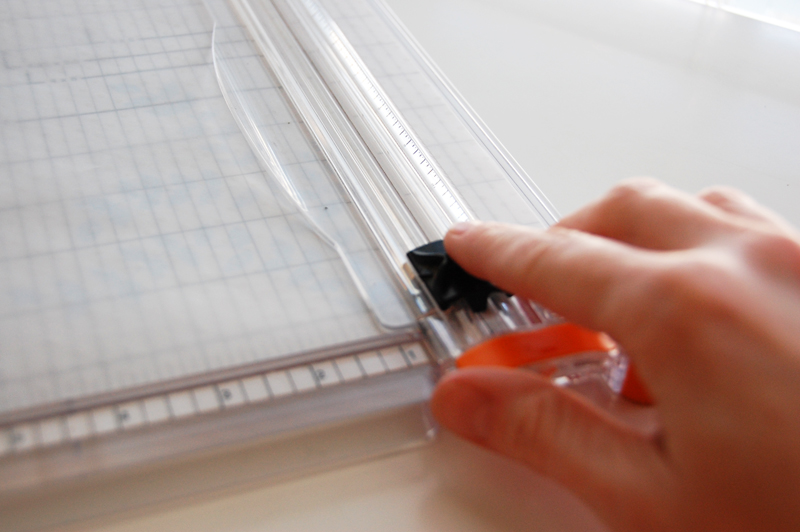
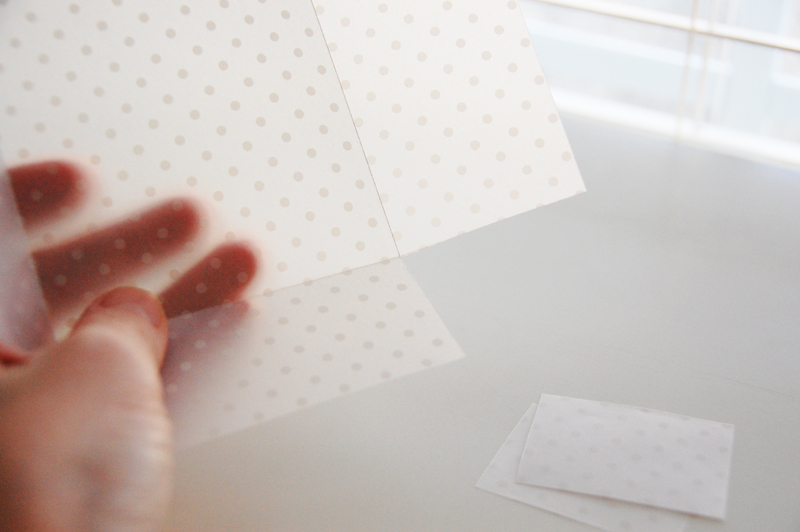
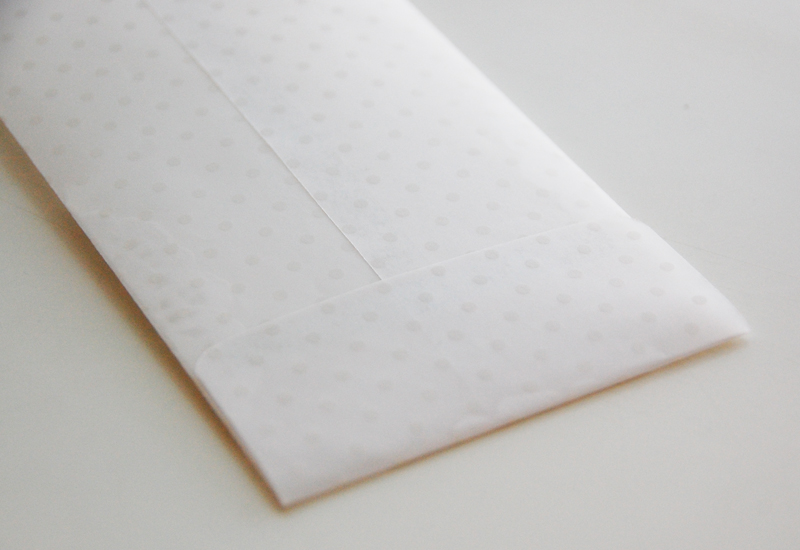
I cut my vellum paper to 7 1/2″ wide (3 1/2″ for the width of the center panel and 1 3/4″ + 1/4″ overlap for each side) and scored the vellum to create three panels and 1 1/2″ flap along the bottom.
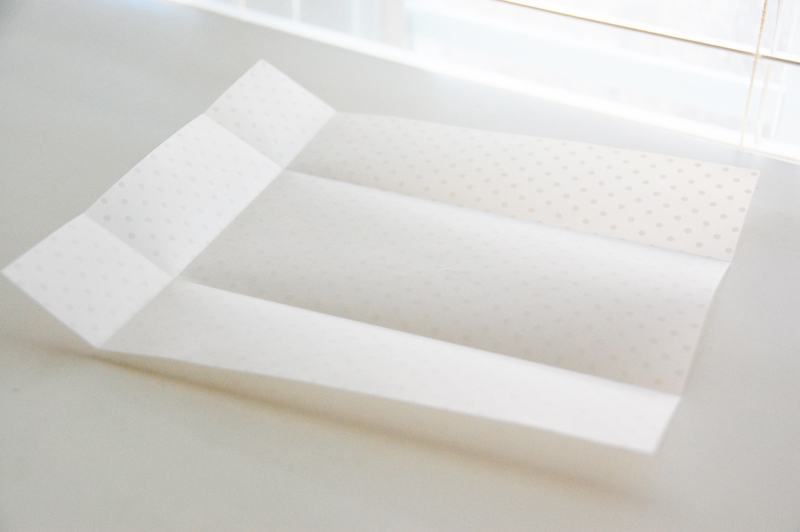
I cut off the bottom two corners to create the flap.
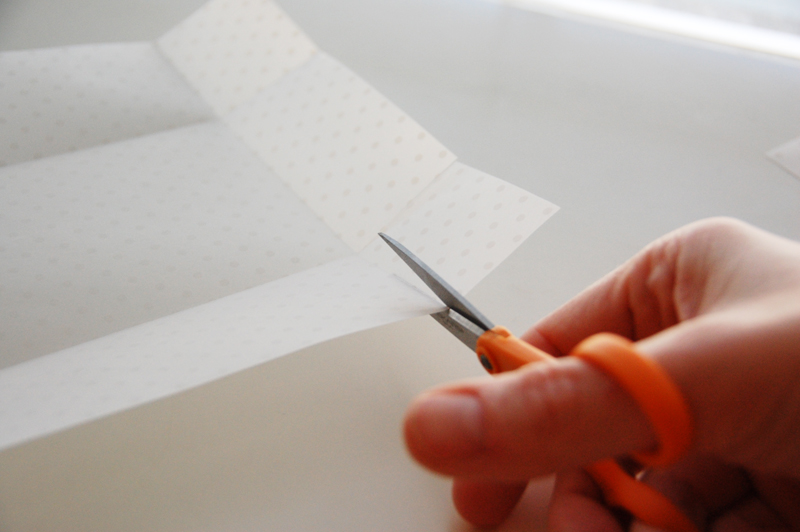
I then rounded the corners of the flap, just because I prefer the look.
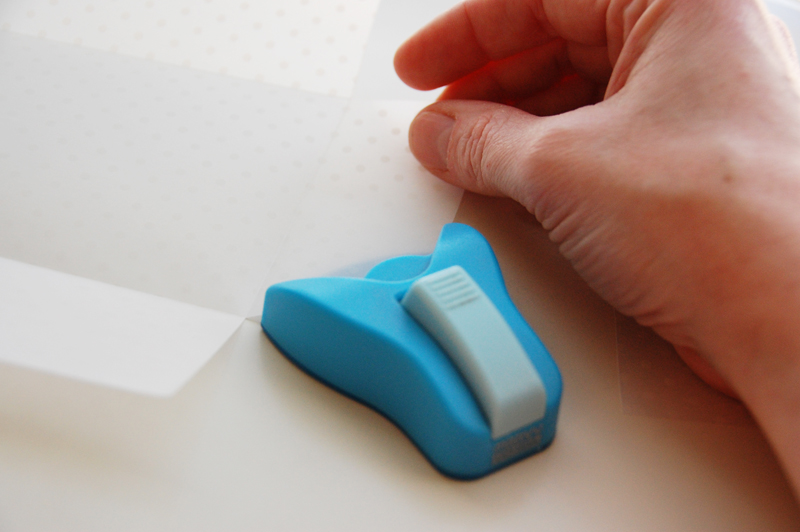
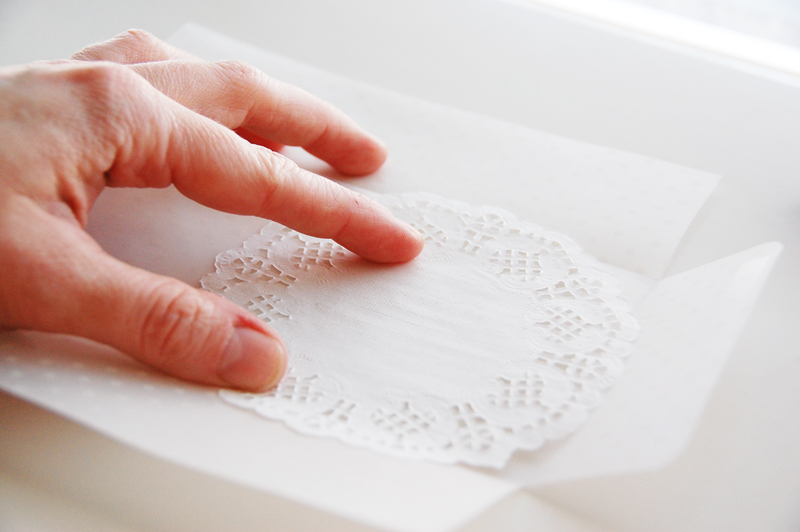
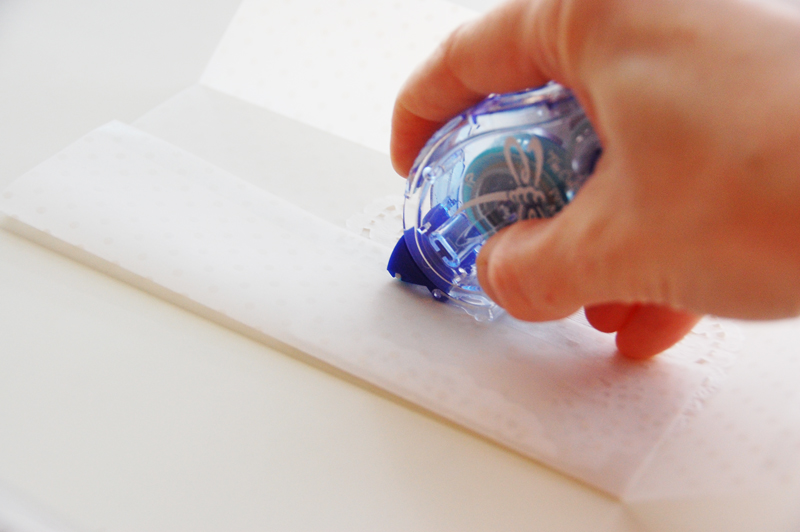
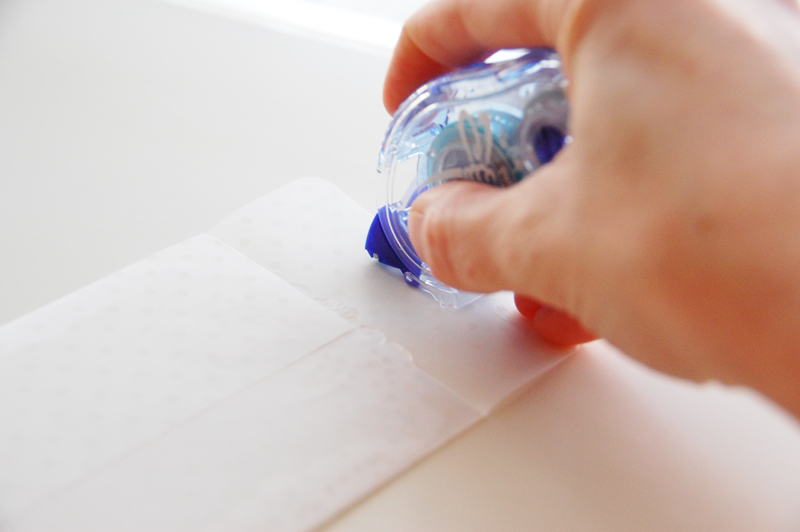
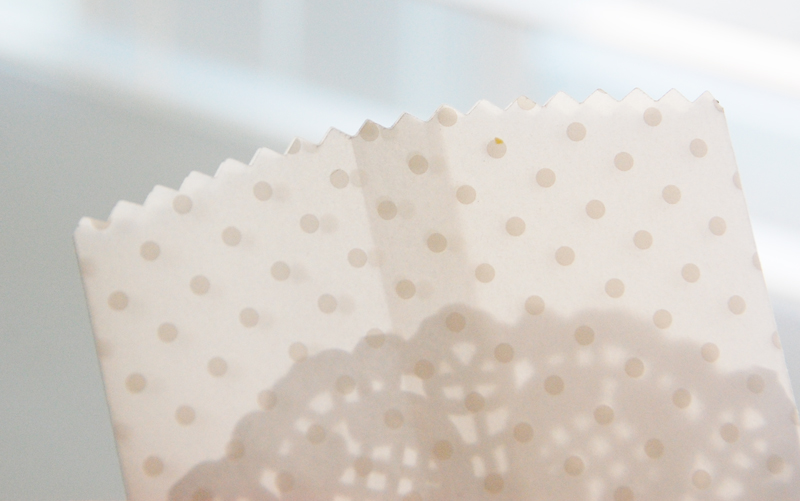
Because the paper doily was slightly larger than the dimensions of my bag, I inserted it before adhering the bag together.
To finish, I marked both sides of the open end of my bag 5″ from the bottom,
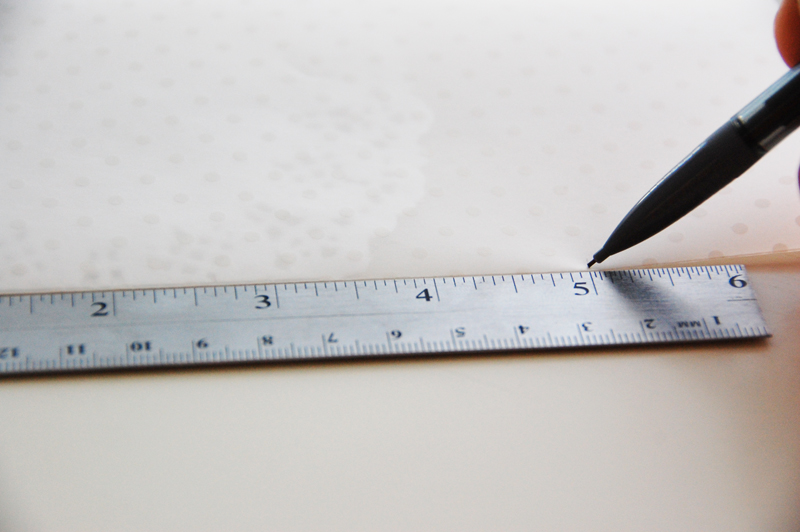
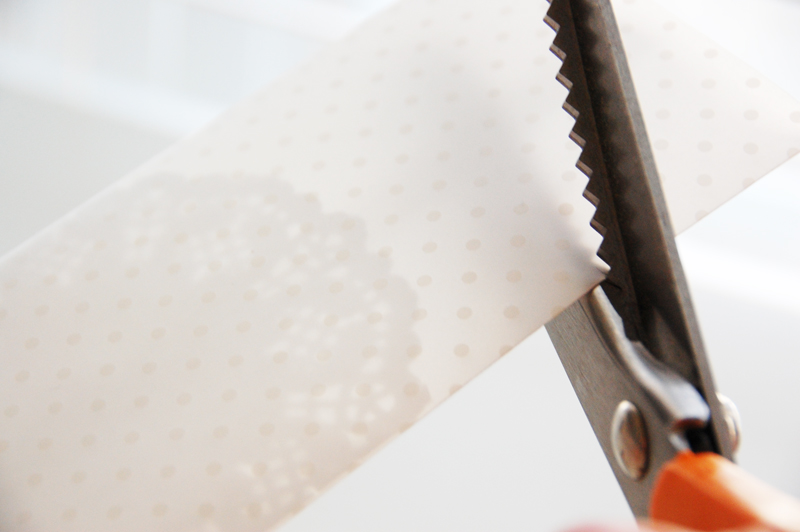
then rounded the top of the bag with pinking sheers.
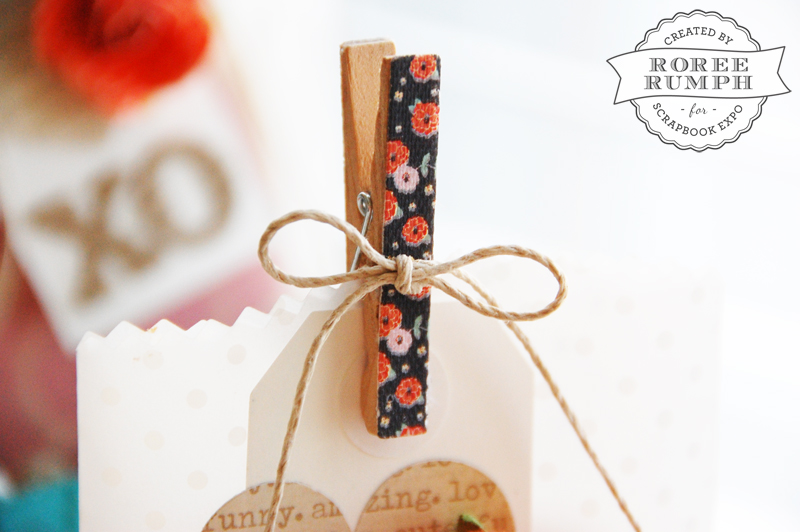
With that, all that was left was to add a cookie and close the end with a mini clothes pin and tag.


I hope you enjoyed today’s Make It! Monday project. Thanks so much for stopping by!