This is my kind of article! I like to really utilize my crafting supplies, so 10 ways to use those Embossing Folders is right up my alley!
By Christine Meyer from Practical Scrappers
My embossing folders and die cut machine are one of my most used tools. I love them and love the dimension and texture they add to a project! Today we have ten ideas for you on different things you can do with the folders besides just embossing. Several were brand new ideas to me, so I bet you will find some great inspiration!!!
1. Do Crayon Resist
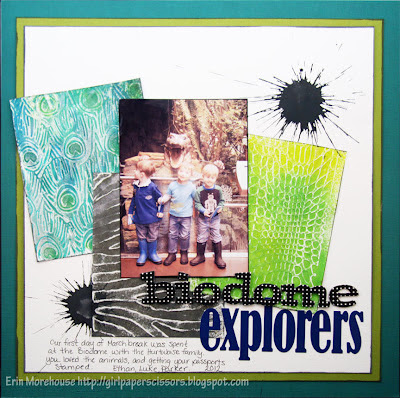
Use a white crayon like Practical Scrapper Erin ( or experiment with other colors) over your embossed paper while it is still in the folder, and then add spray ink or paint for a fun resist effect. ( see details on her blog)
2. Use it with stamped images
Practical Scrapper Brenda colored a digi stamped image, then cut it out and embossed portions of it, using a woodgrain embossing folder on the branch and a tiny dot embossing folder on the clouds.
3. Add texture to washi tape.
Practical Scrapper Cathy took her inspiration from side oats and scribbles to layer Washi Tape and emboss for amazing look and texture.
4. Ink the flat side of your embossing folder then run through embossing machine.
Practical Scrapper Kerri used her Studio g pigment ink (blue) and her VersaMagic red Dew Drop to first ink her embossing folder to create her flag. She also hand cut her stars then again inked her embossing folder bolder with blue and ran them through to create her star embellishments.
5. Use Acrylic Paint with your folder
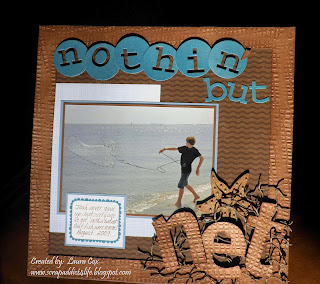
Practical Scrapper Donna brushed acrylic paint on the inside of the embossing folder, then inserted a piece of white cardstock and ran through the Cuttlebug. Note: Your embossing folder will clean up easily with warm soap and water.
6. Run thin chipboard thru your machine.
Fresh Face Designer Laura used an embossing folder to add dimension to
chipboard letters by running raw chipboard through the Cuttlebug and then
using ink and spray mist to add color and depth to the embossing. She
also used the same folder with a Quikutz squeeze tool to emboss
around the chipboard page “frame”.
7. Use different folders and solid cardstock to create an interesting background.
Practical Scrapper Jenny used 3 different embossing folders on 1 project. She used up some coordinating cardstock scraps to go with the selected manu collection.
8. Apply rub-ons using an empty folder as a layer in your “sandwich stack”.
Practical Scrapper Kerri used her Cuttlebug with the following “sandwich stack” ( From bottom up: Plate A, Plate B, Cardstock, rub-on, empty embossing folder, Plate B) to apply her American Crafts “HEAT WAVE” rub-on to some orange glitter cardstock. She also embossed her orange layer of cardstock to add some texture to her card.
9. Do Embedded Embossing
The technique can be found here with several examples.
1O. Double Emboss
Practical Scrapper Kerri first used a double embossing technique with her Cuttlebug embossing folder (Swiss Dots) and her Nestabilities (Label# 4) to create the double embossed look on the white cardstock. After that, she stamped her saying and images (Studio g stamps) with some yellow pigment ink (Studio g), covered it with clear embossing powder, and added heat with her heat gun to for the embossed look. To learn more about the double embossing technique she used with her Cuttlebug and Nestabilities check out her blog.


Love all your great ideas!!