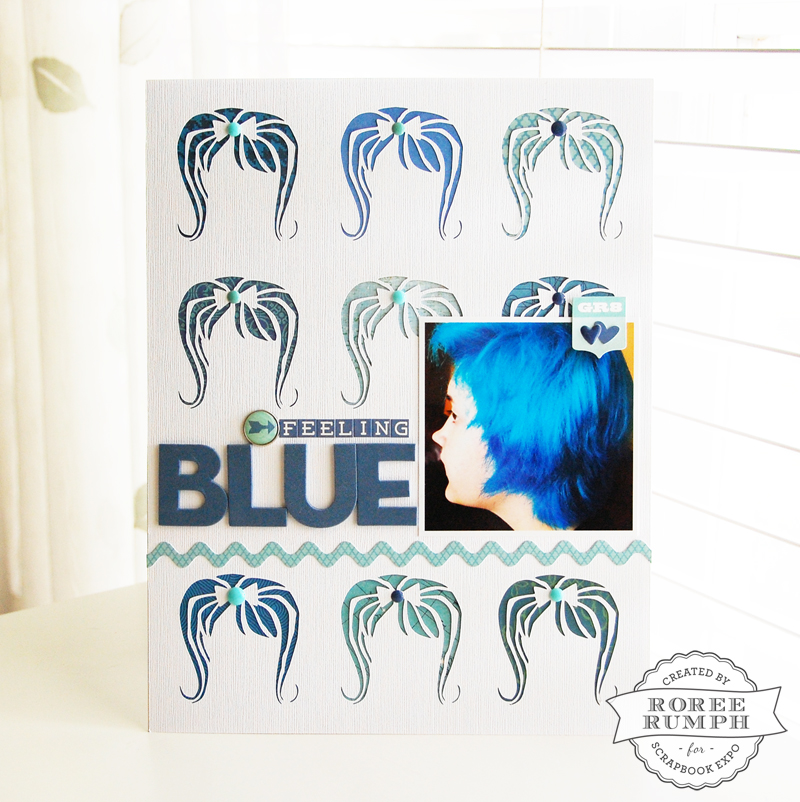
Hey, everyone! Roree here with another Make It! Monday project. Today I am sharing a layout about my daughter and I will show you how I created it.
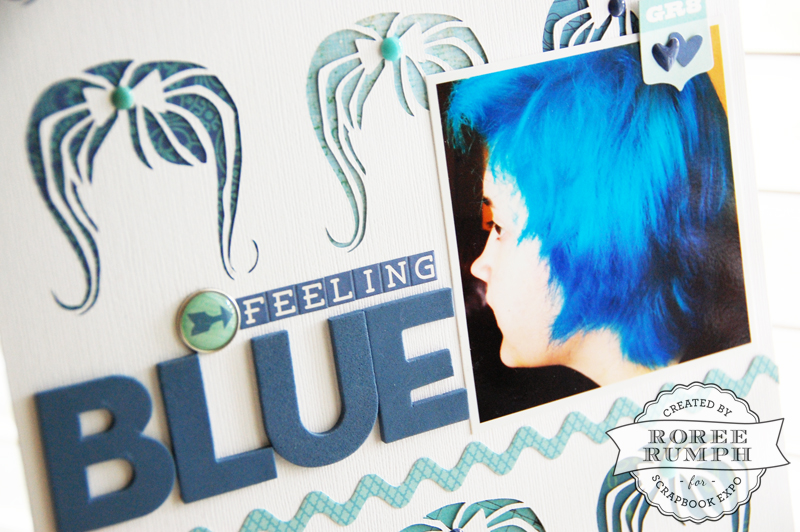
A little back story first: For the past two years, my daughter has wanted to color her hair. So each summer I have let her color it, any color of her choosing. The only rule being that the color only lasts for the summer and then it must be changed back before school starts. This summer she decided she wanted to die her hair blue. It turned out VERY blue! So I decided to create a layout documenting this VERY blue hair.
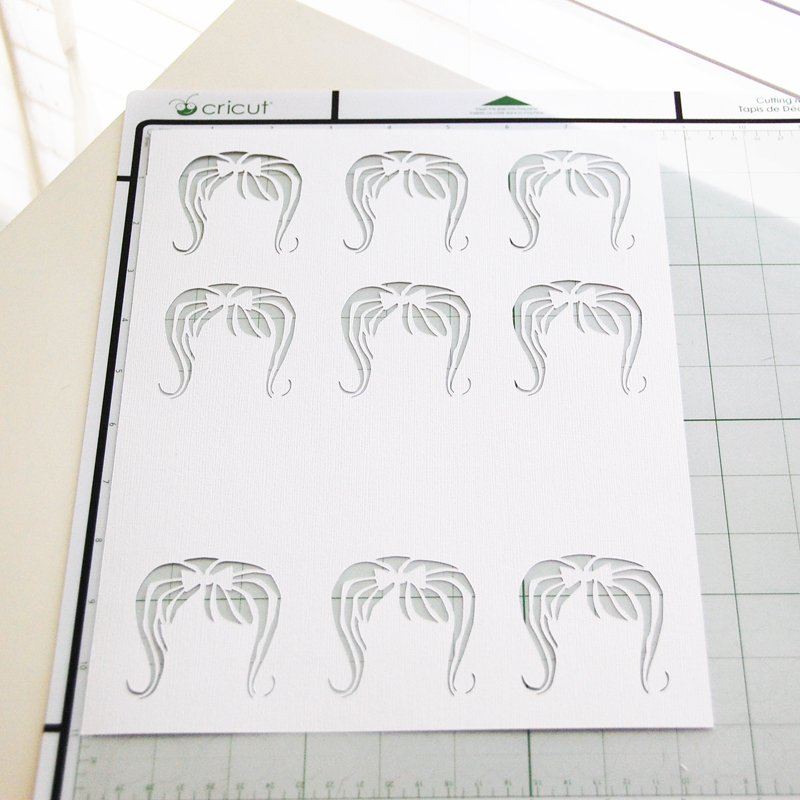
To create this layout, I chose an image in Cricut Design Space® on the Photo Booth Props digital cartridge. I ungrouped the outline image, selected the Hide Contour feature, and hid the outer line around the image. I then copied the image eight more times, lined the images up to fit on a 8 1/2 x 11″ layout, and attached the images together so they would cut in the order that I placed them. I then attached that image to a 8 1/2 x 11″ rectangle shape from the Basic Shapes digital cartridge and cut out my design. I was left with the negatives of the die cut shapes when I removed the cardstock panel.
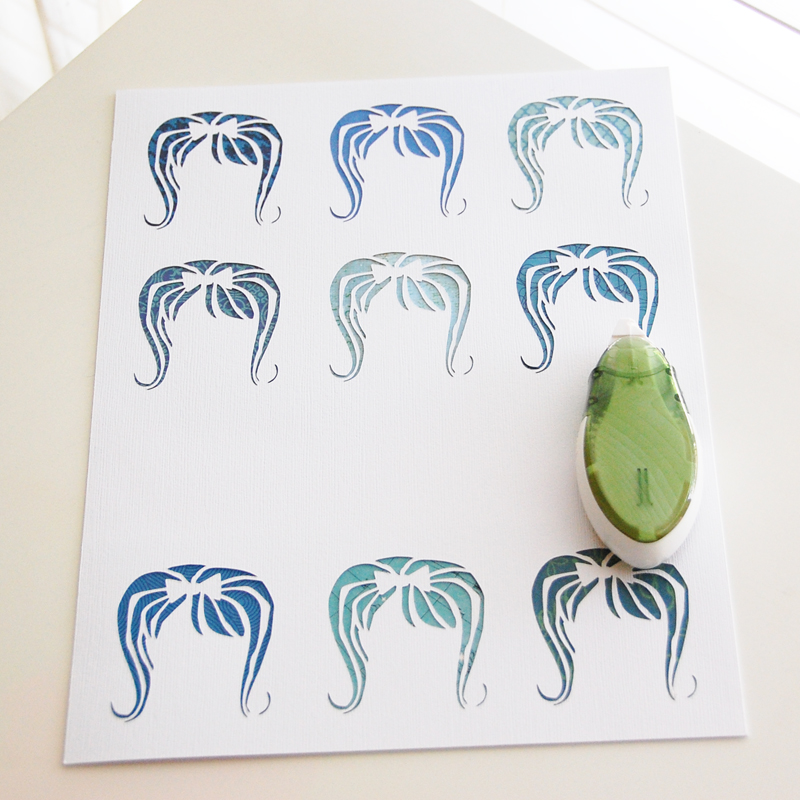
On another 8 1/2 x 11″ cardstock panel, I arranged and adhered nine different blue patterned paper squares along the top and the bottom of the panel.

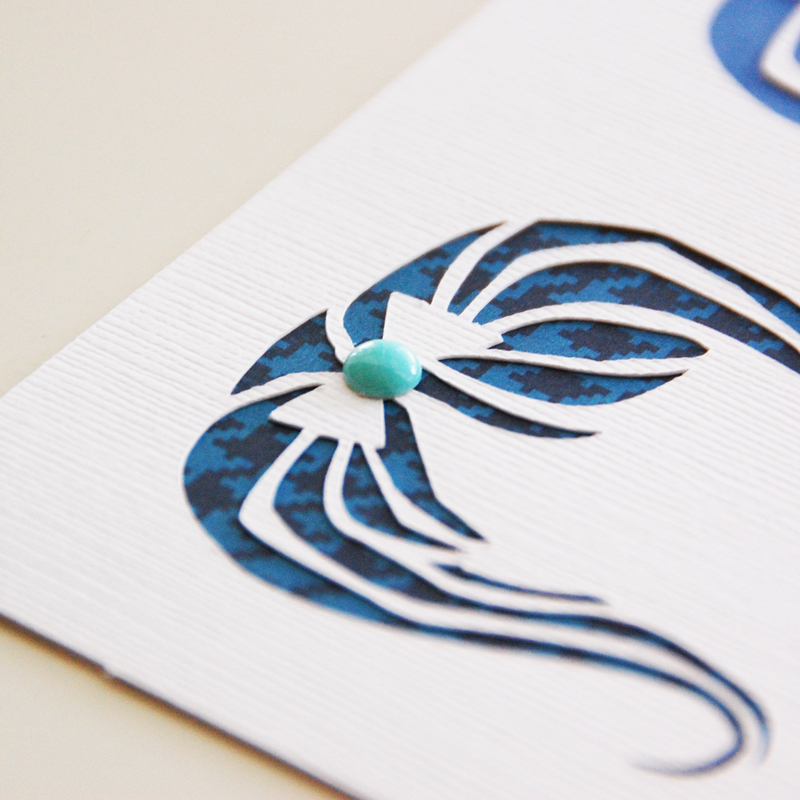
I then adhered the die cut panel over the second panel, showing the blue patterns through the negatives of the die cut shapes.
In the space I left between the cuts, I added letter stickers for the title, a border sticker, and a photo of my daughter.

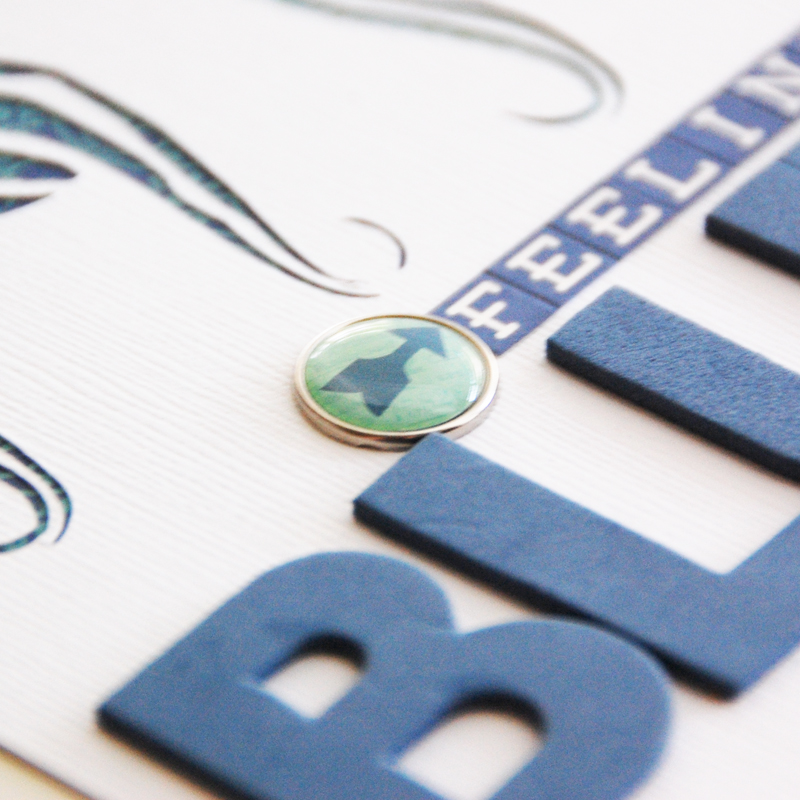
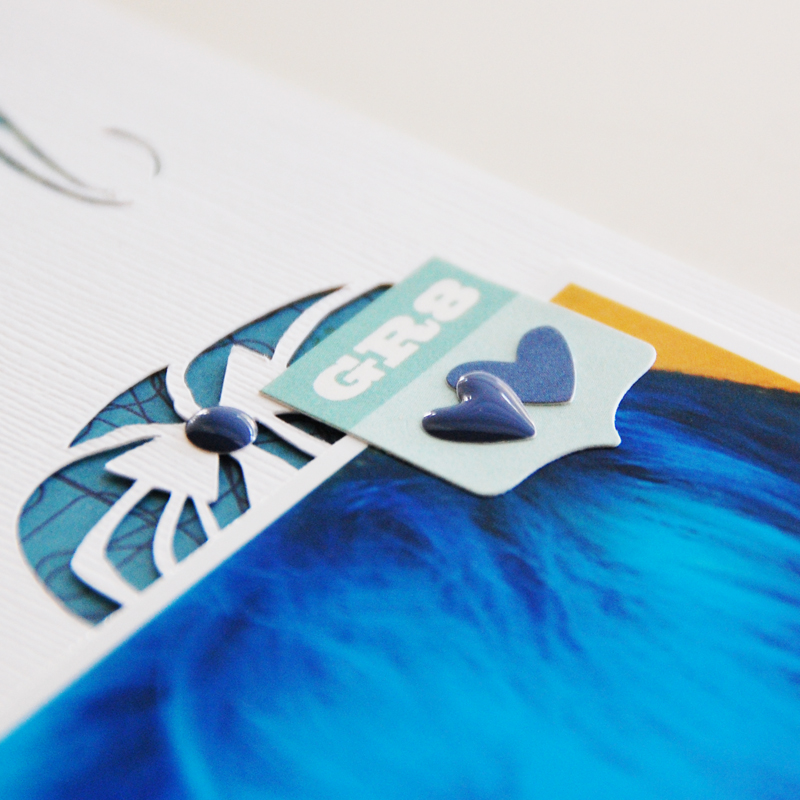
I then started adding embellishments: a brad for the title, epoxy dots to the bows in the negative die cuts, and a label sticker with a heart sticker and epoxy heart sticker at the top corner of my photo.
I am so happy with the result and now I will never forget my daughter’s blue hair from this summer.
I hope you enjoyed today’s Make It! Monday project. Thanks so much for stopping by!
Adorable!
The first time I got cancer I was 13 years old and when I found out I was going to lose my hair I asked for permission to dye it. M&D said yes so Blue Hair it was! It made losing it a little easier because I had fun with it. The next time I got cancer I dyed it purple! I have had cancer 4 times and dye my hair each time. If I never dye my hair again I would be very happy!
Your daughter is lucky that you gave her permission to experiment!!