
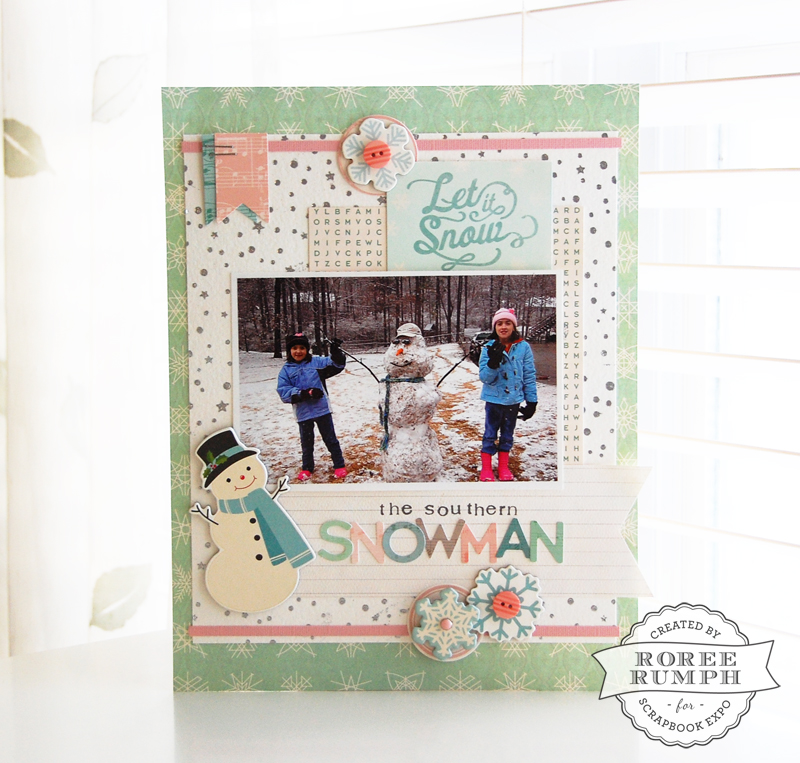
Hey, everyone! Roree here with another Make It! Monday project. Today I am sharing a layout I created with a heat-embossed background.
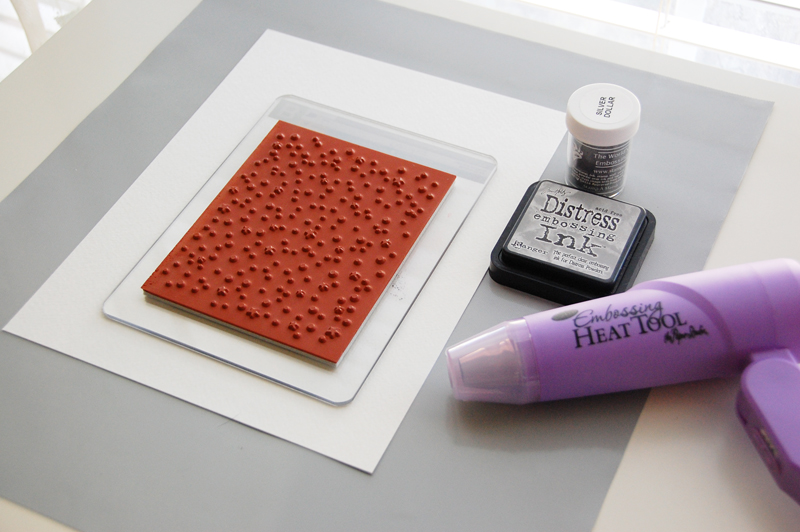
I started with some white cardstock, October Afternoon’s “First Snow” background stamp, Tim Holtz Distress embossing ink, Stamp A Mania’s Silver Dollar embossing powder, and a heat tool.
I stamped the image over the entire sheet of cardstock.
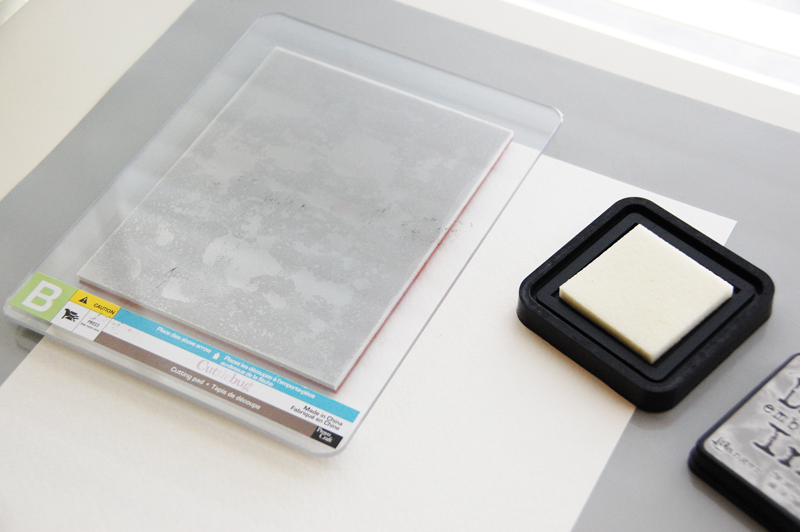
Tip: If you don’t have an acrylic block for a large background stamp, the cutting mat for the Cricut Cuttlebug works perfectly.
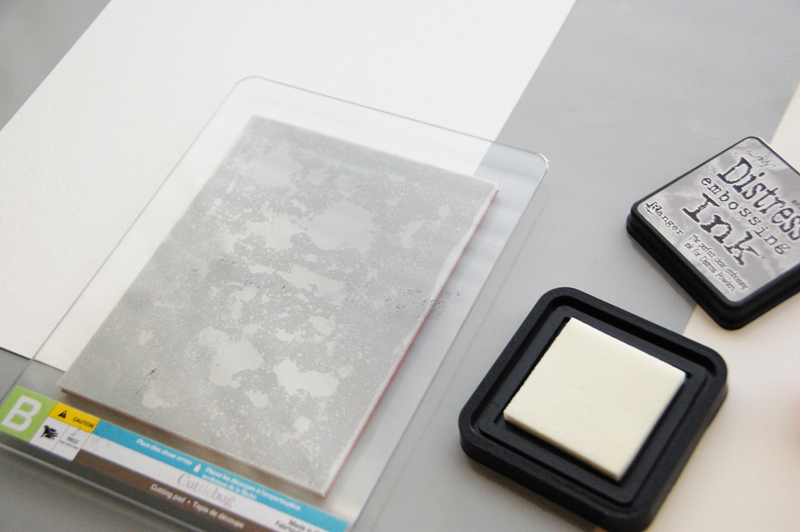
I covered the stamped images with silver embossing powder.
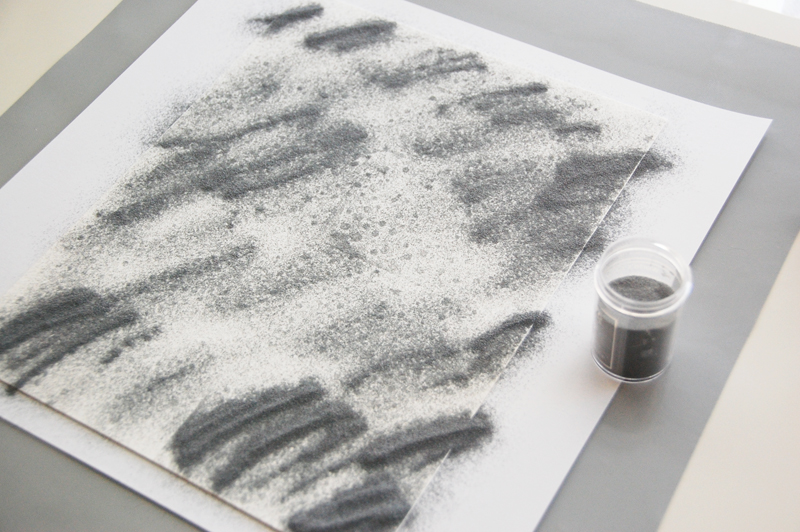
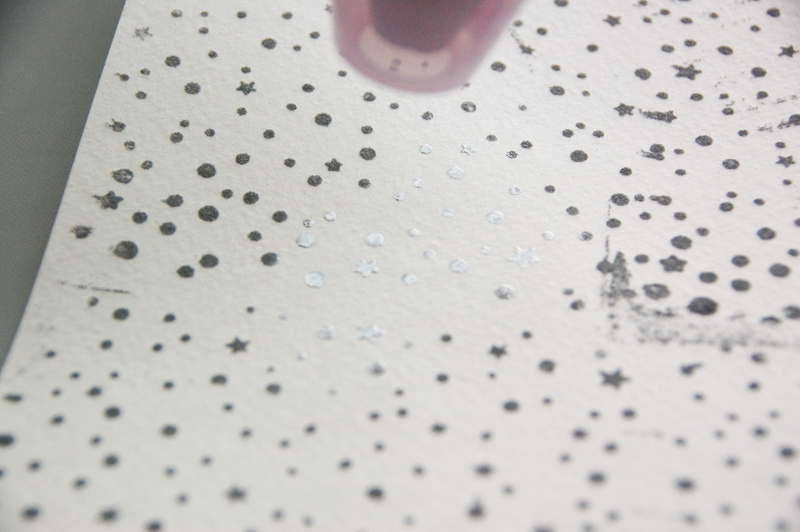
I shook off the embossing power (putting the excess back in the container) and heated the powdered images with a heat tool.
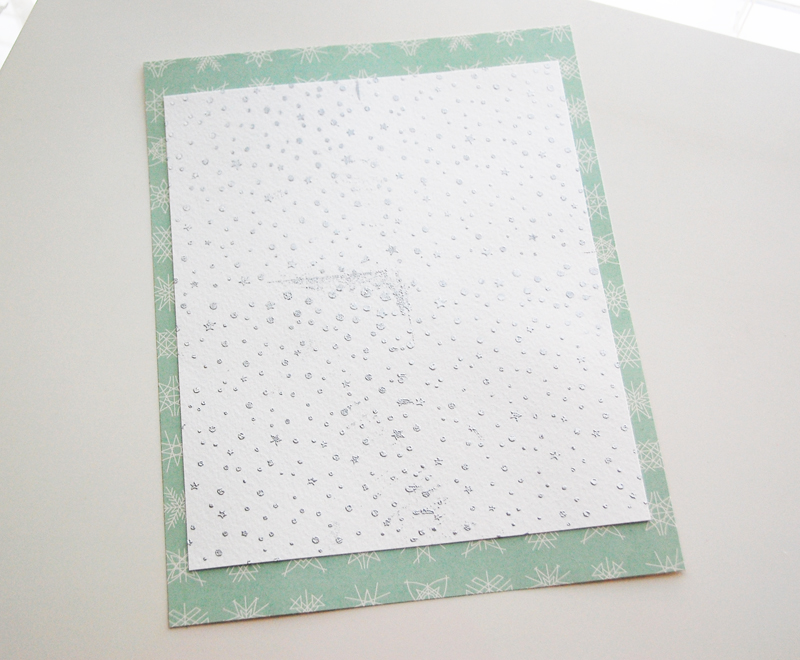
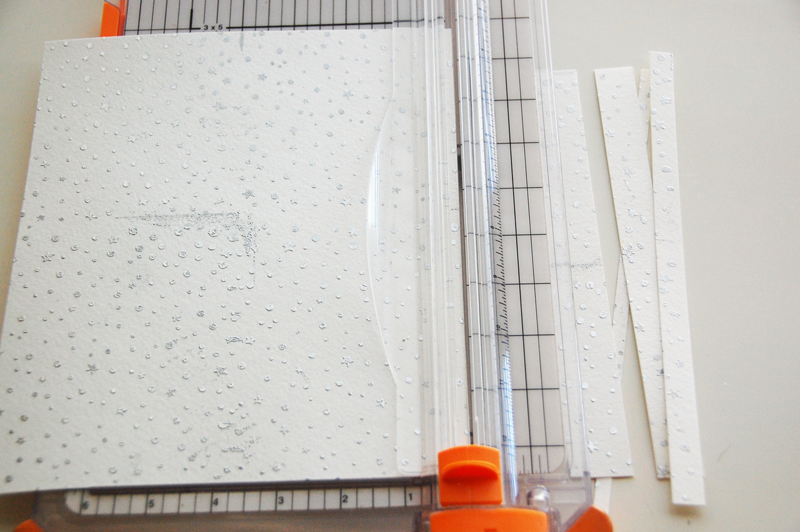
I trimmed the embossed cardstock and adhered it to my 8 1/2 x 11″ layout base.
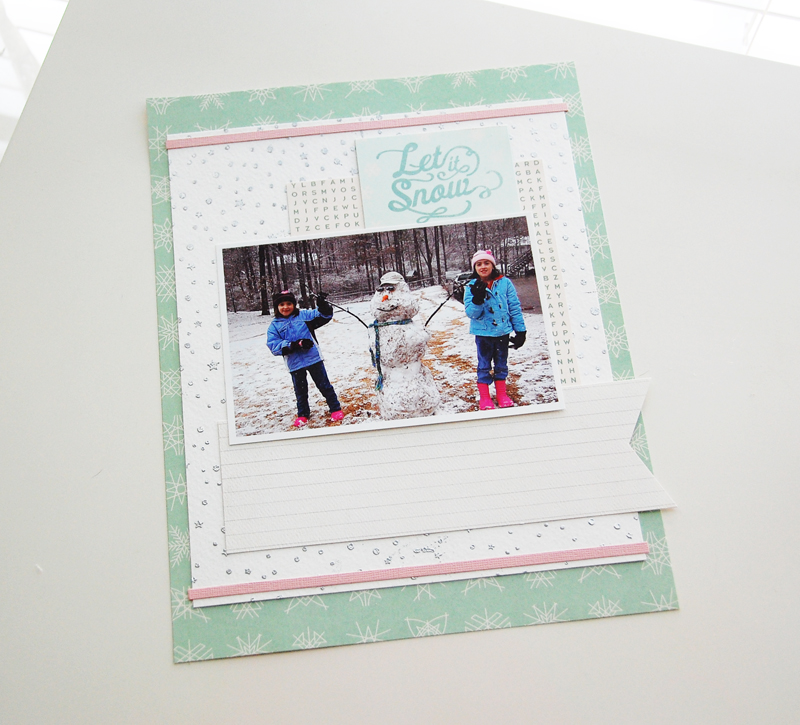
I added a square patterned paper panel, a journaling card, a lined patterned paper banner, and two pink cardstock strips over the embossed panel before adding my photo.
I created a title with stamps and letter stickers and accented the layout with label stickers, a chipboard snowman and snowflakes, a brad, buttons, and a couple of stapled banner die cuts.
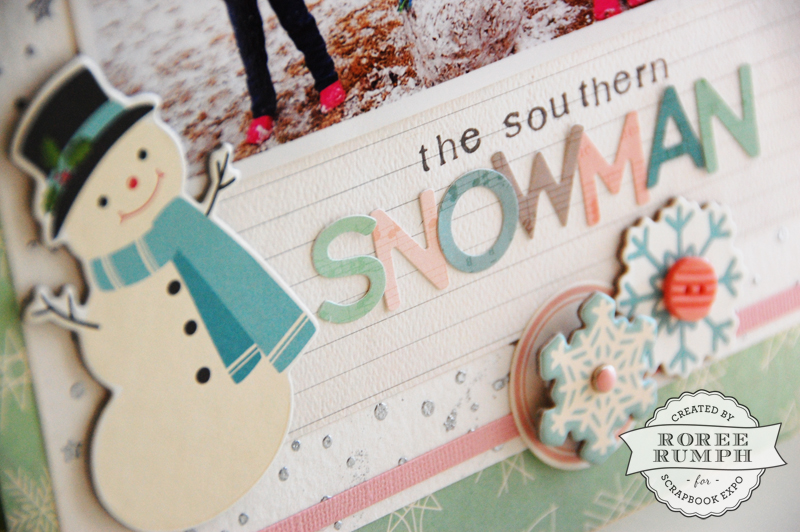
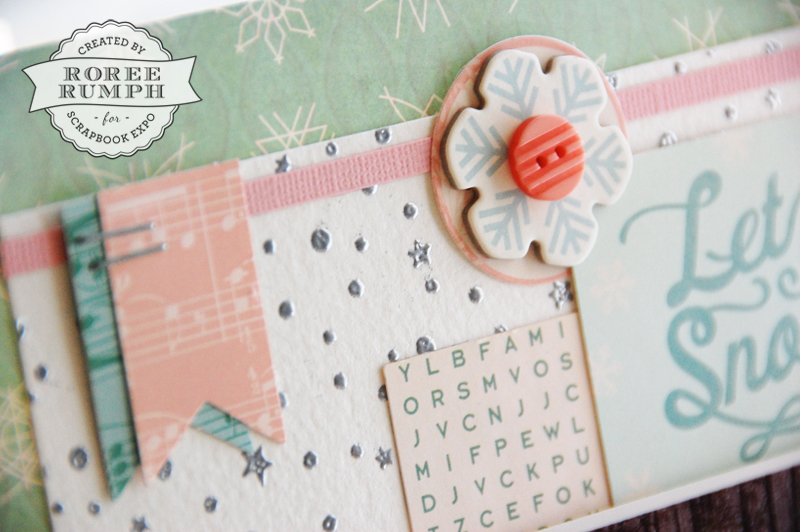

Heat embossing is a pretty easy technique that quickly added texture and dimension, along with a little bit of sparkle, to my fun, winter-themed layout.
I hope you enjoyed today’s Make It! Monday project. Thanks so much for stopping by!



Great idea! I heat emboss my cards all the time, but have not crossed over to scrapbooking. Warming up that heat gun now.