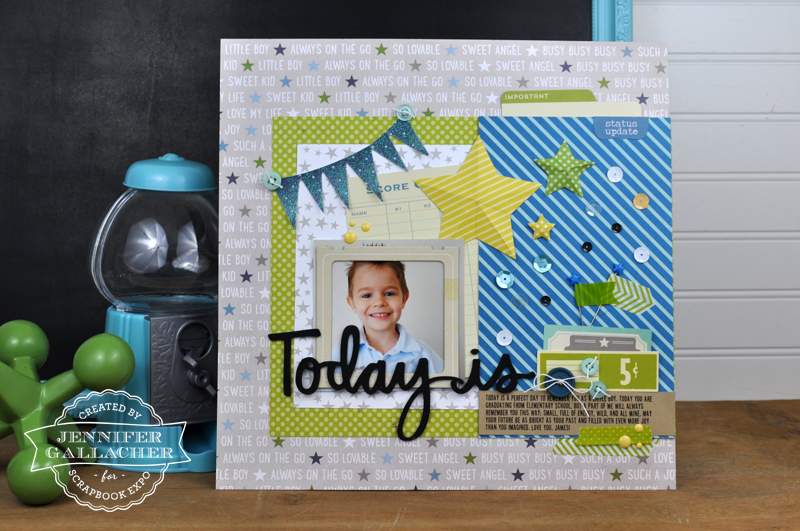
 Welcome back to this week’s Inspiration Station project tutorial. This week I’m sharing a start-to-finish video on how to create dimensional stars for your layouts. Here’s a look at the layout we’ll be creating:
You can watch the video HERE on our Youtube channel or below:
Follow the instructions below to create the stars.
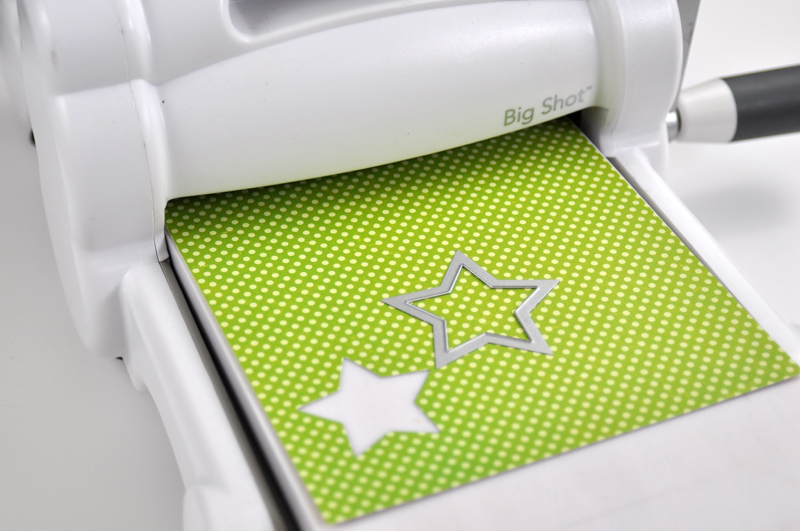
Step 1: To create the stars, first die cut (or punch out) several stars from patterned paper.
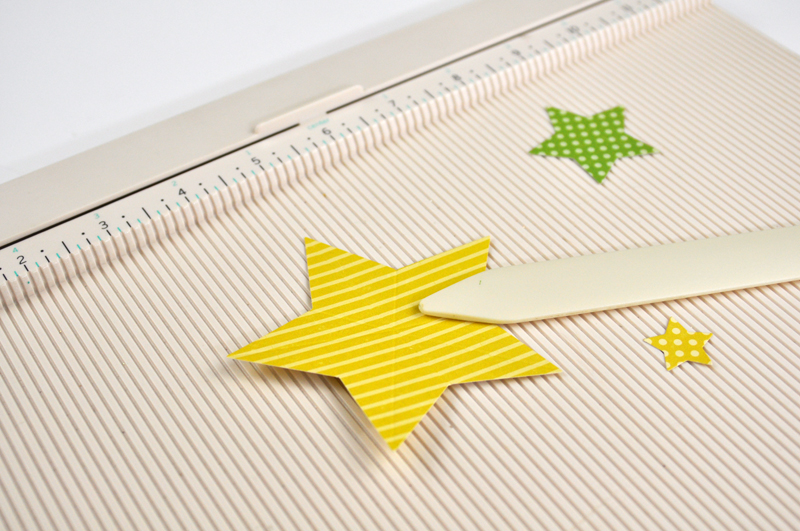
Step 2: Use a scoring board and a scoring tool to create lines that run from the top of a point on the star to the other side of the star. Repeat this step for each point of the star.
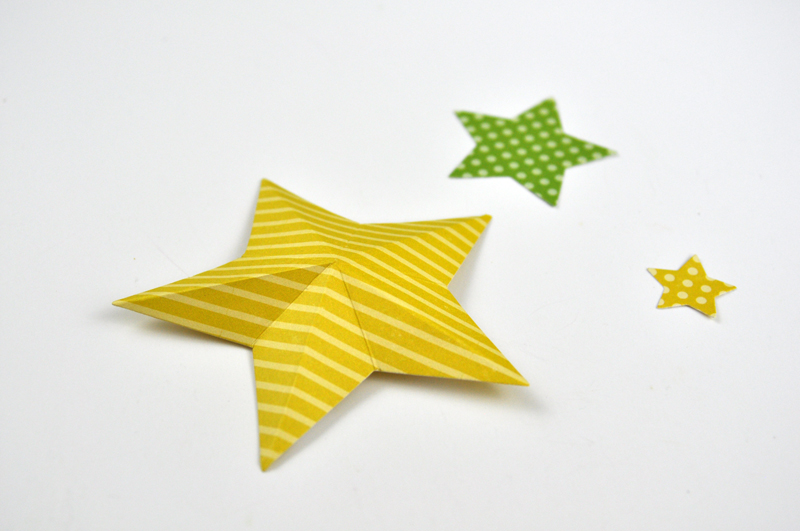
Step 3: Fold along these scoring lines.
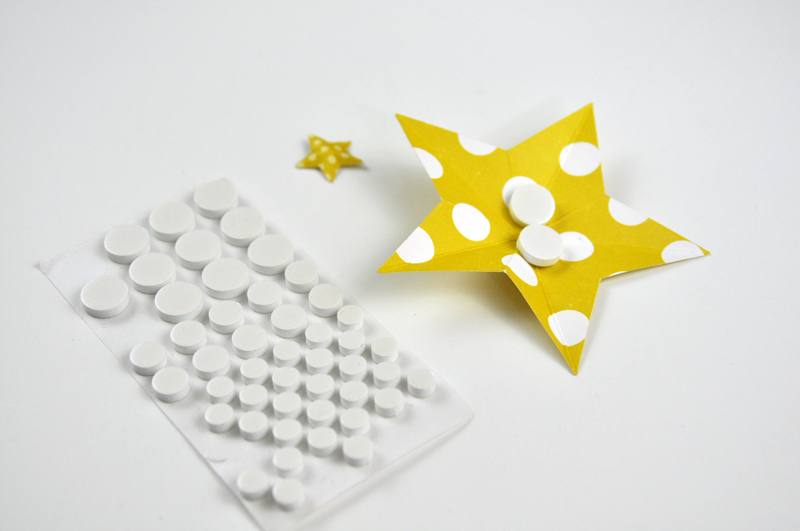
Step 4: Attach the star to your layout with adhesive foam dots as this will help them hold their shapes.
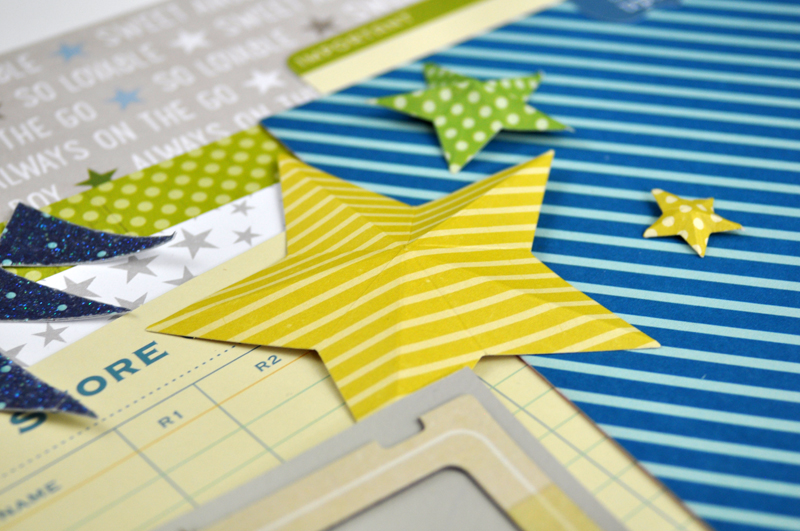
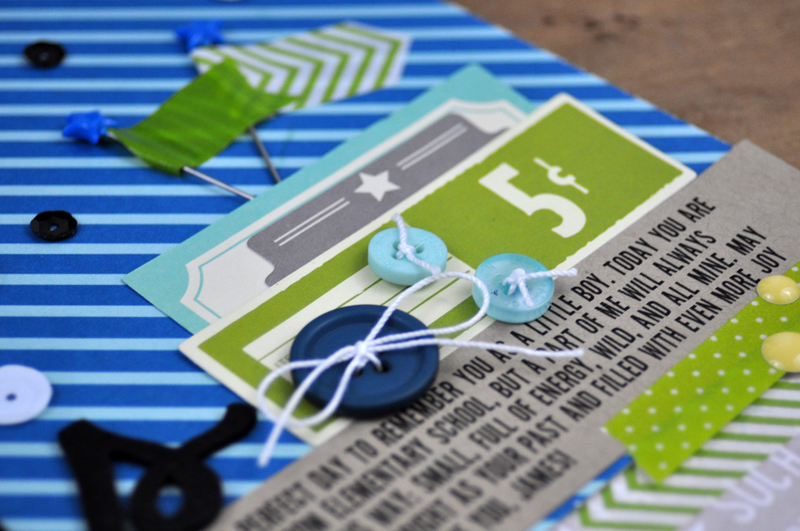
Here are a few close up photos of the layout (including one of the dimensional stars):
Join me next week, as I share an entirely new project that I hope will inspire you! You can find additional projects by searching for “Inspiration Station” in the search box on our blog sidebar.


Great LO!!!
You can also die cut colored aluminum tooling foil and make these “barn stars” – they make great ornaments for the Christmas tree. I once made almost a hundred to attach to the small sacks of hot drink mix I give out to relatives and others every year.
I enjoy the weekly posts that give me not only visual inspiration, but also links to additional sites when inspiration has fled.