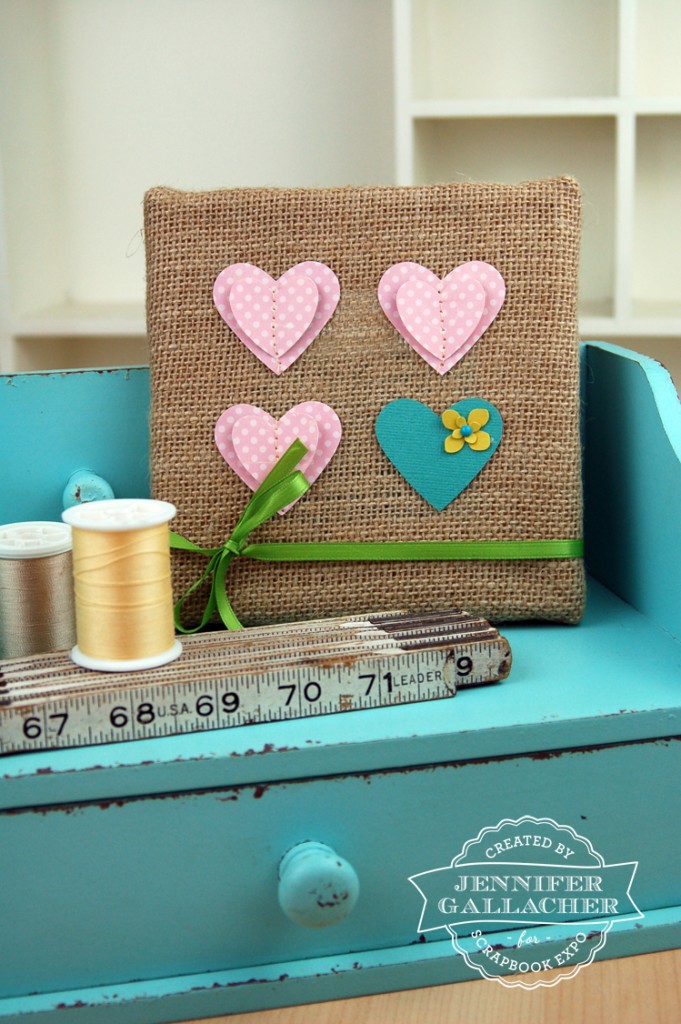
Welcome back to another “Inspiration Station” tutorial in which I share a few tips and tricks for creating layouts, cards, and altered art. Today I wanted to create something beautiful for my home. I found a charming 6″ x 6″ burlap frame at my local craft store and knew that a little bit of paper, ribbon, and embellishments could turn it into something really special. Here’s what we’re creating today:
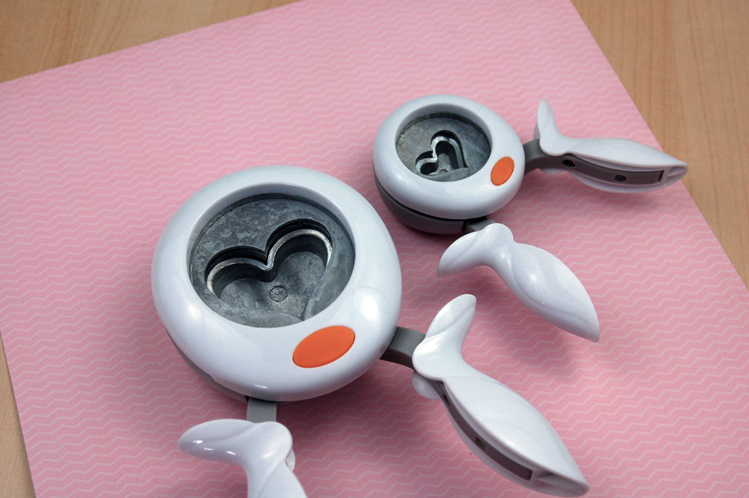
Everything on this frame is glued directly onto the burlap. Because this frame can hang on the wall as is, I wanted to add some dimension to the project because it would not be flattened by glass. To do this, I created stitched paper hearts. To create these stitched hearts, you will need two sizes of the same punch shape (I chose a heart) and some patterned paper:
To create the stitched hearts follow the steps below.
Step 1: Punch both sizes of hearts from the patterned paper.
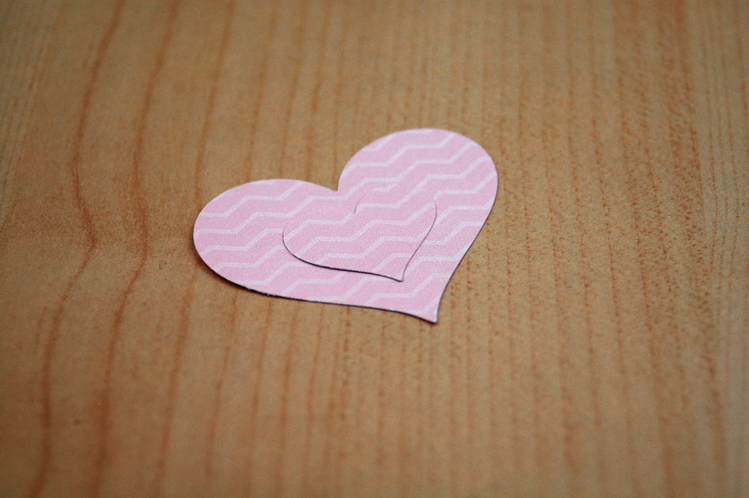
Step 2: Layer the hearts on top of one another but do NOT adhere them together.
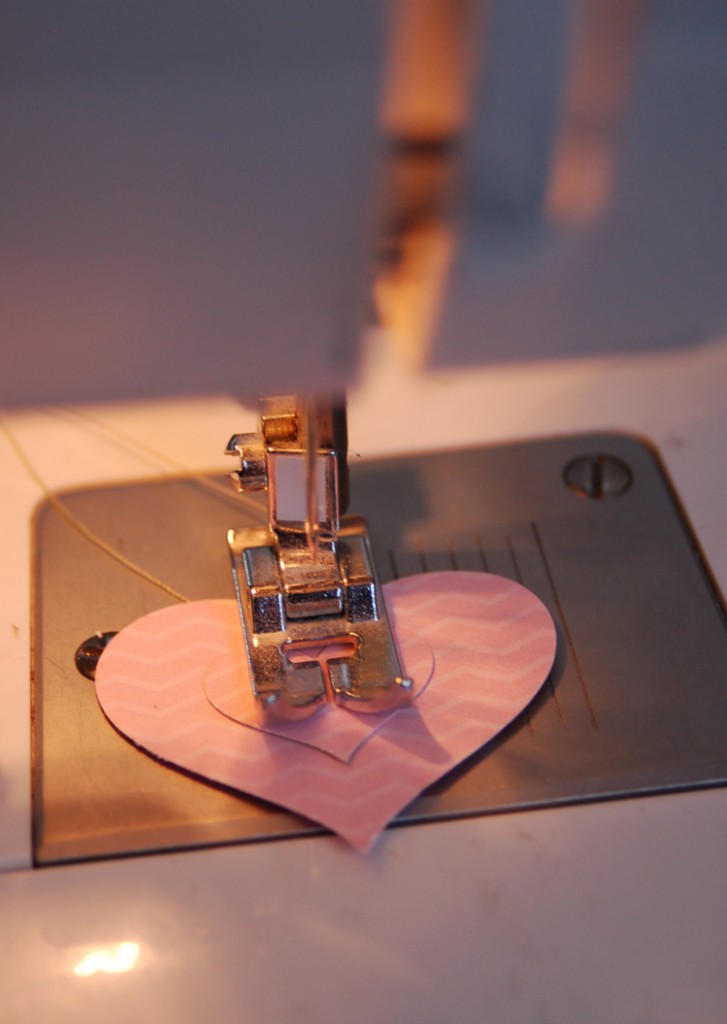
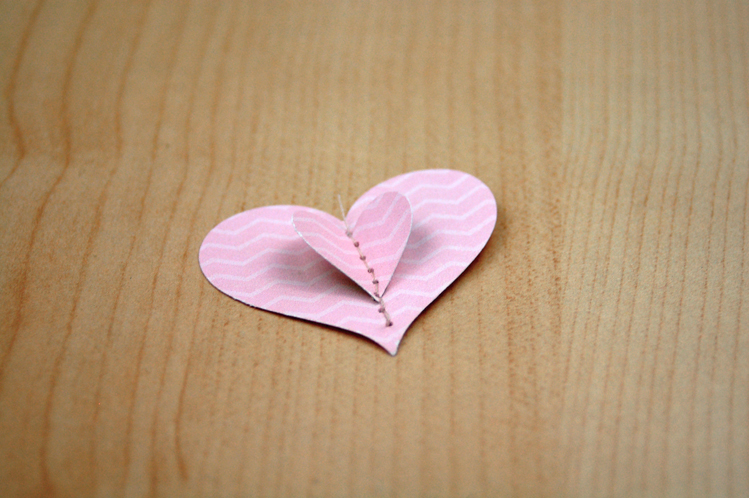
Step 3: Holding onto the hearts as you guide them through your sewing machine, machine stitch through both layers of your punched hearts. (If you prefer to create this project without using a sewing machine simply staple the layered shapes vertically to hold them together).
Step 4: Trim off the excess pieces of thread and then fold up the top heart layer before mounting it onto the frame.
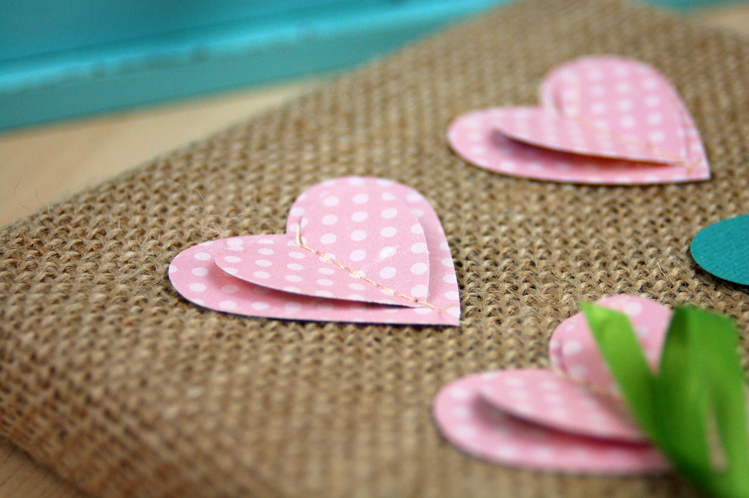
Here’s a look at how the hearts look when mounted on the frame.
You use these same steps to layer as many shapes on top of one another as you like. You can even layer similar sizes of any shape you like. This technique works best when using symmetrical shapes that look the same on each side when folded in half vertically. These stitched shapes can also be placed on layouts and cards.
Like this project? Be sure to check out last week’s “Tissue Paper Heart” card (sensing a heart theme here?) on this blog post HERE. And look for a tutorial video next week on our Scrapbook Expo Youtube channel with additional information and instructions posted here on our blog. Be sure to subscribe to our channel so you are notified of when we upload a new video.





So pretty!
Thanks so much, Sheila!