
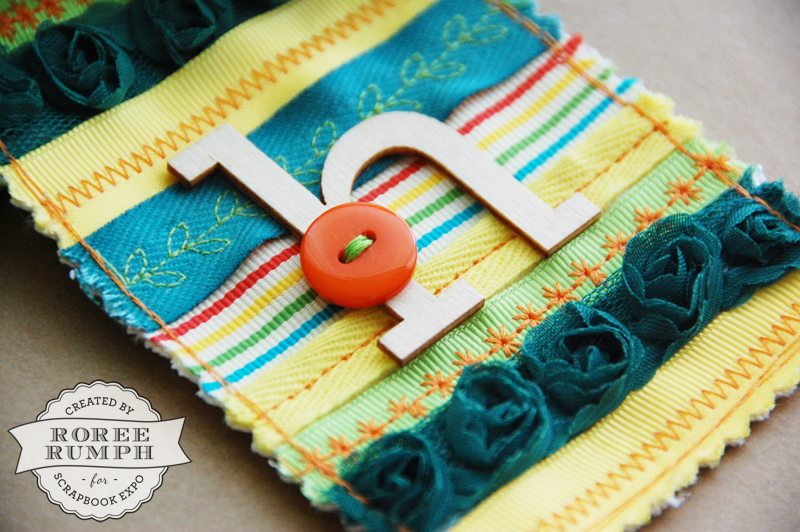
Hey, everyone! Roree here with another Make It! Monday project. Today I am going to show you how to create a fun and colorful fabric tag.
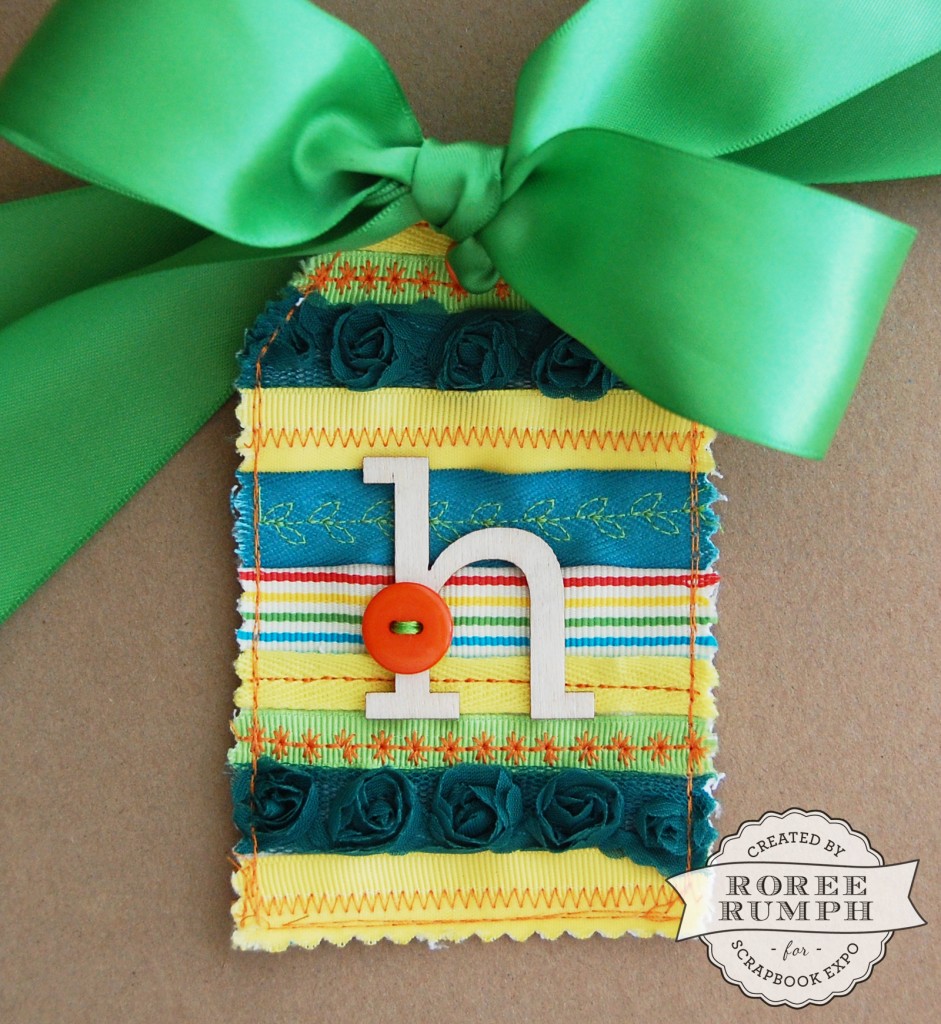
I have tons and tons of ribbon stashed around my craft room. So much so, I am embarrassed to tell you just how much. (It is one of the embellishments I tend to hoard.) So I am always looking for ways to use it in my projects and thought it would be perfect for a tag.
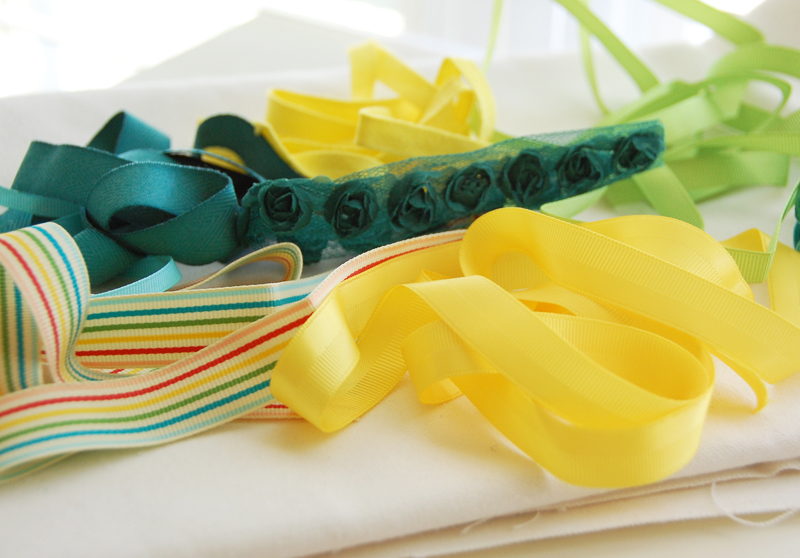
To start, I gathered several lengths of ribbon that I thought would work well together, along with some lightweight canvas fabric.
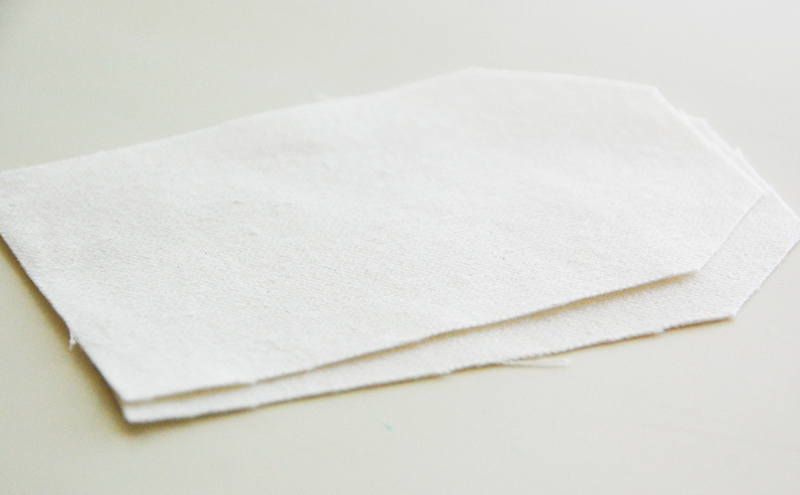
I cut out two tag shapes from the canvas fabric.
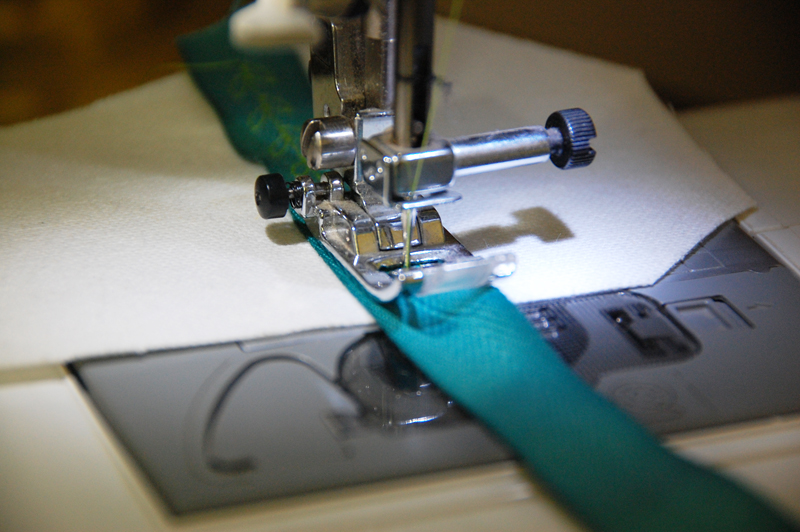
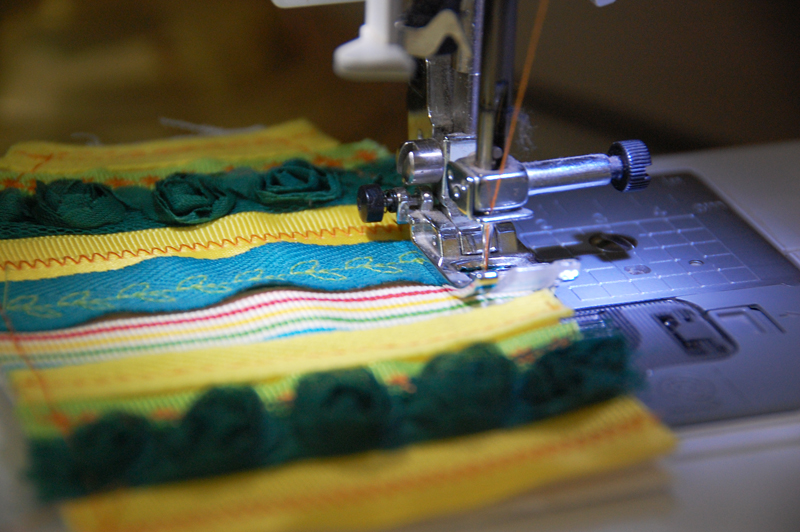
I then began stitching the ribbon to one of the canvas tags using my sewing machine and some green and orange thread.
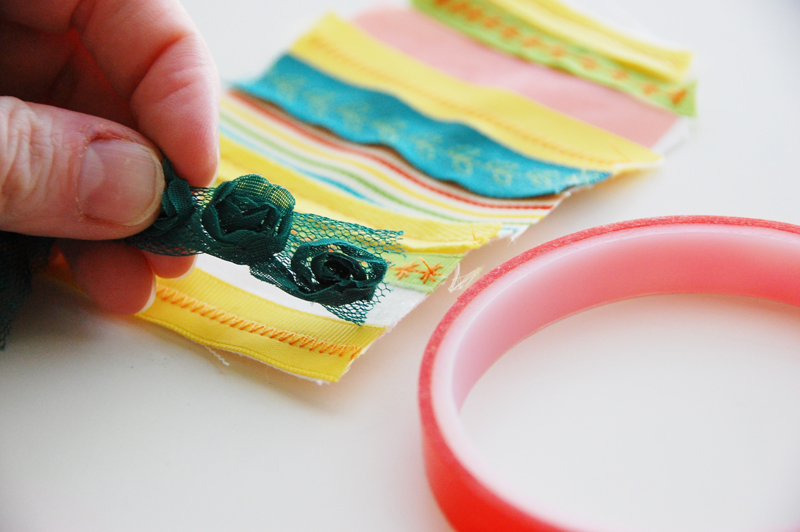
There were a couple of lengths of ribbon that I didn’t want to sew through, so I added them afterward with some double-sided adhesive.
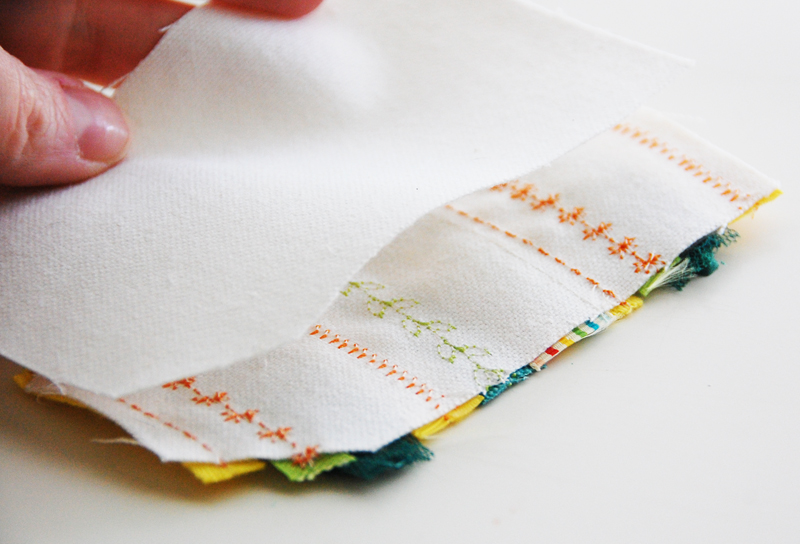
Because I didn’t want all of the different stitching to show on the back side of the tag, I added the second fabric tag to the back of the first and stitched around the outside edges to secure the tags together.
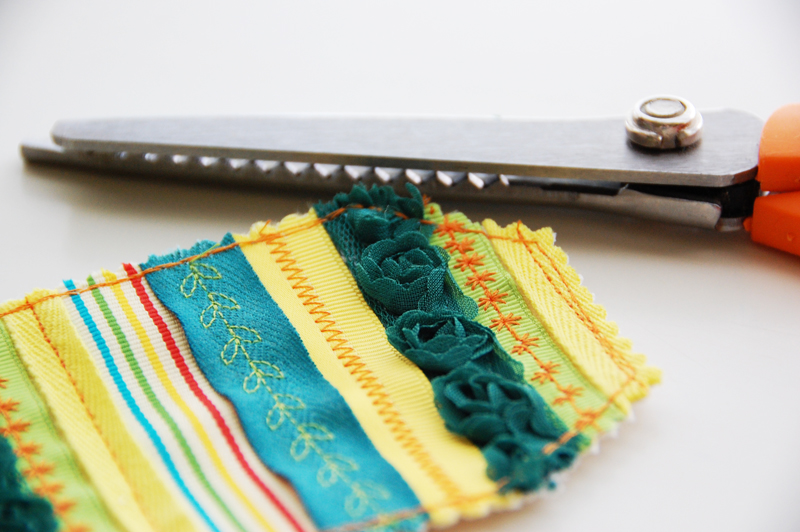
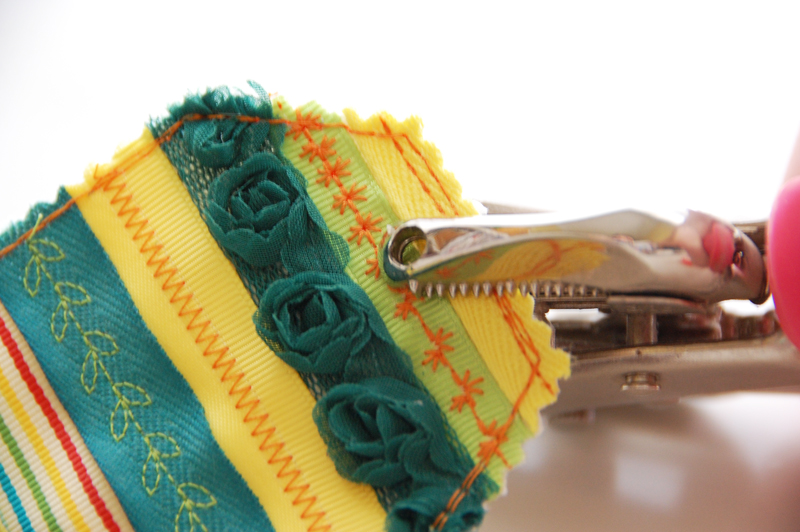
I then trimmed the excess from the edges of the tag with some pinking shears.
I punched a hole at the top of the tag and added an eyelet to reinforce the hole.

I added a wood veneer letter to the tag with double-sided adhesive and stitched a button over the top to hold it in place.
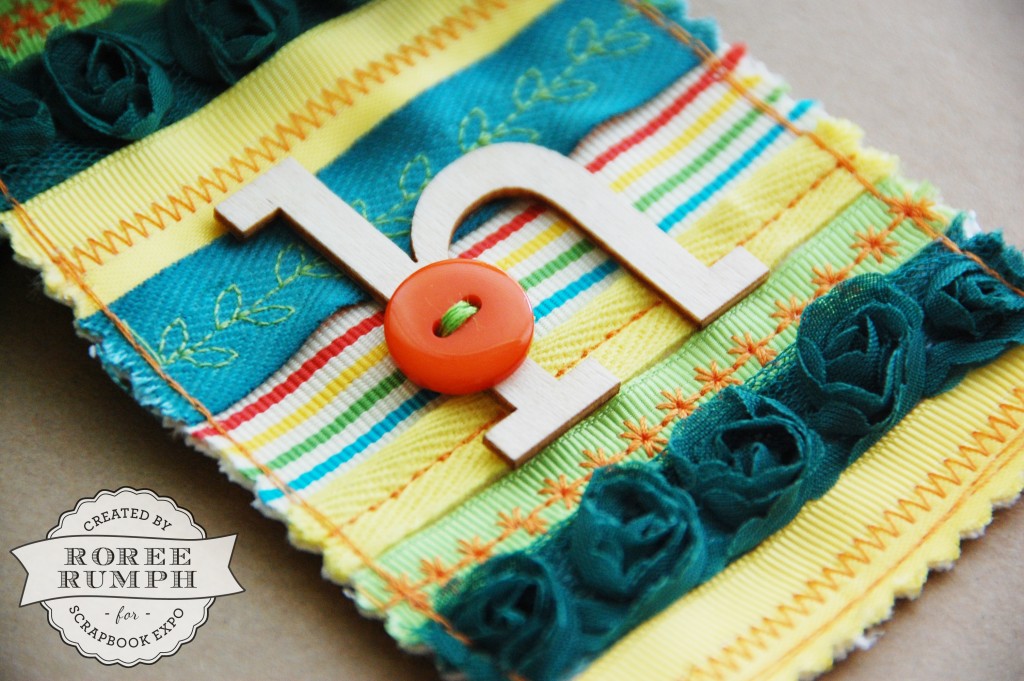
And that’s it! Now it is ready to be added to the front of a box or bag for a special gift.

I hope you enjoyed today’s Make It! Monday project. Thanks so much for stopping by!


SOOOOO going to try this! TFS! I’ve got more ribbon than I know what to do with… love the stuff, too ;)!
Thanks, Jinny! You are like me… tons and tons of ribbon in your stash. It is always fun to find new ways to use it up!