
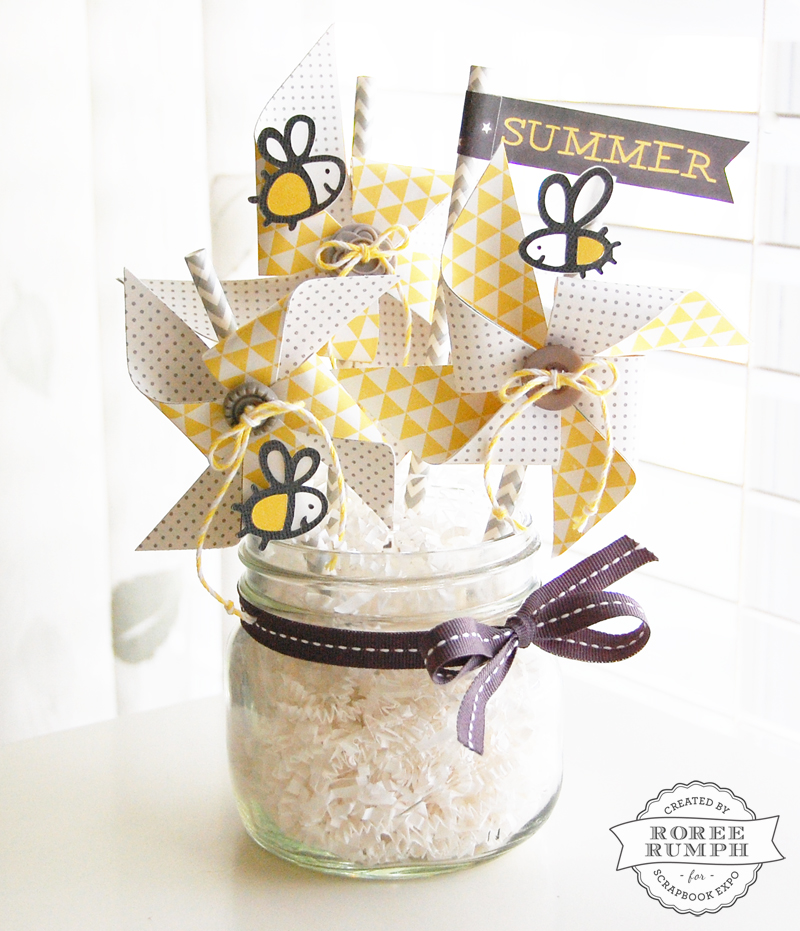
Hey, everyone! Roree here with another Make It! Monday project. Today I am going to share with you a sweet centerpiece perfect for your summer home décor.
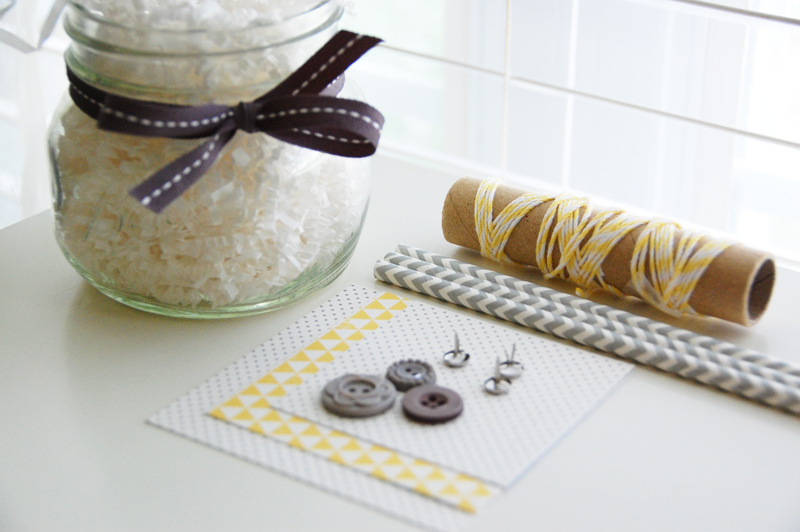
To create these pinwheels, I used: straws, patterned paper (3″, 3 1/2″, and 4″ – square), brads, buttons, and baker’s twine.
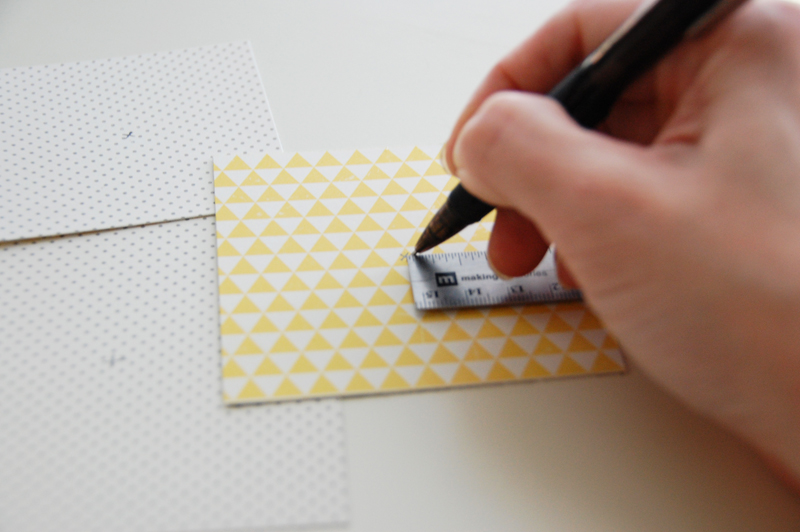
First, I marked the center of each paper panel.
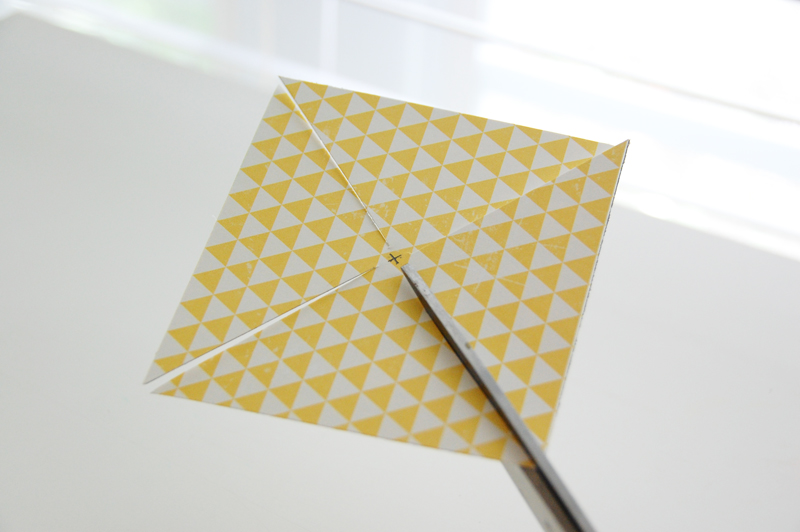
I cut from each corner towards the center, just shy of the center.
I punched a hole on the left side of each corner and in the center of the paper panel.

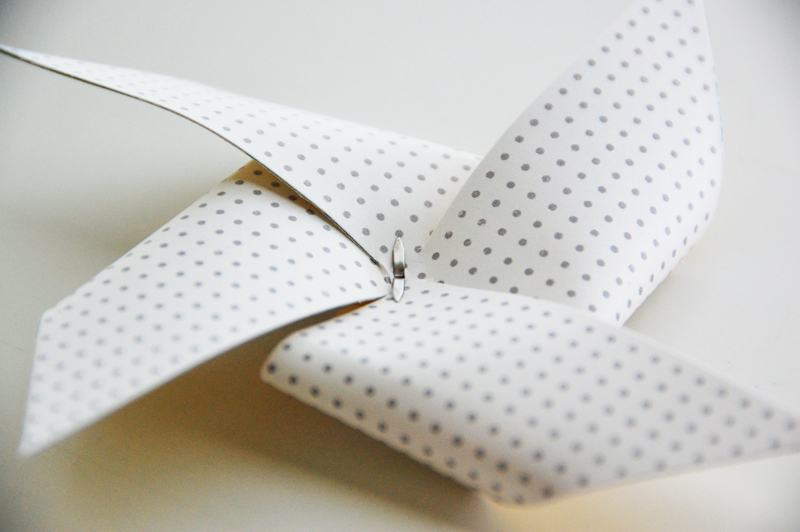
I gathered the punched corners, placing a brad through holes.
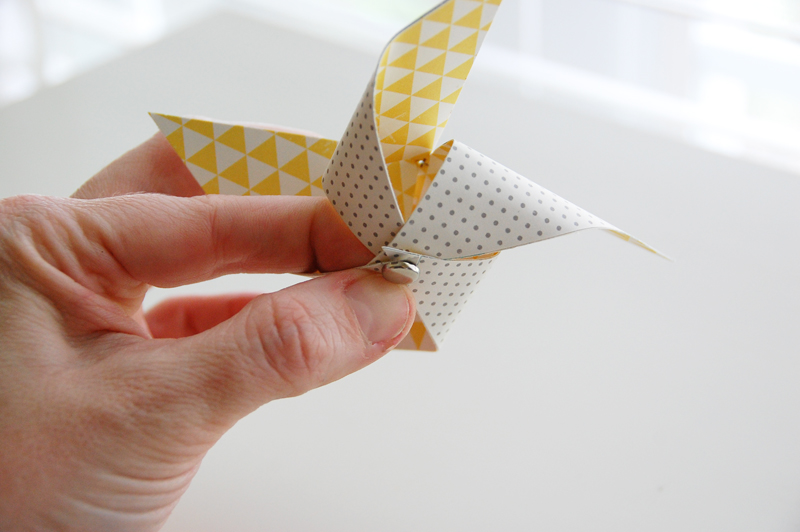
Then, I attached the brad through the hole in the center of the paper panel.
I threaded a button with twine and tied a bow.
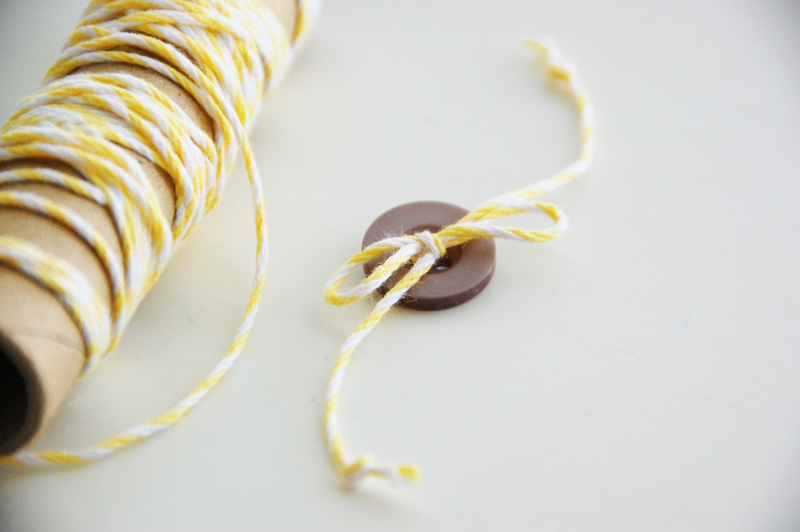
I adhered the button to the center of the pinwheel over the brad.
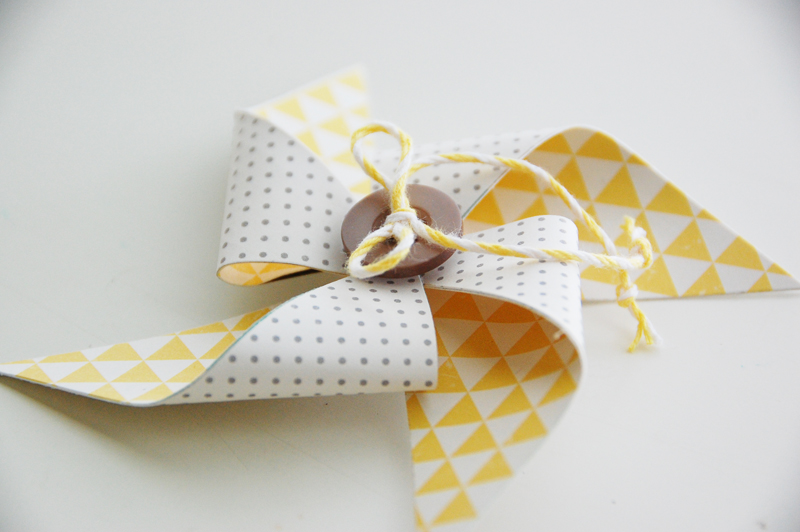
Finally, I adhered a straw to the back side of the pinwheel.
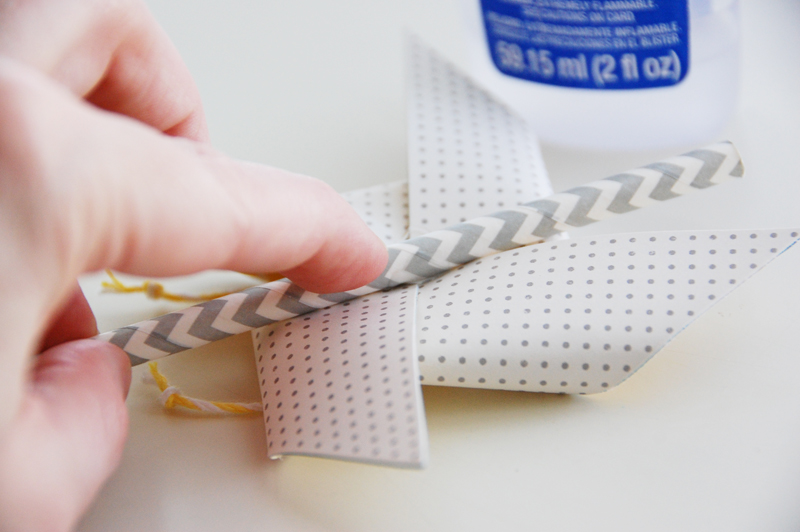
I repeated these steps for the remaining paper panels, creating three pinwheels.
To dress the pinwheels up just a little bit more, I added some adorable fireflies cut using my Cricut Explore™ and Stretch Your Imagination cartridge along with a “Summer” flag I cut from patterned paper.
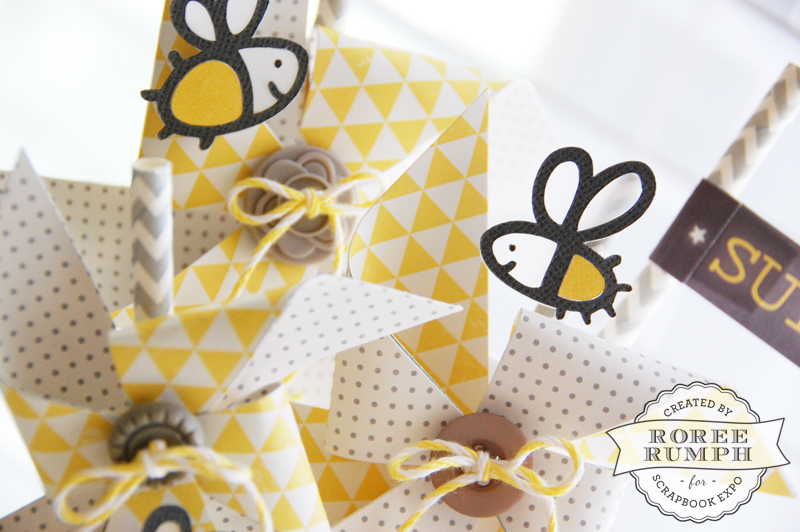
I added everything to a mason jar filled with white paper shred and tied with a gray stitched-ribbon bow.

I hope you enjoyed today’s Make It! Monday project. Thanks so much for stopping by!

