Hey, everyone! Roree here with this week’s Make It! Monday post.
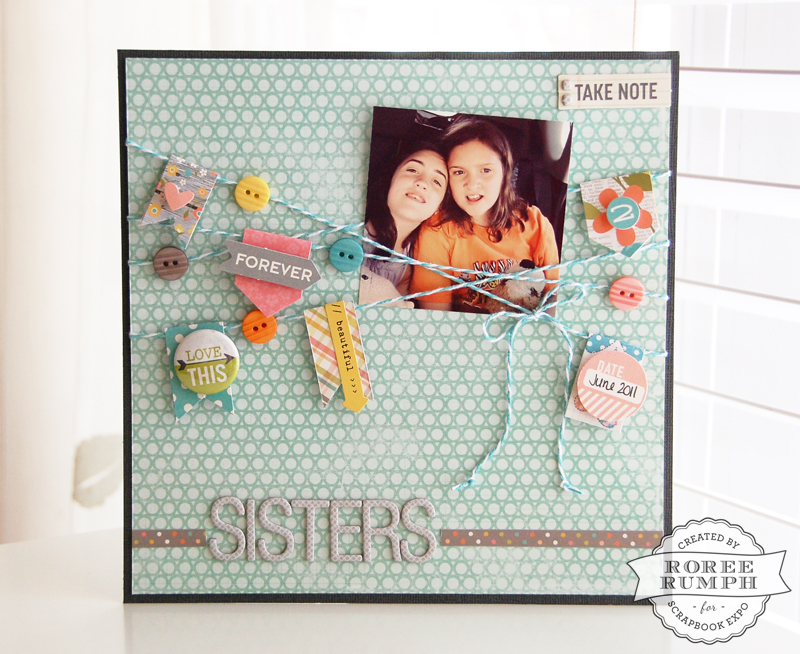
Today I am sharing a layout showcasing a fun and easy wrapped banner. I just love using baker’s twine. It is one of those products that I tend to buy when I see it, even though I have tons and tons of it already in my stash. (It seems like I can never have too much!) It is one of my favorite go-to embellishments—perfect for any project. Today’s layout is no exception!
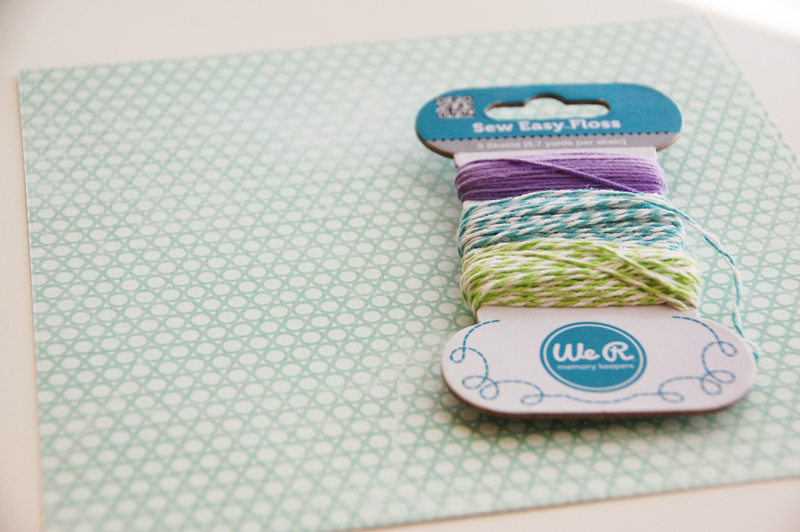
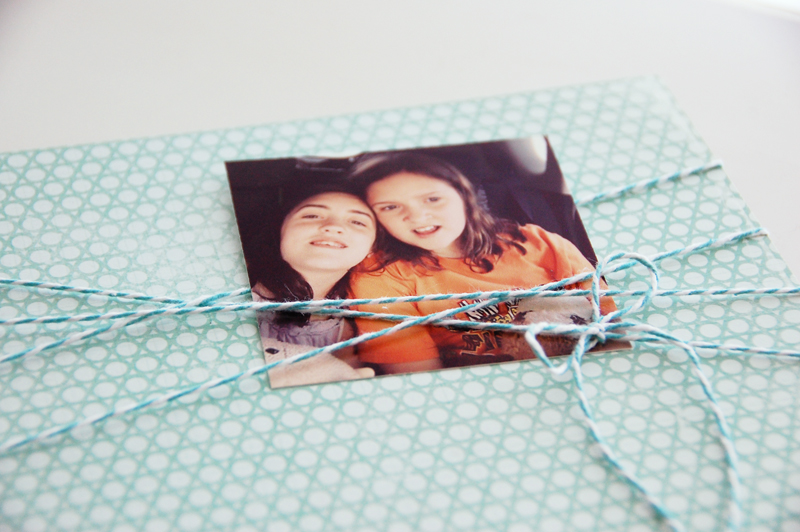
For this layout, I started with a 7 1/2 x 7 1/2″ paper panel and some blue baker’s twine.
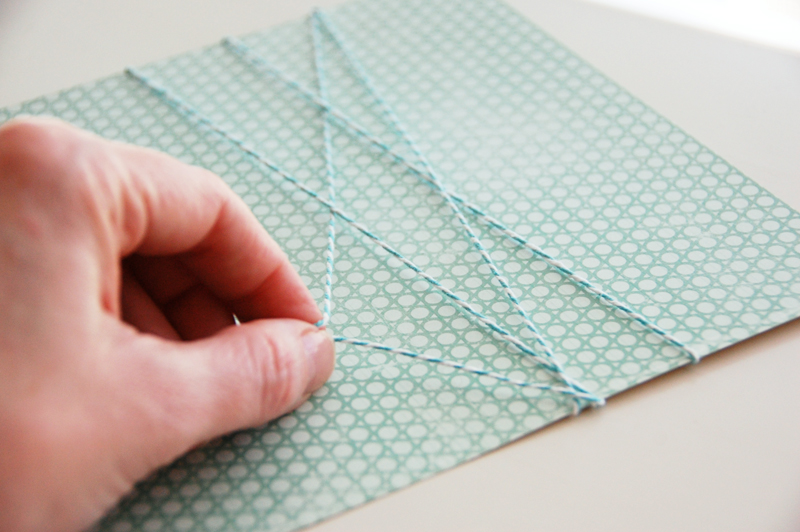
I wrapped the baker’s twine around the panel four times, tying the ends in a bow.
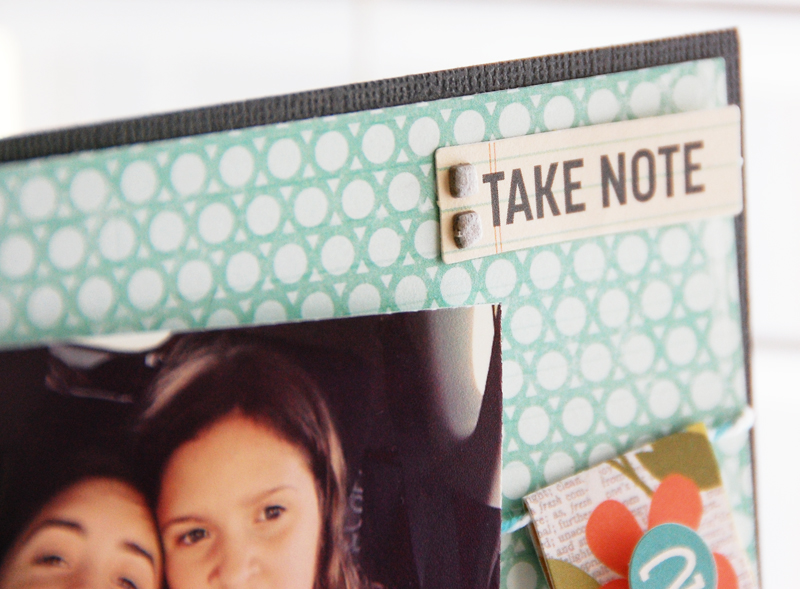
I tucked my photo in between the twine, adhering it with foam adhesive.
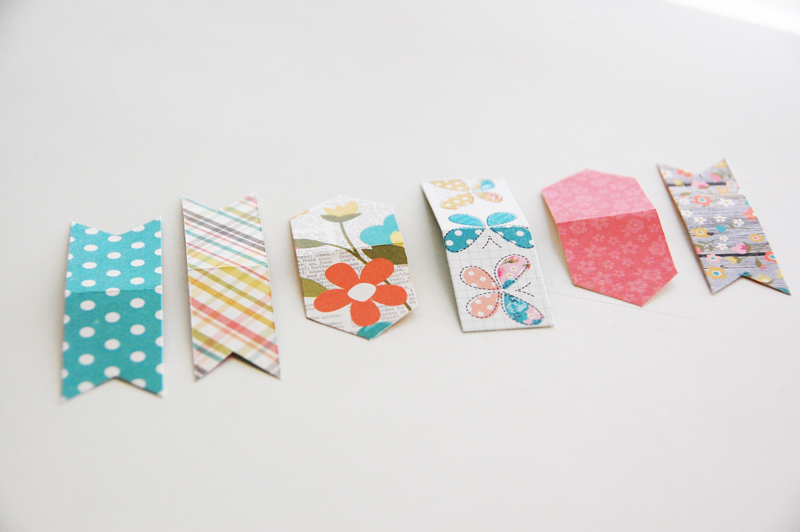
I created pennant shapes for my banner using strips of patterned paper, folding the strips in half and trimming the ends with scissors.
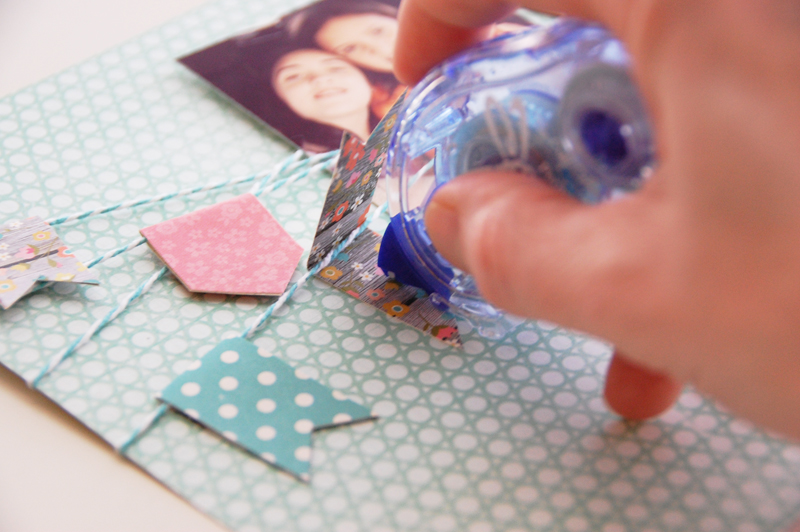
I folded the pennants over the baker’s twine, adhering the ends together.
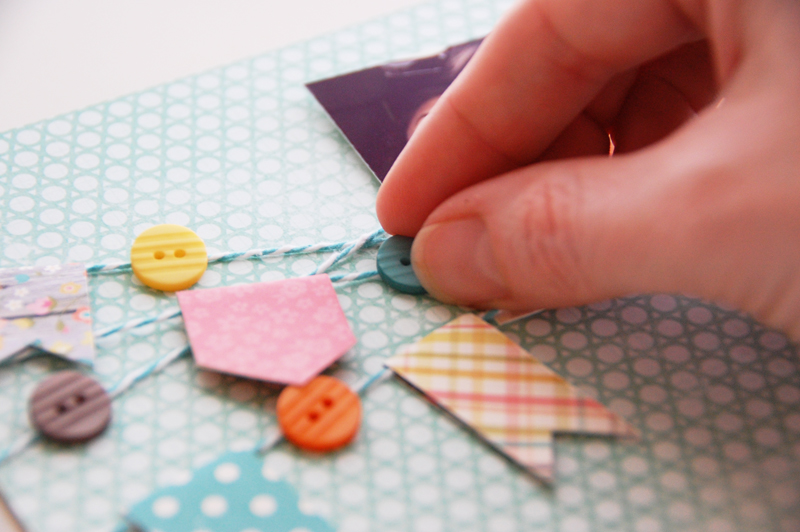
I added buttons along the strands in between the pennant shapes.
I dressed up the banner by adding embellishments, like die cuts and stickers, to the pennant shapes.

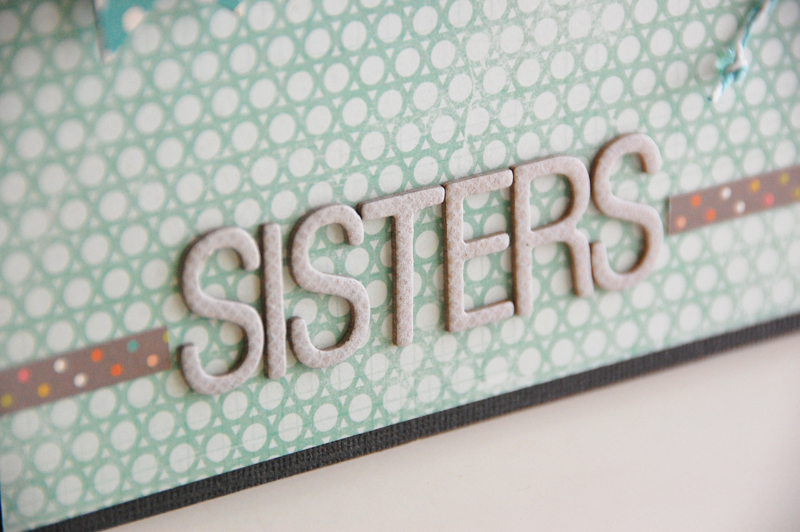
Then I adhered the panel to a cardstock base and added a title along the bottom and sentiment die cut at the top right corner.
It’s like a perfectly wrapped gift for my scrapbook!
Do you enjoy using baker’s twine as much as I do? If so, try creating a wrapped banner on your next layout, card, or project. I am sure you will be happy with the results!
I hope you enjoyed today’s Make It! Monday project. Thanks so much for stopping by!
Great use of twine!!
Thanks, Kimberly!