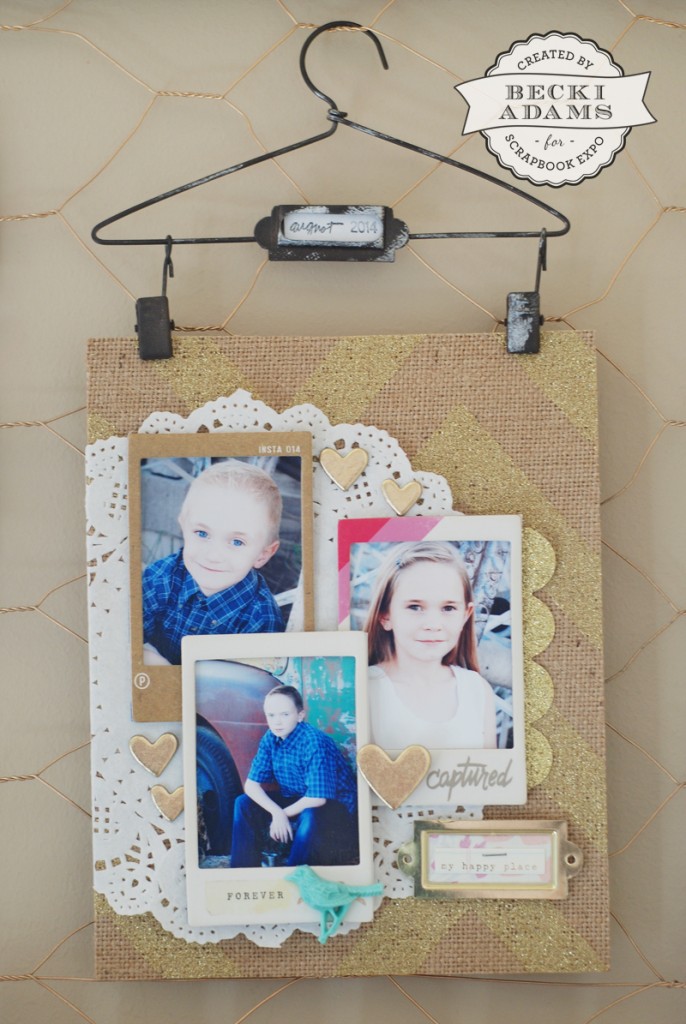
Hello friends! I’m thrilled to share this photo hanger home décor project with you today and give you a little sneak peek into my crafting space. A while ago I saw these hangers on the Jillibean Soup blog as part of their Mixed Media line. I thought they were adorable and had so many possibilities. Two of these cute hangers come in a package. Today I’ll show you what I did with one of mine.
I thought it would be fun to create a project that would hang above my desk that had photos of all of my kids on it. I started by cutting a piece of glittered burlap into a 5x7inch rectangle. I adhered a white doily to the burlap. I used liquid adhesive to make sure that the doily stayed in place.
The liquid adhesive did show through the doily after it dried but I wasn’t worried about that because I knew it would all be covered with my photos and the embellishments.
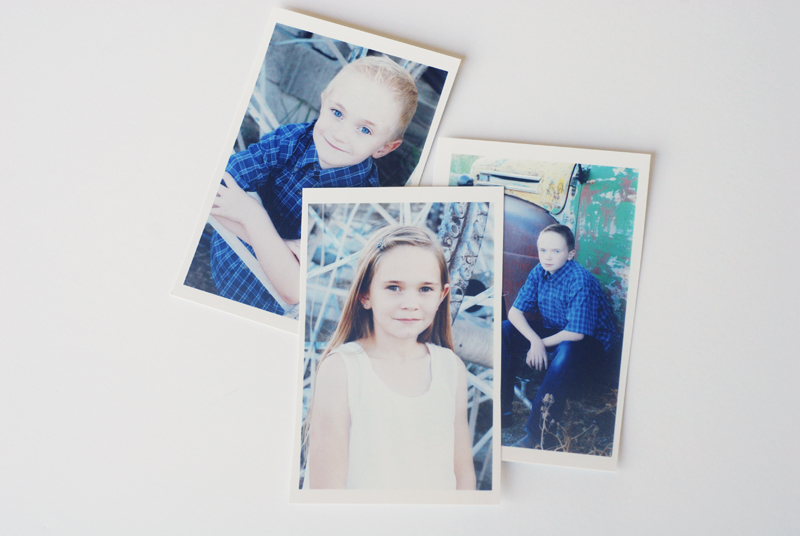
I printed wallet sized photos of my 3 kids. (I print my photos at home.)
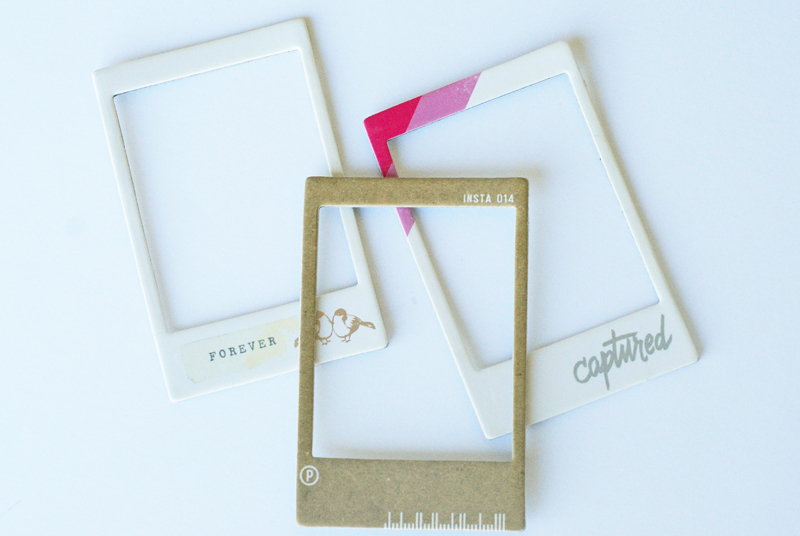
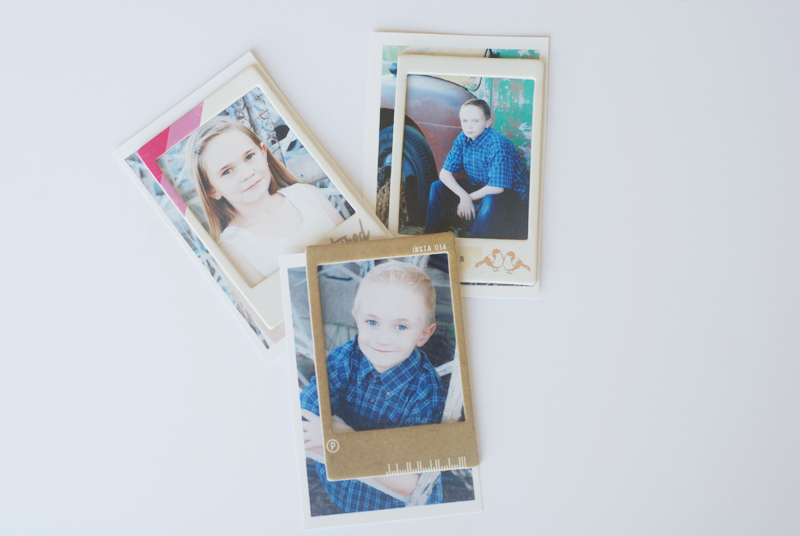
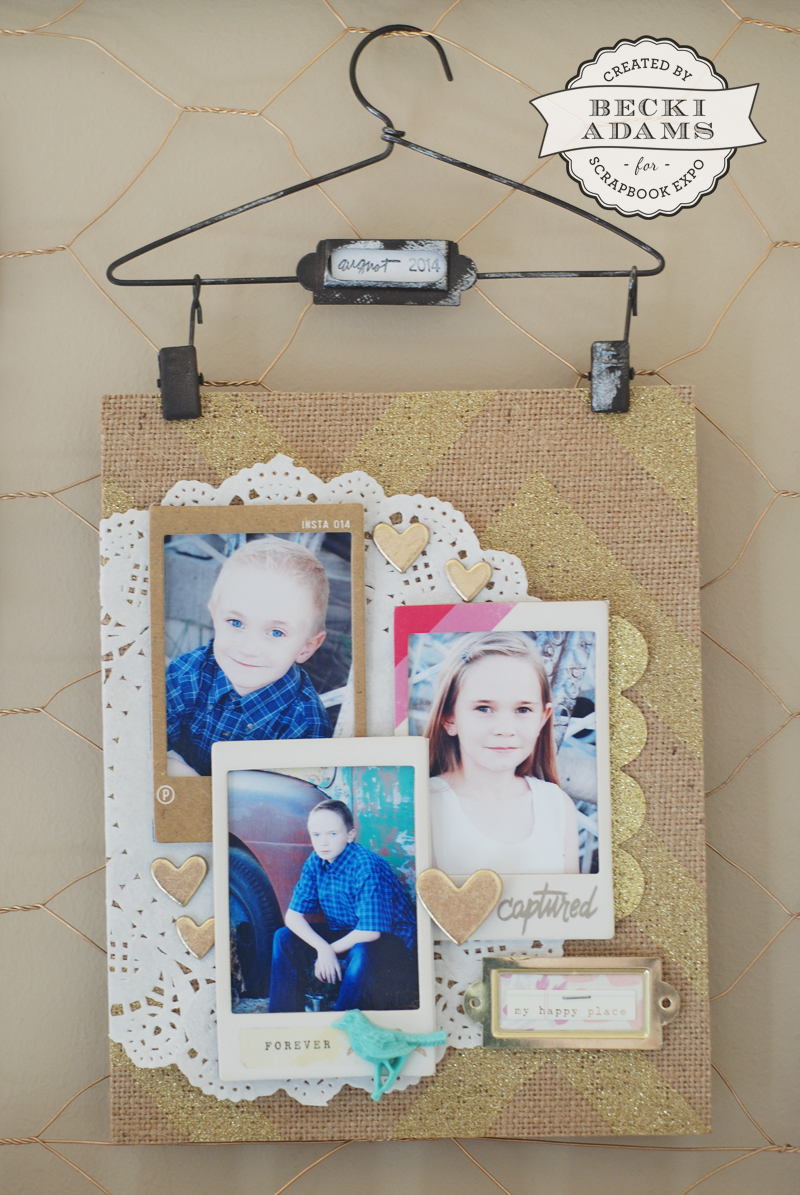
I chose three chipboard frames. I adhered the frames to the photos.
I simply placed the frame over my photos and trimmed the edges off with a pair of sharp scissors.
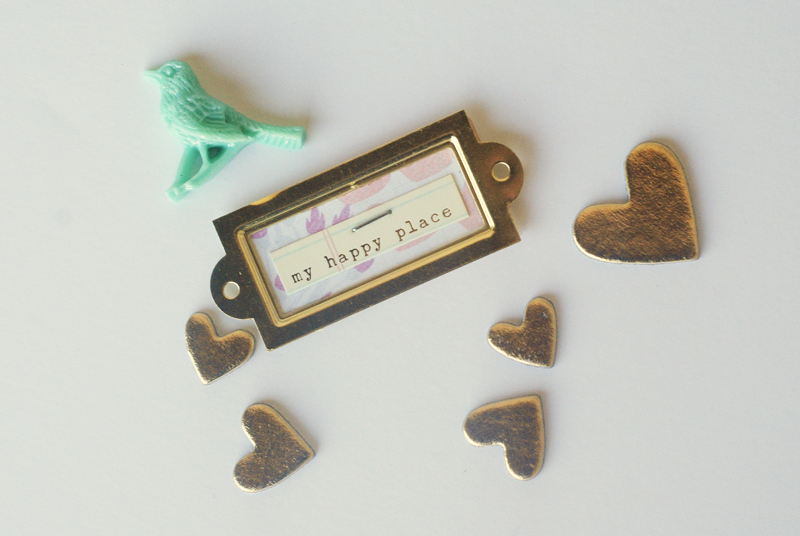
I chose just a few embellishments including a gold metal frame, some gold chipboard hearts, and assembled my hanger.
And here’s what the finished project looks like. I LOVE how it turned out.
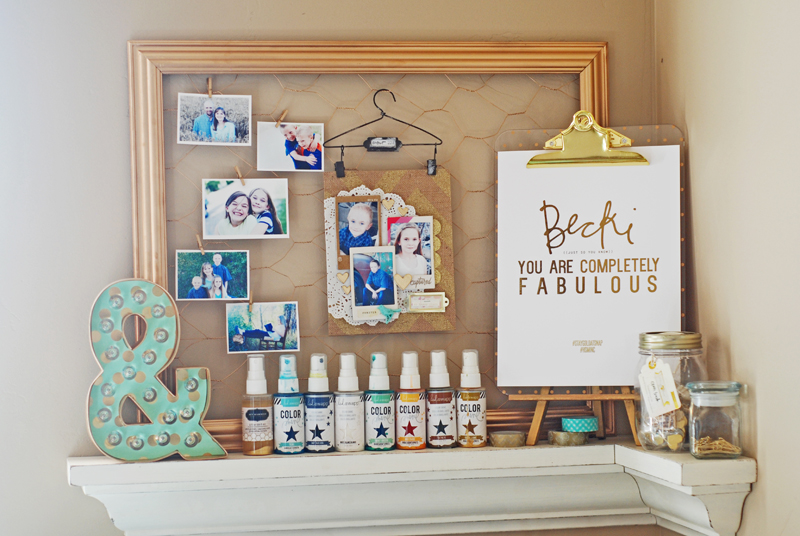
As I promised, here’s a peek into my crafting space. This is the shelf that is above my desk. Don’t you think the photo hanger makes a great addition to the frame above my desk?
Thanks for stopping by the Weekly Scrapper blog. I’ll see you again next Thursday.




Love your shelf in your craft space!
Thank you Serena! I love my shelf too! It helps to have a creative husband that will build things for me. He did a great job with my shelf!
That is so beautiful, and I think your set of instructions are some of the best that I have ever seen. Thank you for sharing.
Thank You! I’m so glad you enjoyed the instructions. I had a great time putting this project together!