
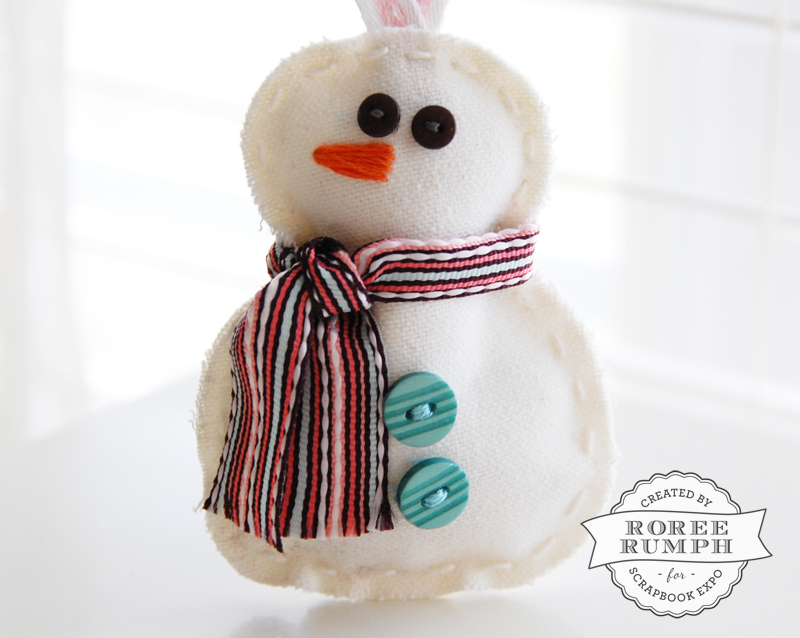
Hey, everyone! Roree here with another Make It! Monday project. Today I am sharing an adorable plush Christmas ornament I created with a few simple stitches.
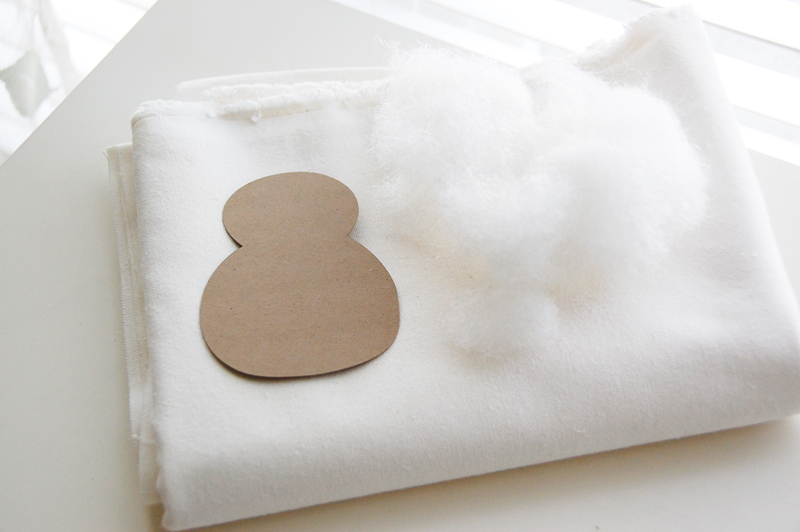
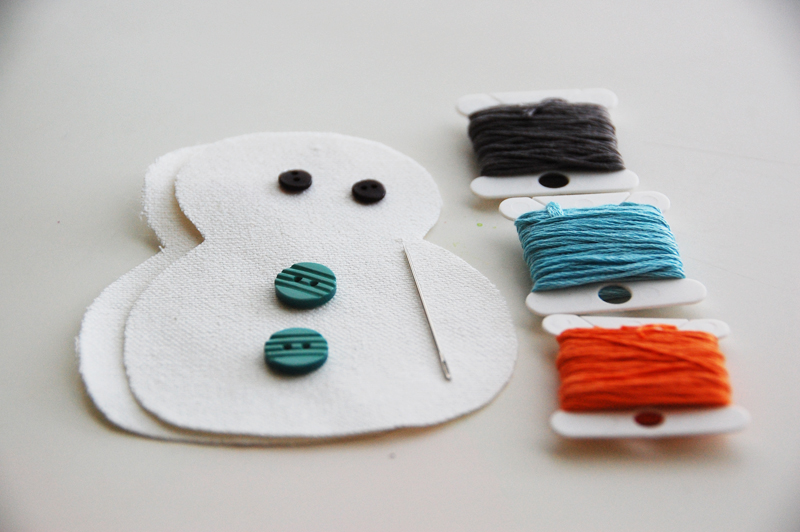
I started with some white lightweight canvas fabric, some fiberfill, and snowman die cut. (I used the outline image of the snowman from the Cricut Doodlecharms® cartridge.)
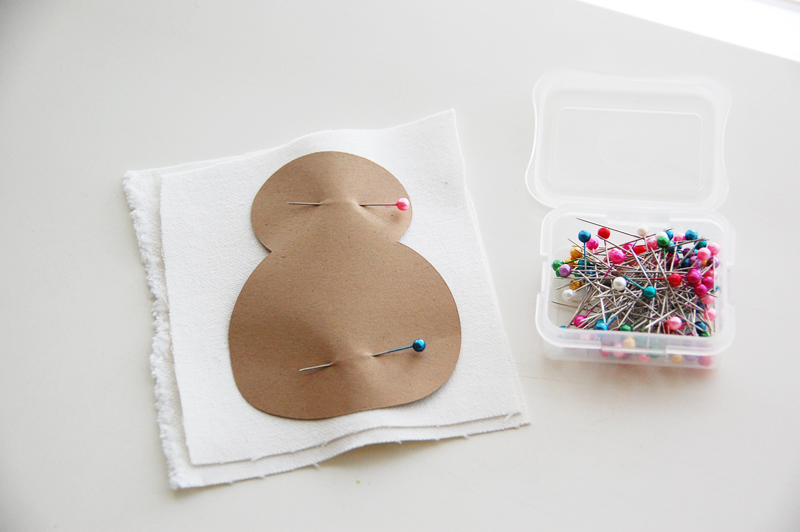
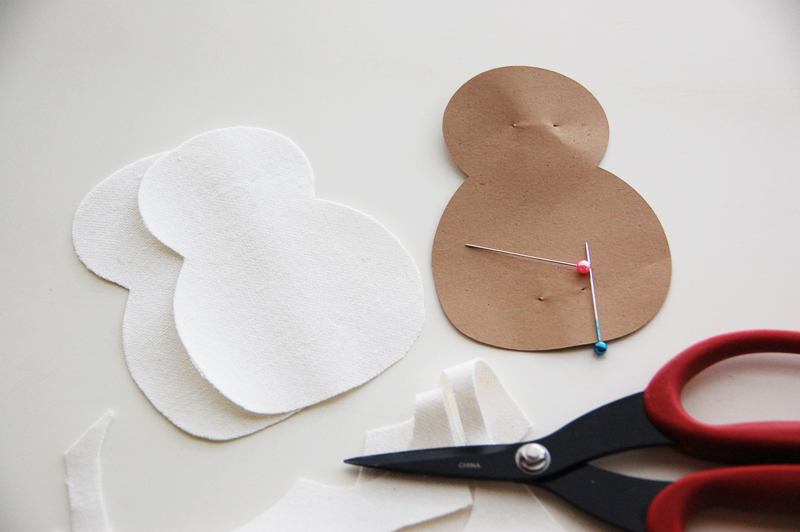
I cut out two pieces of fabric slightly larger than my die cut and pinned both pieces of fabric and the die cut together. Using the die cut as a guide, I cut out two snowman shapes from the fabric.
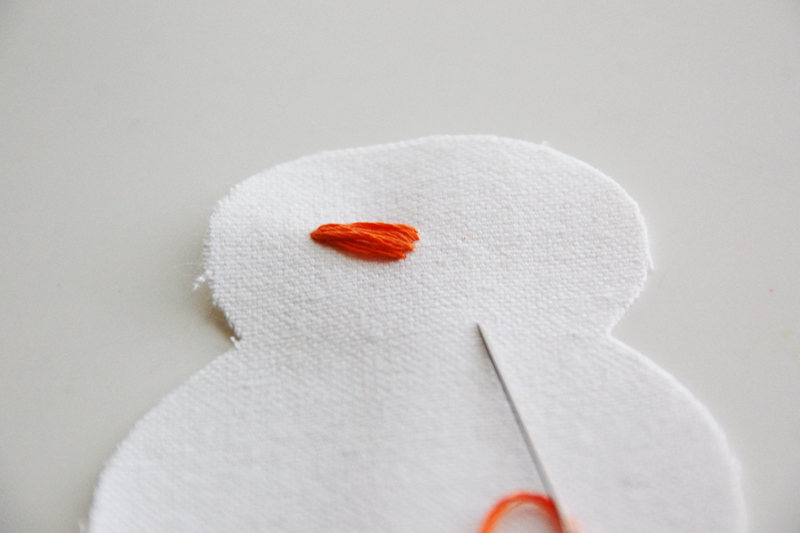
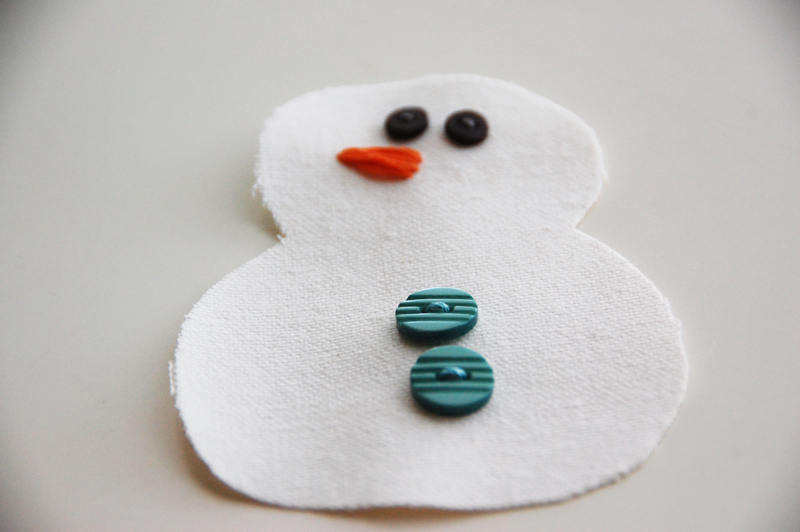
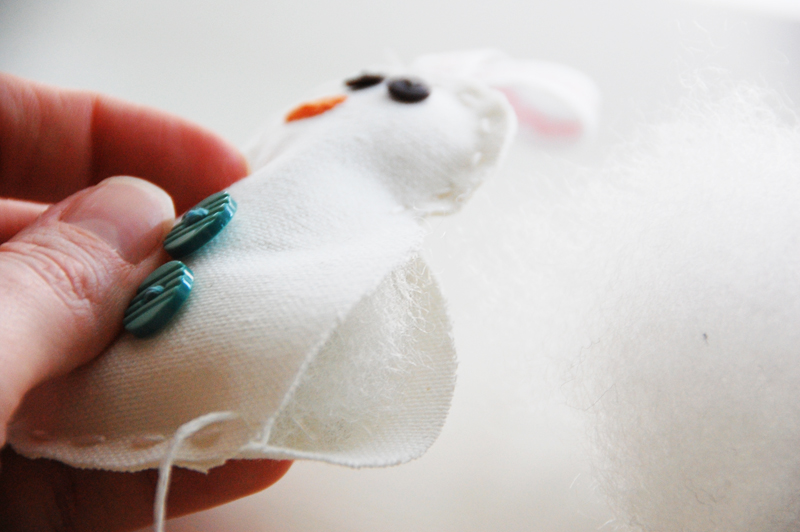
I chose some buttons and embroidery thread and stitched on the eyes, nose, and buttons of the snowman onto one of the fabric shapes.
Once I finished with the stitching on the body of the snowman, I cut out a 5″ length of ribbon for the loop on top of the ornament and began stitching the snowman.

When the stitching reached near the top, I folded the ribbon, placed it in between the two shapes, and stitched over it to hold the ribbon in place.
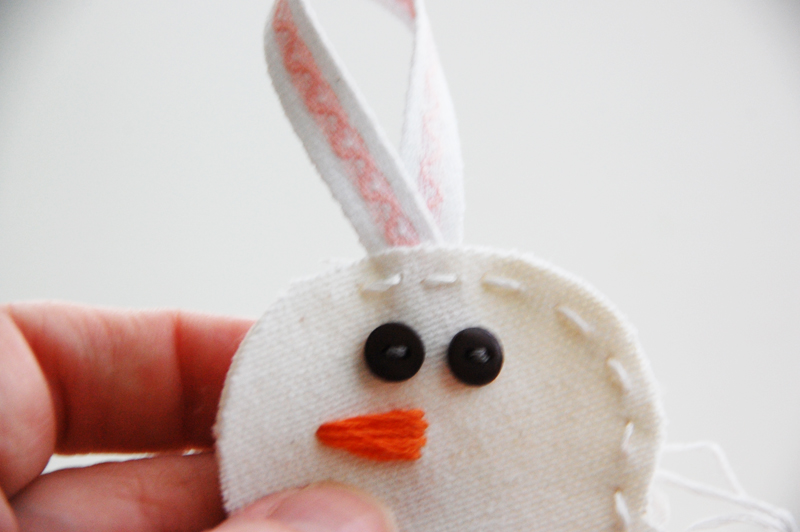
When I got about 3/4 of the way done with the stitching, I filled the snowman with fiberfill to make him plush.
After adding the filling, I finished stitching the snowman closed and knotted the ends of the thread.
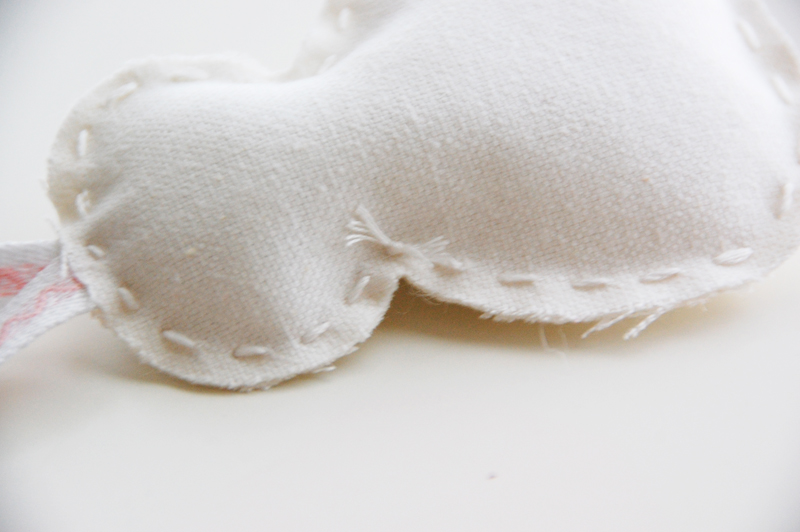
The last step was to add a scarf made of ribbon on the snowman.
It is a pretty fun and easy sewing project that would make a great “tag” to add to a holiday gift or to give as a gift itself.
I hope you enjoyed today’s Make It! Monday project. Thanks so much for stopping by!