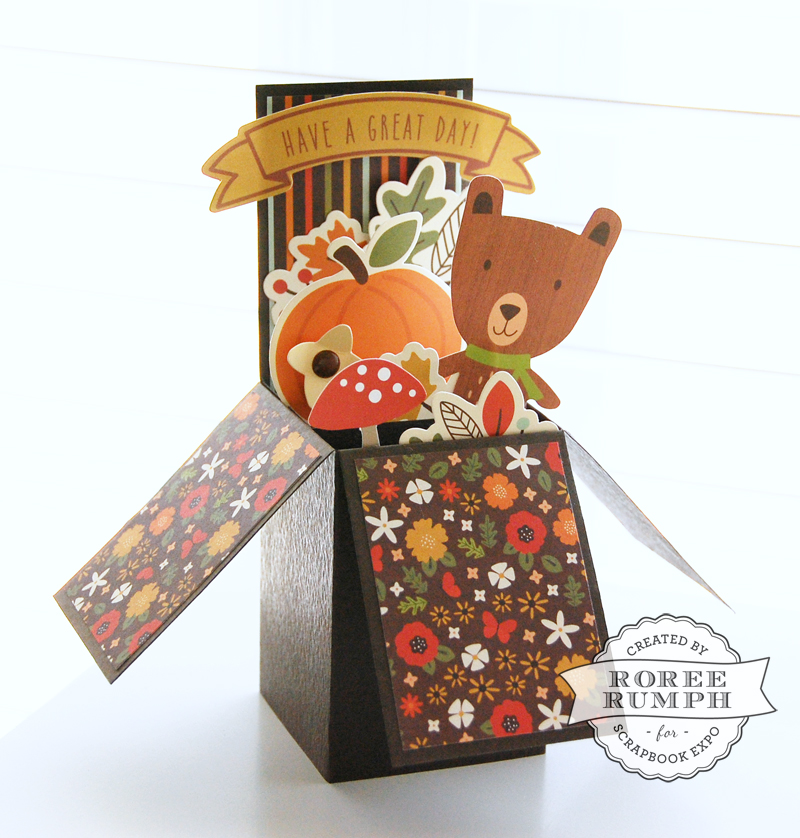
Hey, everyone! Roree here with another Make It! Monday project. Today I am sharing a pop-up box card I created with a fun, fall theme.
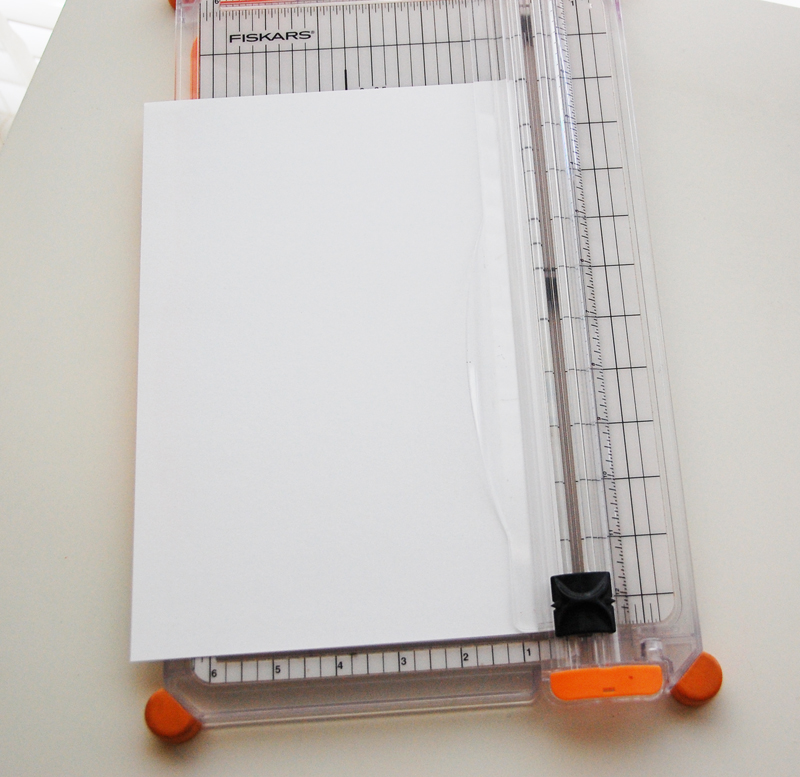
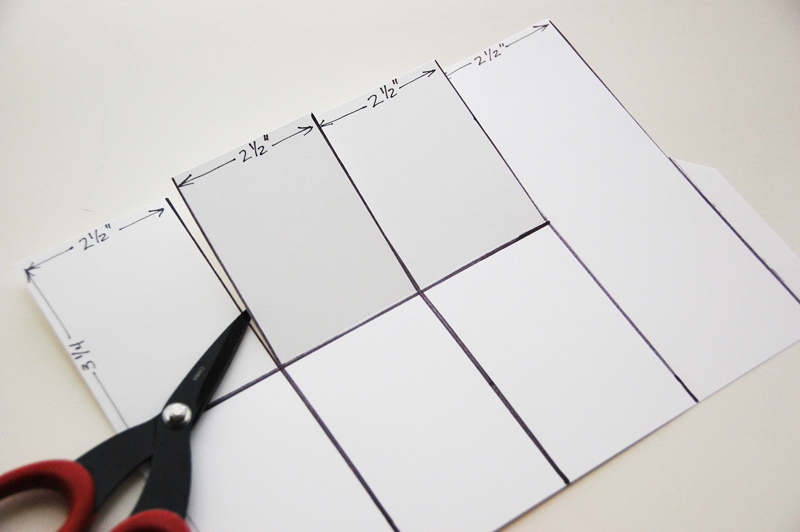
I wanted my card to by 5 x 7″ closed, so I started with a 7 x 10 1/2″ panel of cardstock.
I scored the panel at the 2 1/2″, 5″, 7 1/2″, and 10″ marks on the longer side. I also scored it on the shorter side at the 3 1/4″ mark skipping over the last 2 1/2″ panel. (That non-scored panel will be the back of the card.)
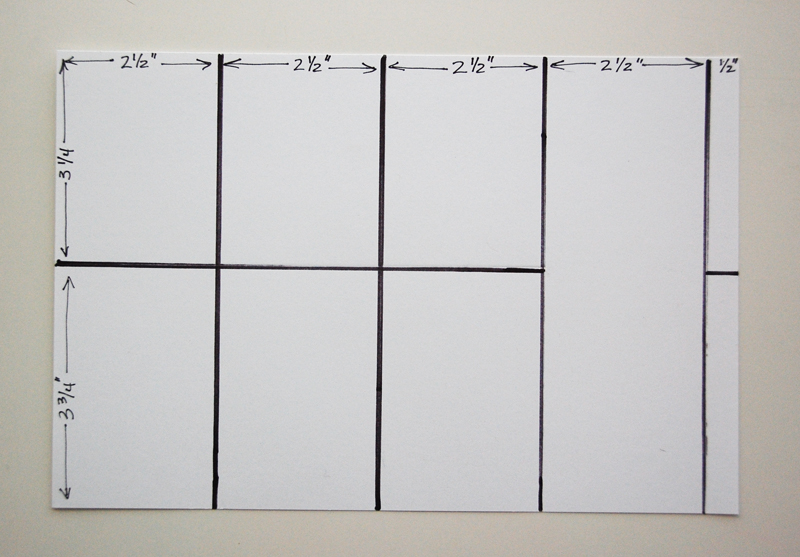
I cut between each 2 1/2″ panel down to the 3 1/4″ horizontal score line and trimmed off of the top half of the1/2″ strip on the end.
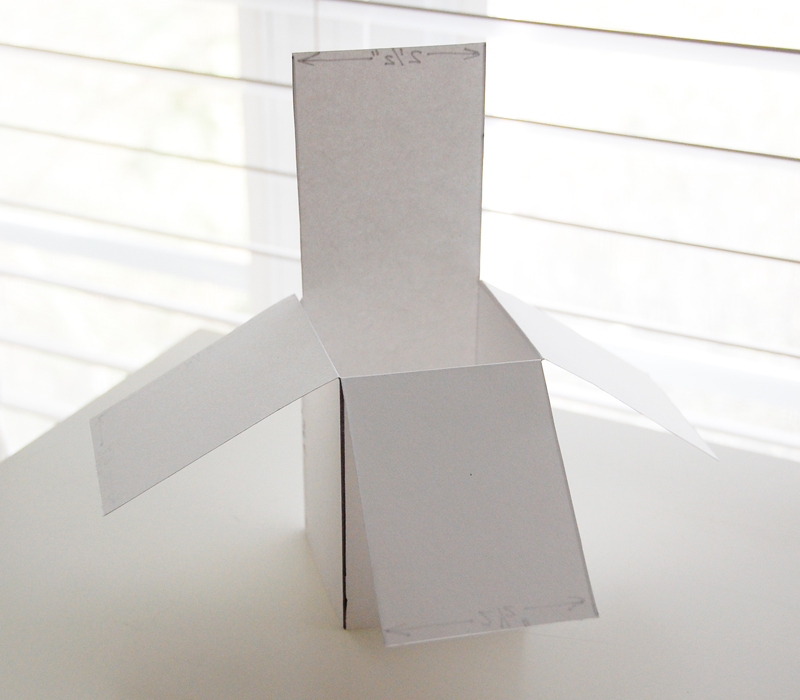
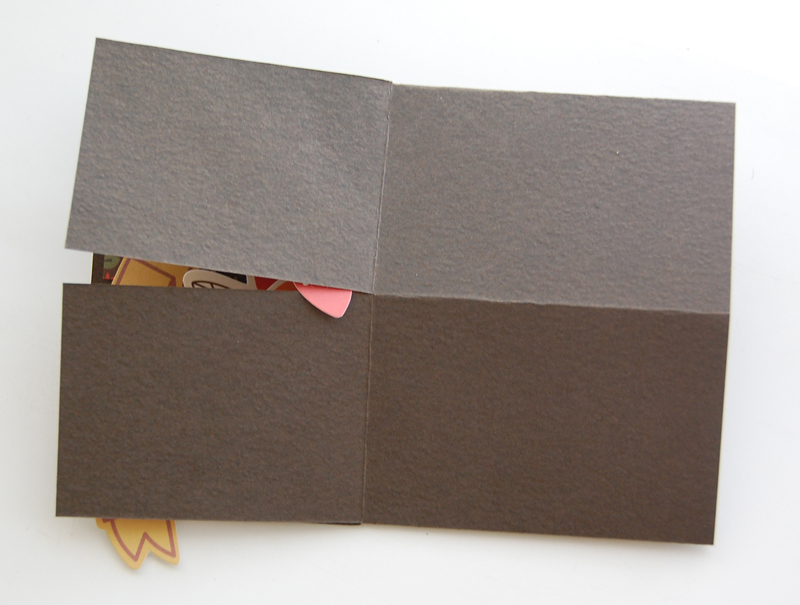
I then folded the panel along the score lines and adhered the first panel to the remaining 1/2″ strip on the end.
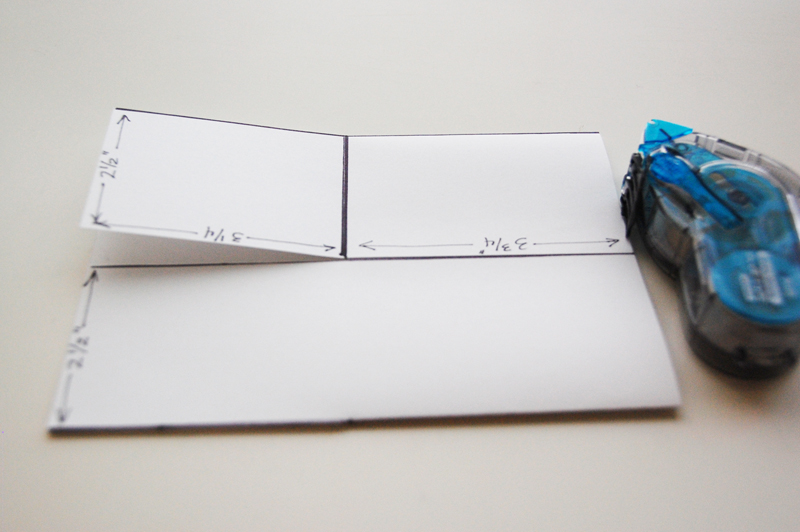
Here is what the card looks like opened up.
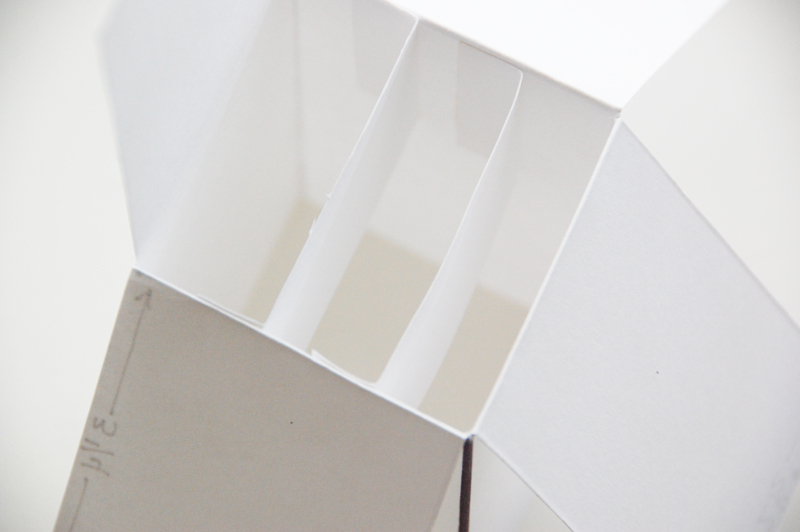
I took some leftover strips of cardstock, cut them to 1 1/2 x 3 1/2″, then scored and folded them at the 1/2″ mark on each side.

I adhered the strips inside the box card with some strong adhesive.
I made another pop-up box card using brown cardstock, I decorated the inner back side of the card and the flaps with patterned paper, and I adhered die cuts to the cardstock strips inside the box using products from Pebbles’ Woodland Forest collection.
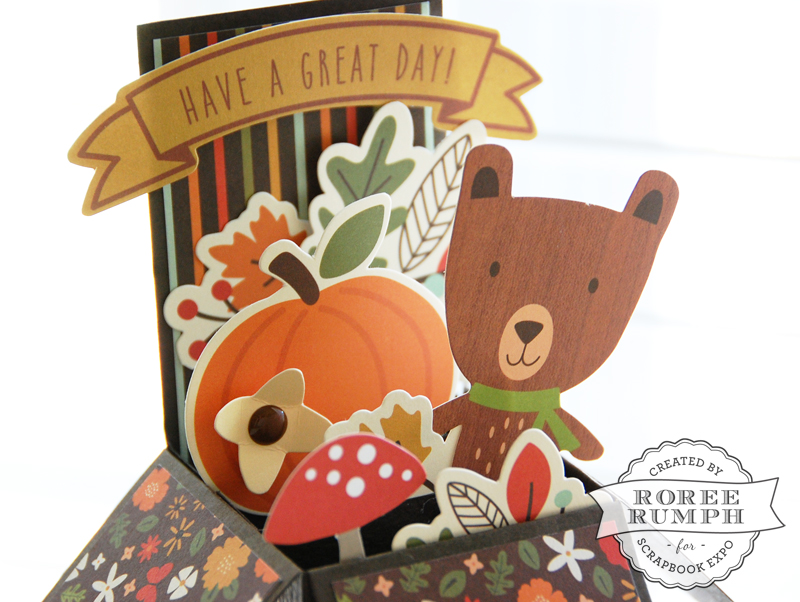
And what is great about this card is that it can be folded down and put into an envelope to send to a friend.
I hope you enjoyed today’s Make It! Monday project. Thanks so much for stopping by!
Save
Save