Hey, everyone! Roree here with another Make It! Monday project. Today I am sharing a stamped card I created using an awesome new stamping tool, the MISTI.

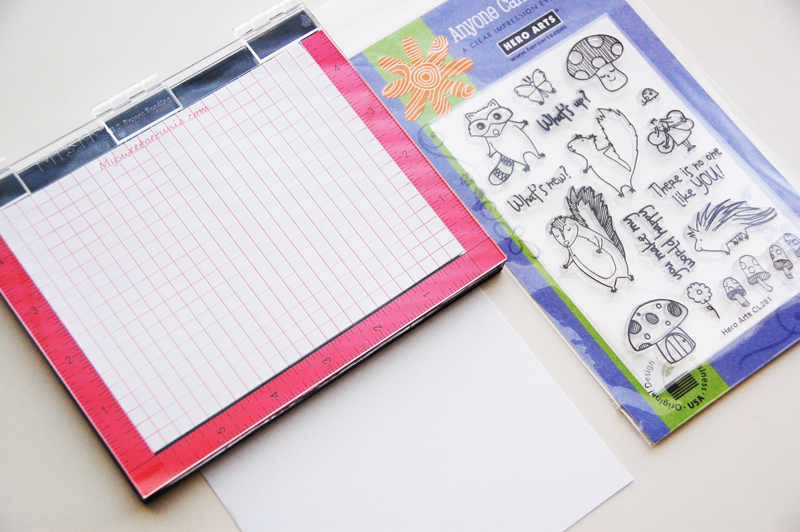
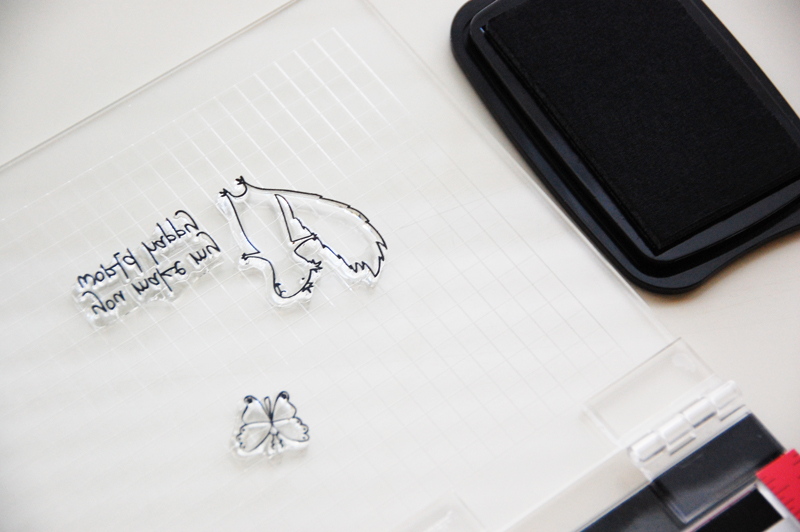
First, I started with the MISTI, a Hero Arts Woodland Creatures stamp set, and a sheet of watercolor paper.
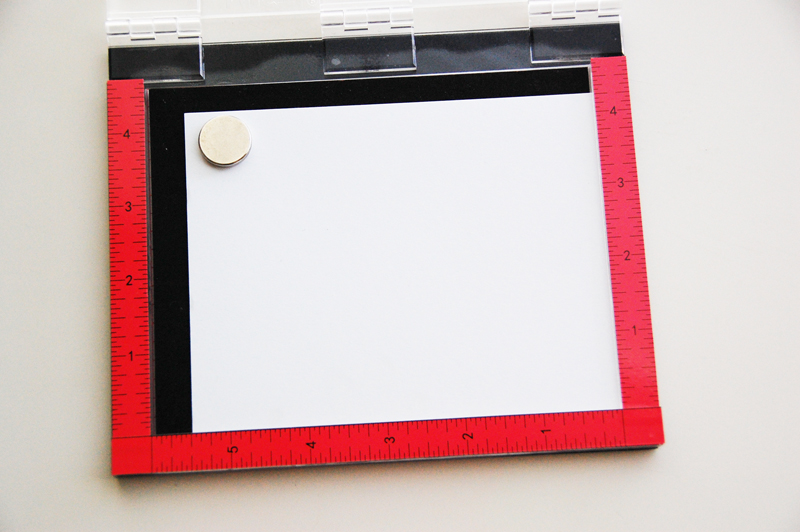
I placed the panel inside the MISTI on top of the included foam pad and added a magnet in one corner to hold the panel in place. (The base of the MISTI is magnetic.)
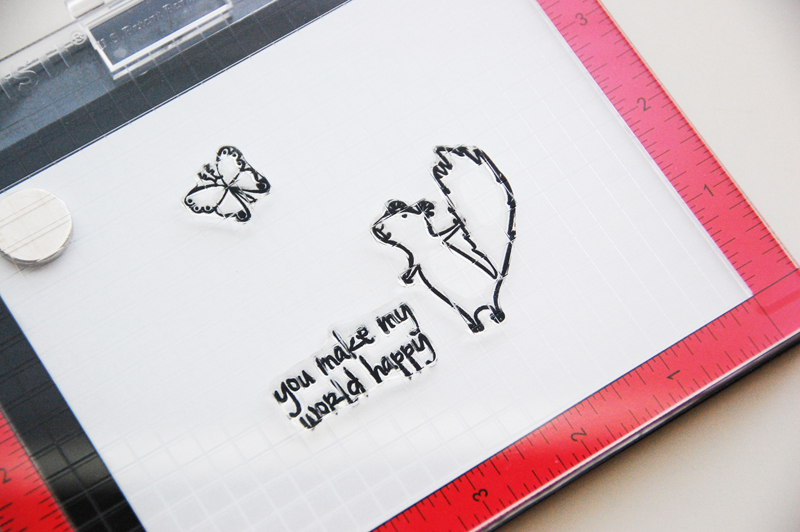
I chose a few stamps from the stamp set, placing them on the panel in the exact spots where I wanted the images with the cling side facing up.
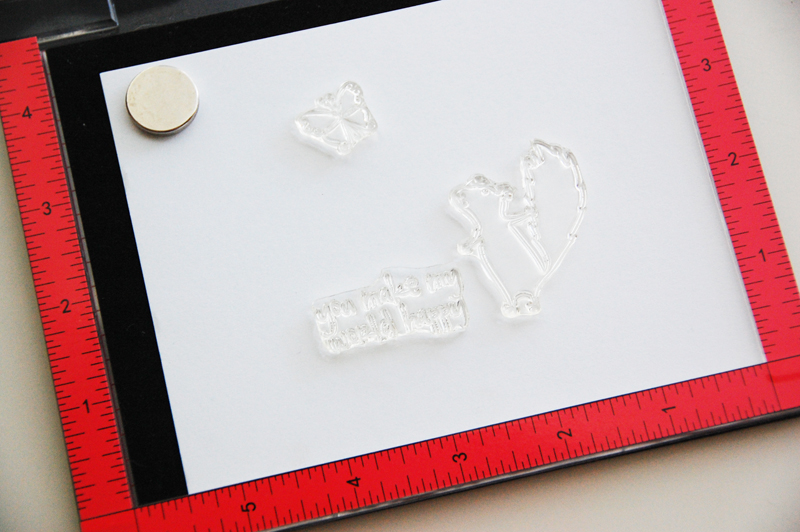
I closed the lid and put a little pressure over the areas with the stamps. I opened the lid with the stamps attached and inked the stamps with a black ink pad.
I closed the lid to stamp the image.
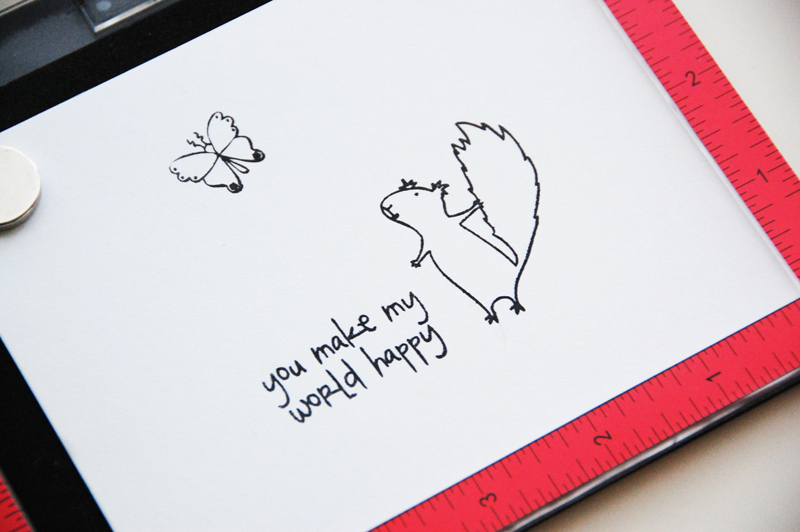
For my first attempt, I didn’t apply any pressure. I simply closed the lid and opened it back up again. I was left with a non-saturated, partially stamped image.
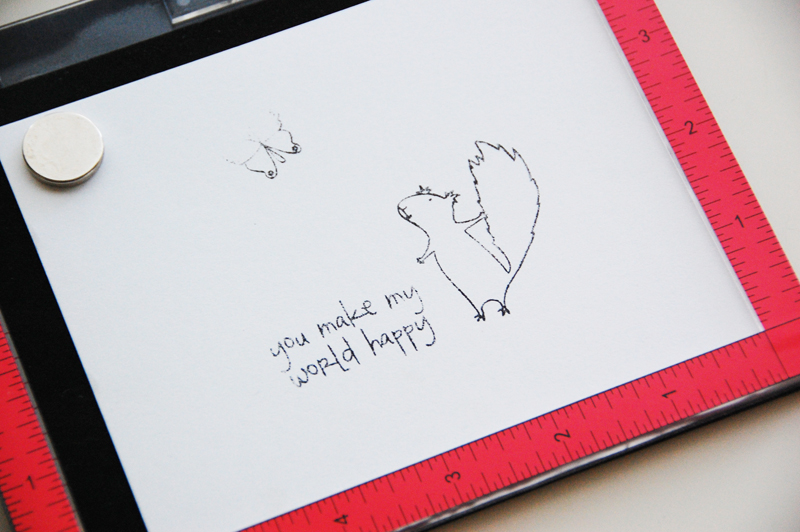
As I do not consider myself a “stamper,” this is something that I struggle with quite often while stamping. I have a very hard time getting a consistent and clean stamped image because I am not exactly sure how much pressure to apply to my stamp and stamp block. I usually end up with one part over-saturated and another part under-saturated, causing me to stamp the image several times just to get one image that looks just right. And forget trying to stamp over an previously-stamped image. Lining up the images is nearly impossible!
With the MISTI though, I was able to open the lid, re-ink the stamps, and close the lid to stamp over the image again.

This time, I added a little pressure over the stamps with my fingertips.
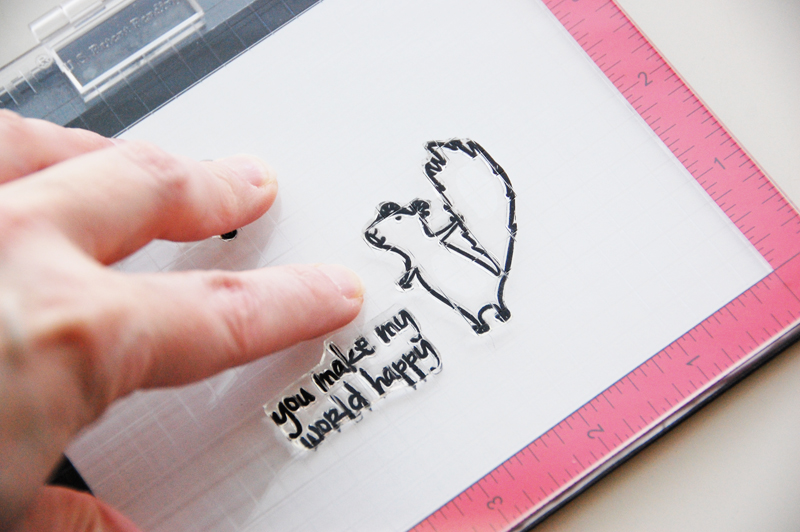
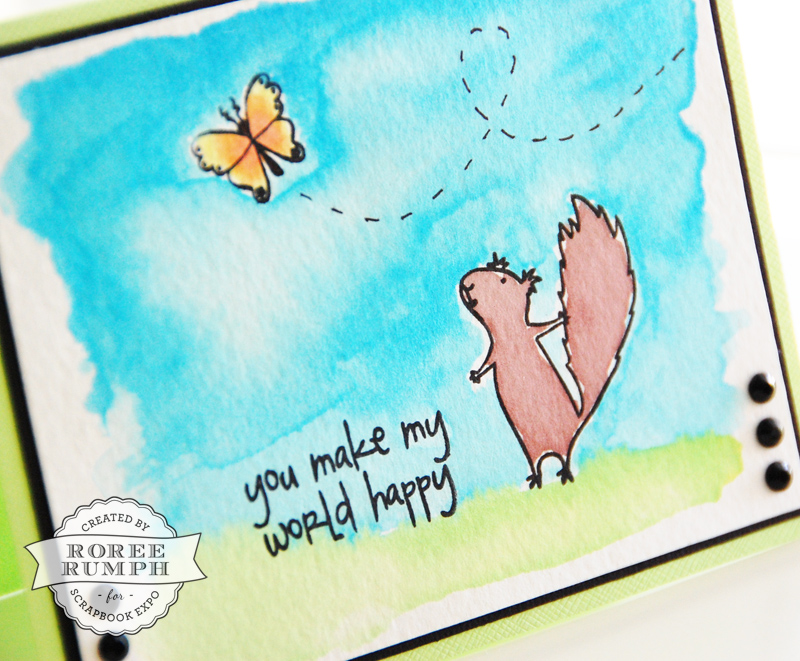
The second stamping lined up perfectly and I was left with a crisper, cleaner saturated image.
To finish, I simple painted my stamped image with watercolors and added it to a card front.
If you haven’t already, I would suggest checking out the MISTI. It is one awesome tool!
I hope you enjoyed today’s Make It! Monday project. Thanks so much for stopping by!
I have a Misti and love it.
I never seen a Misti, this makes stamping evenly easier.