 When I was young I had an extreme passion for embroidery and cross stitching. Since that time my love for crafts has moved from sewing to paper crafting, but I still have many of my sewing tools from former days. As I thought about what home décor project I wanted to share with you today, I decided to alter one of my smaller embroidery hoops to create a frame for a photo.
To complete this project you will need: an embroidery hoop, acrylic paint in the color of your choosing, white cardstock, an embossing folder, a manual die cut machine, a glue gun, the photo you wish to highlight, and any embellishments you wish to add.
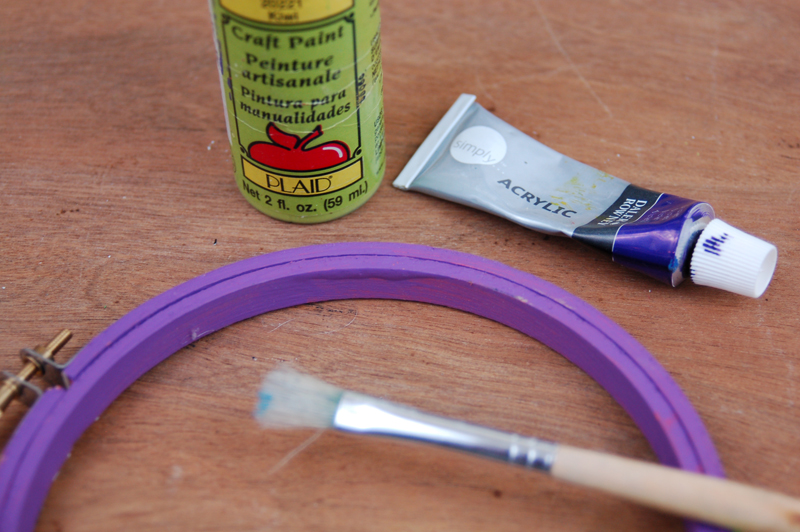
Step 1: First paint both the inside and outside pieces of the embroidery frame. Use an acrylic or spray paint and allow to dry. When dry, reassemble the embroidery hoop.
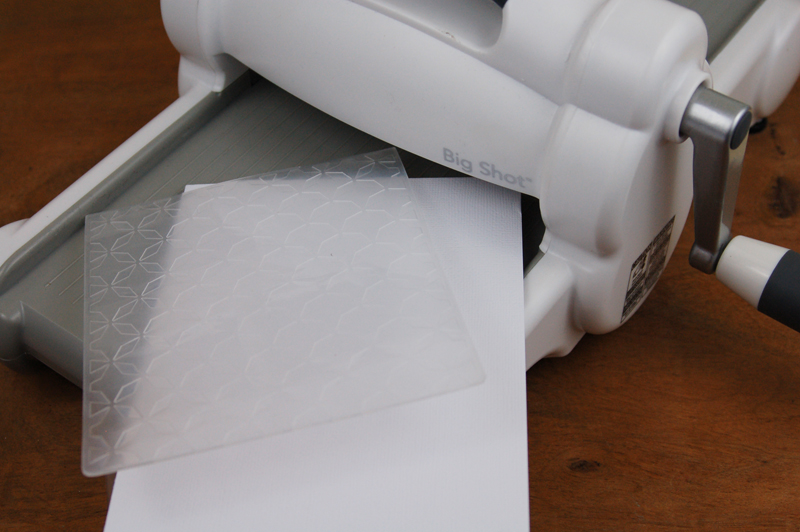
Step 2: Place the white cardstock into the embossing folder and run it through the manual die cut machine using the machine’s specific instructions for embossing folders.
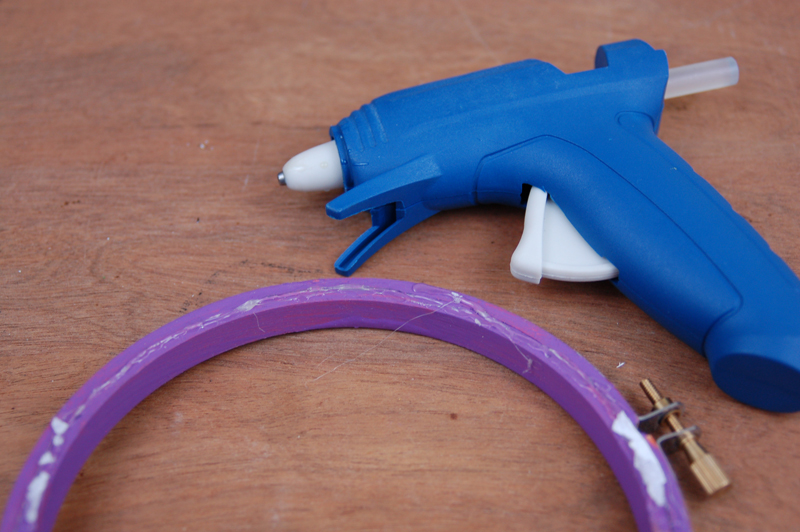
Step 3: Run a bead of glue with a glue gun around the outside edge of the embroidery hoop.
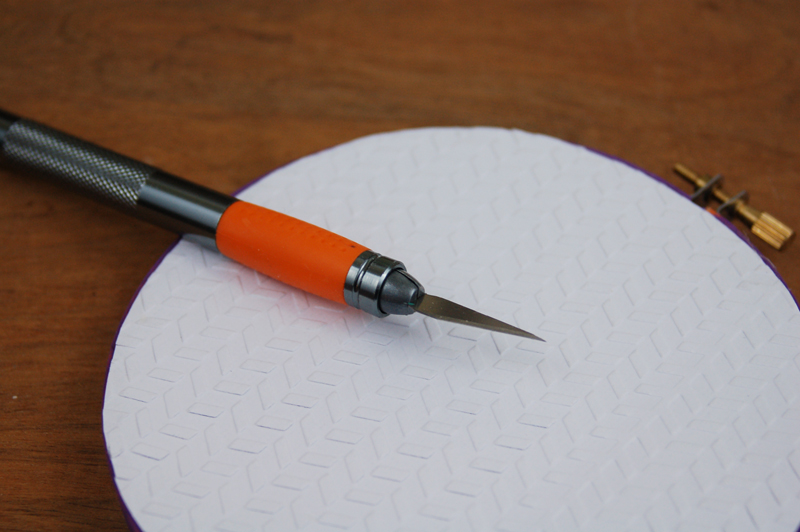
Step 4: Mount the embroidery hoop onto the embossed sheet of paper and trim around the outside edge of the paper creating a circle for the back of the hoop.
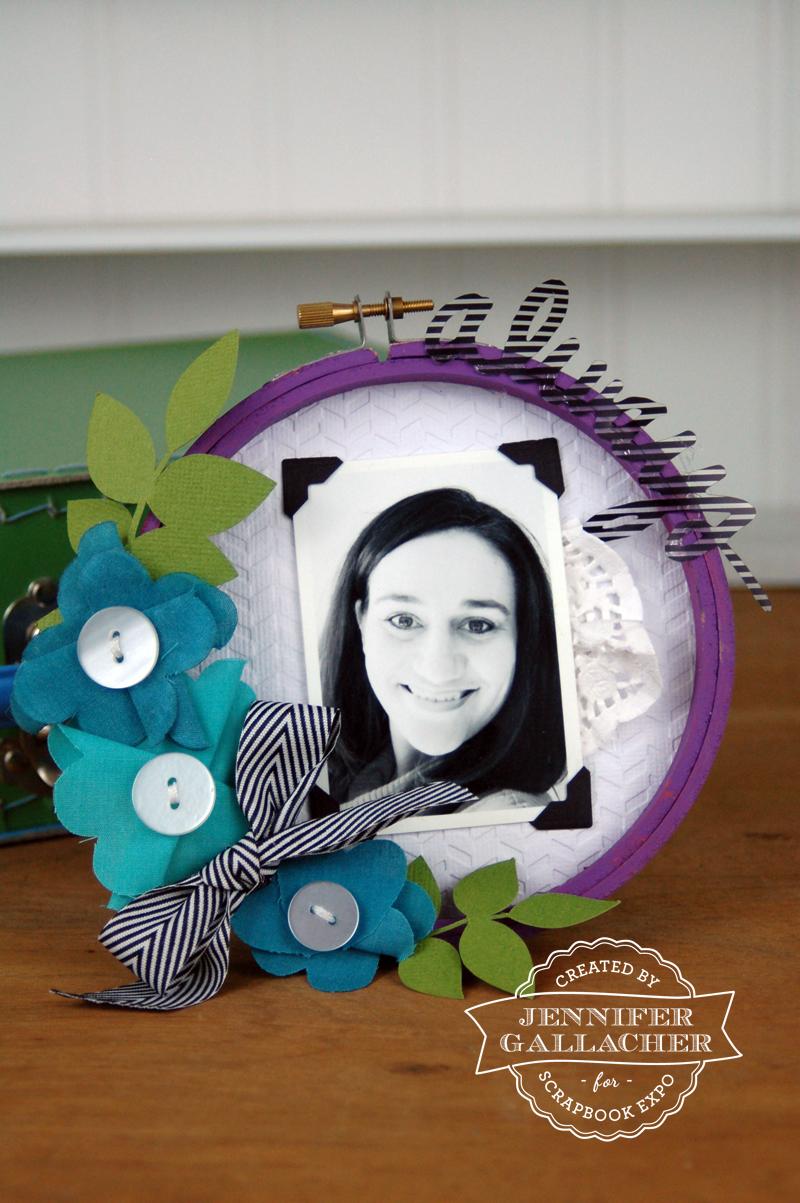
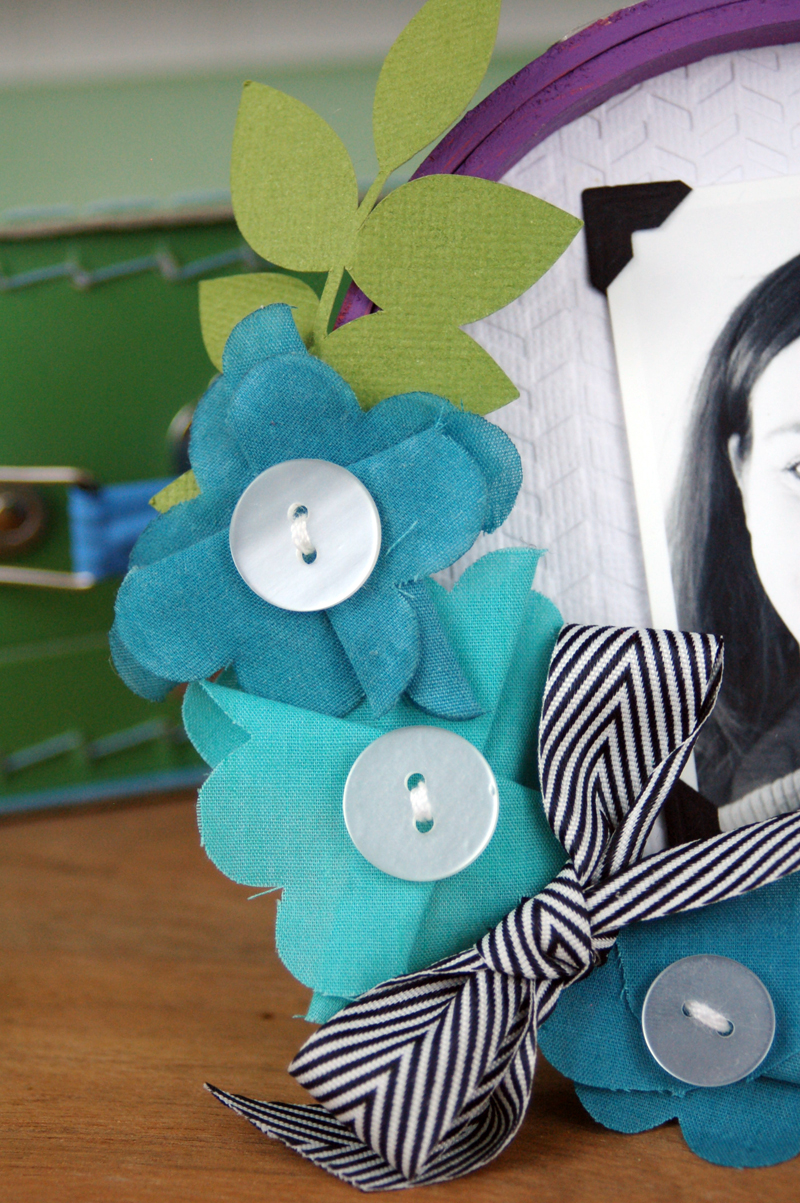
To complete this project, add flowers, die cut shapes, ribbon, and the photo you’ve chosen. Depending upon where you choose to display this project, you can match both the paint colors and the embellishments to fit the décor that already exists. Use a black and white photo to ensure the project matches the room you’ve chosen for the project. Here’s a closer look at how I embellished this project:
Looking for additional home décor projects? You can find them by searching Inspiration Station here on the blog. I share these types of projects the third Thursday of each month, but I also add them to my videos from time-to-time the last Thursday of the month. Stay tuned next week for a layout that focuses on stamping.
Did you know that the first Scrapbook Expo of the year is this weekend? Visit scrapbookexpo.com for a complete listing of shows to find one near you. I’ll be teaching at some of the shows this year and would love nothing more than to meet some of our readers there!