 Welcome back to Inspiration Station! For this layout I wanted to incorporate several stamps that I love. One technique that is especially fun when stamping is to stamp on punched or die cut shapes. One particular technique I’d like to share with you is using a punch to “half punch” a stamped shape. To complete this technique you will need: a stamp, stamping ink, paper, and a punch.

Here’s how to stamp and punch out a tag that is longer than the original punch is designed for:
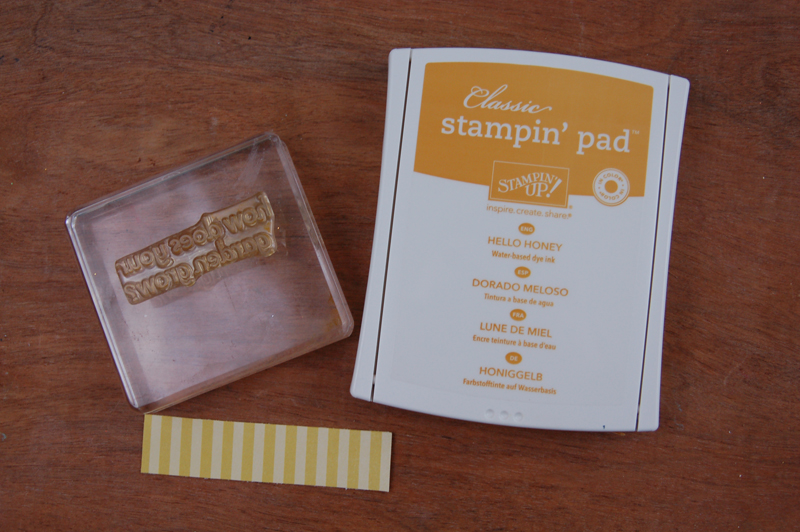
Step 1: Place the stamp on the acrylic block and ink the stamp with yellow stamping ink.

Step 2: When the ink is dry, cut the height of the image to be smaller that the height of the punch (you can see in the photo how the height of the tag is slightly smaller than the height of the tag punch shape). Slide only one side of the paper into the punch and punch the shape.

Step 3: Place the punched shape onto the layout. Use a paper piercer to poke a hole through the punched shape.
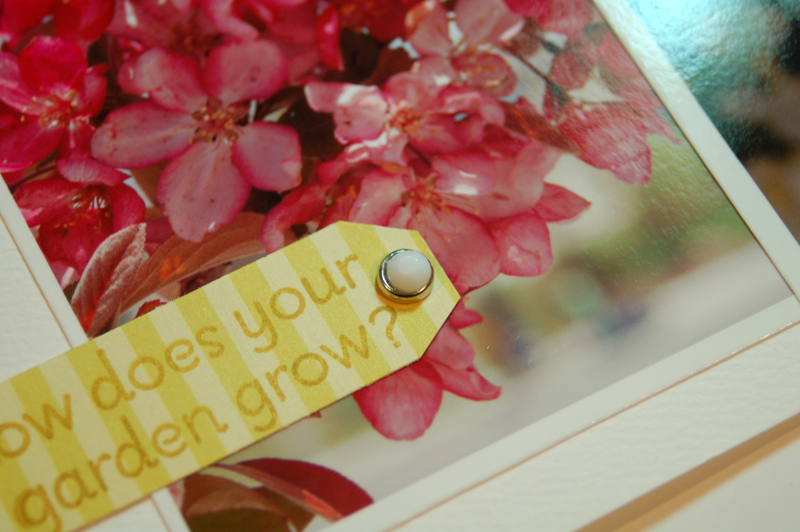
Step 4: Add a brad to the pierced hole.
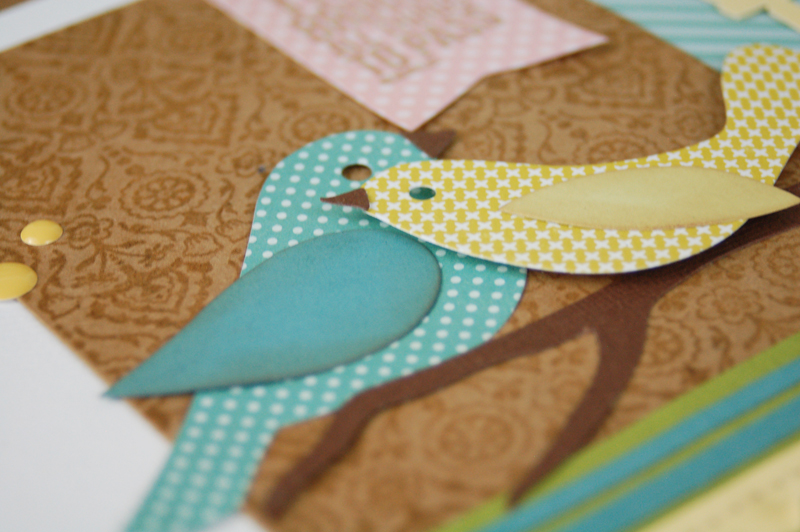
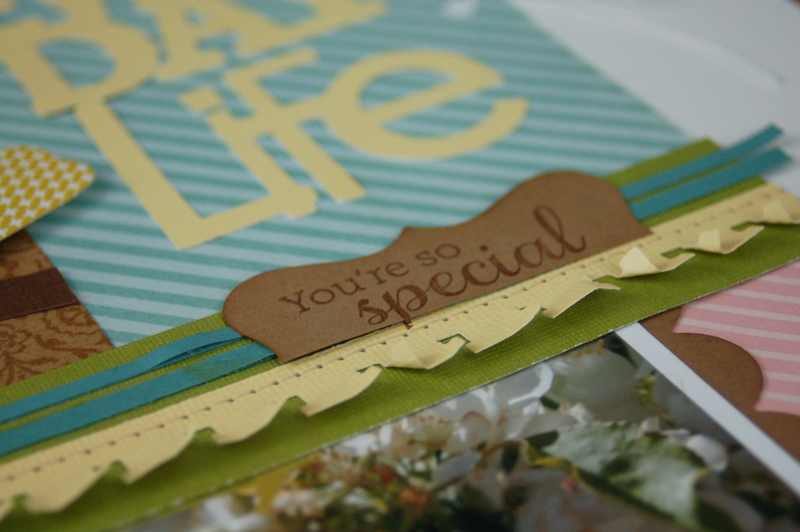
Want to know what else was stamped on this layout? Check out the tan damask paper behind the birds. That is a background stamp stamped with Versamark ink. The pink banner on the same paper is tan ink stamped on pink patterned paper. And finally there is another sentiment stamped on a label that has been cut in half (I also only used part of the original sentiment image). Here are a few close-up photos so you can see some of these stamping techniques:
Next week we’ll be using decorative tape to create a card. Learn how to design a creative background with your favorite tapes. Make sure to check back next Thursday for another Inspiration Station project!