 Welcome back to a BONUS “Inspiration Station” blog post. This week because there are five Thursdays in April I get to share any kind of project I want. I’ve been loving the watercolor trends both in crafting and in home decor so I thought it would be fun to try a watercolor technique together.
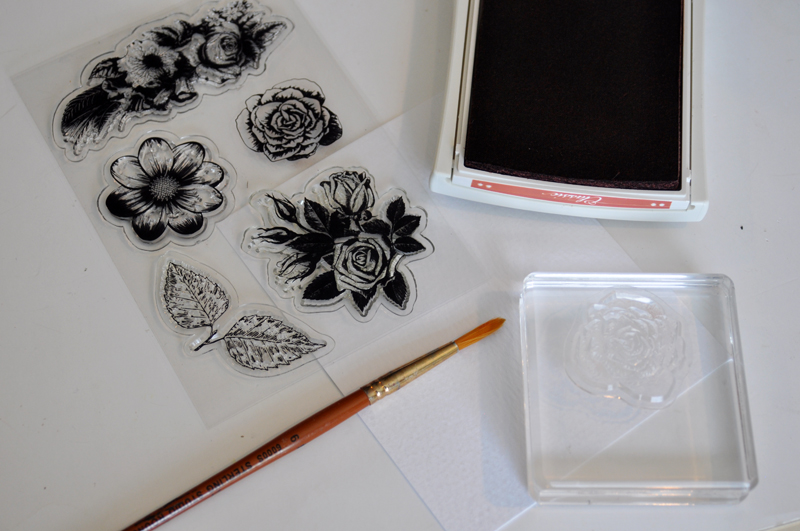
Supplies: To complete this technique you will need: an image stamp, an ink pad, watercolor paper, a paintbrush, and some water.
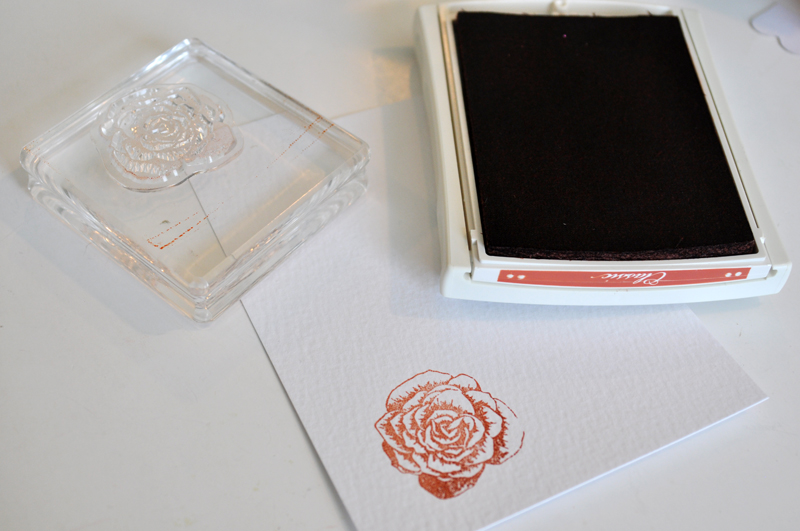
Step 1: Ink the image and stamp onto the watercolor paper.
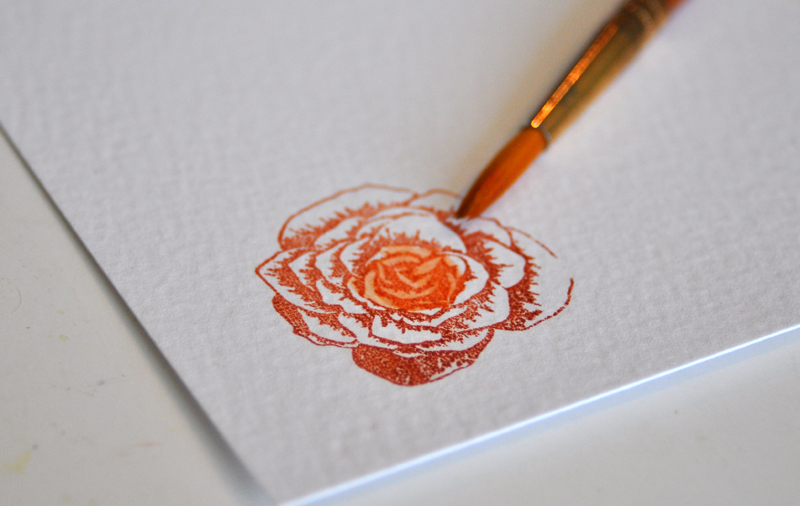
Step 2: Wet the paintbrush and using the colored parts of the image as your guide, pull the color into the “white” areas of the image. Don’t completely fill the image. Simply drag some of the color with the paintbrush outwards. You’ll start to get a feel for how it works best as you try this technique again and again.
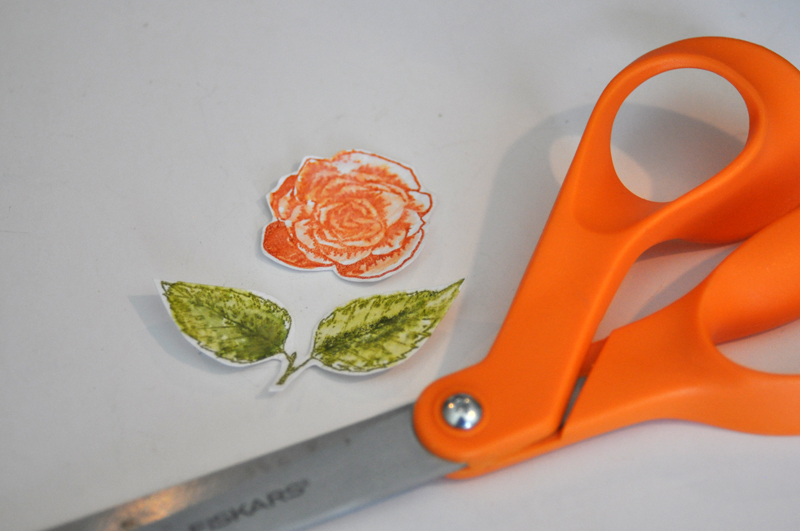
Step 3: Use scissors to fussy cut the images from the watercolor paper. You can see here that I used the same technique for the stamped leaves.
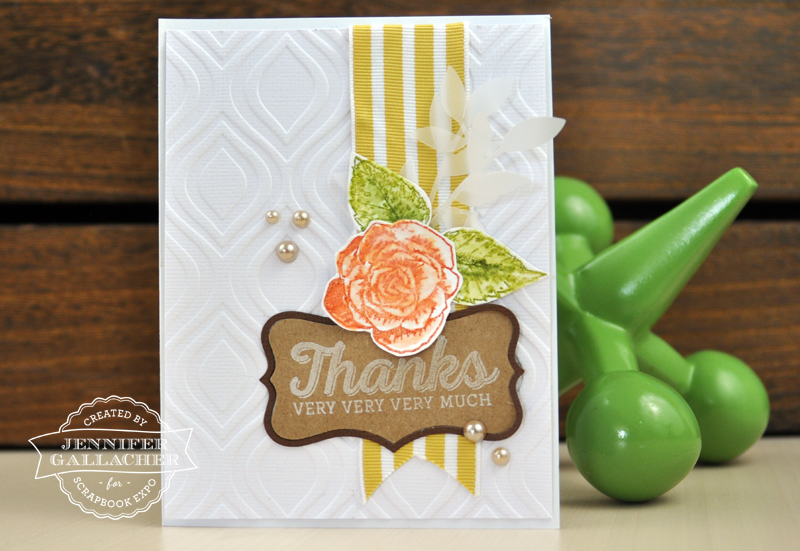
Here’s a look at the completed project:
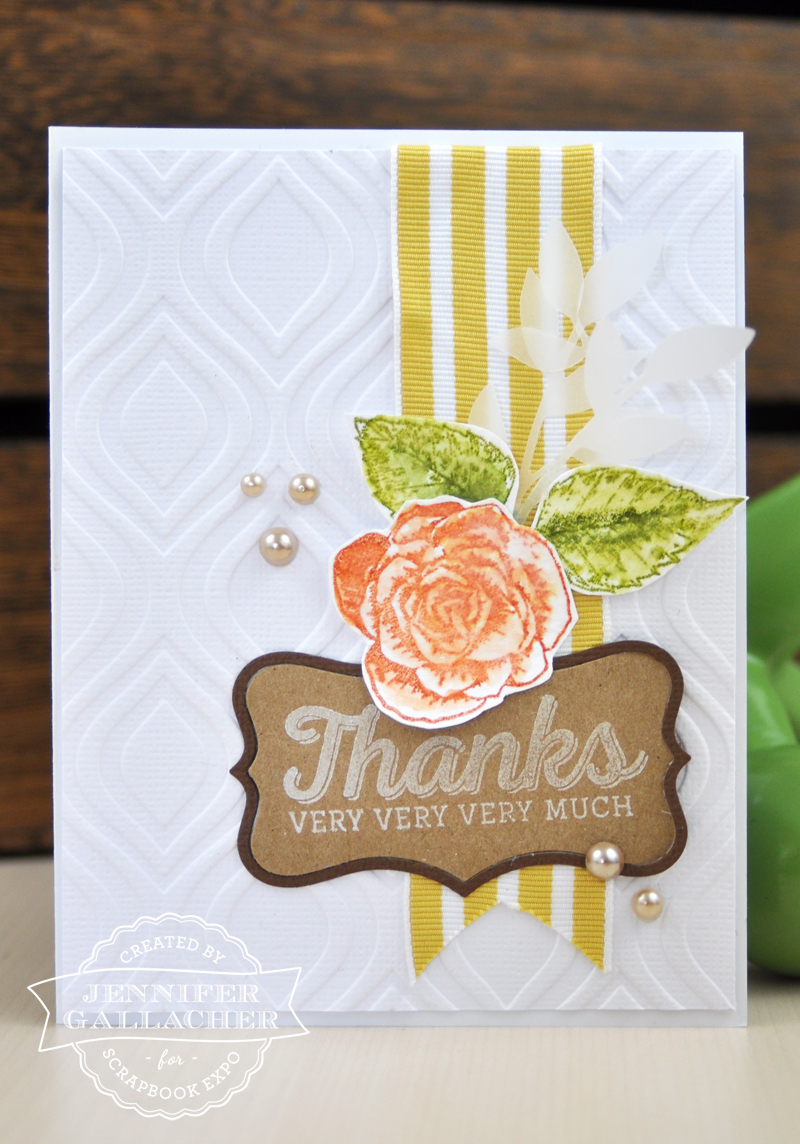
And here’s a closer look at the stamped images:

This rose and leaves stamps can be found on the “Floral Stamp” from Bo Bunny, while the phrase is stamped with Hero Arts white stamping ink and uses a Technique Tuesday stamp set. You could also heat emboss the sentiment with white embossing powder if you’d like it to stand out a little more.
Look for a new “Inspiration Station” post next week, in which I share some techniques for creating a scrapbooking layout. If you like this project, be sure to pin and share it with friends!
This is very pretty. Thank you for the tutorial.
This card is lovely. I, too am watercoloring again. I like to emboss then watercolor within the emboss lines.
Breaking it down into it’s components makes it possible to complete. I love the card, thank you for the tutorial.