
 I am always looking for creative layers for my cards. Sometimes that means stamping. Sometimes that means patterned paper. But today I wanted to use a supply that I have a great deal of, and that is decorative tape (also known as Washi Tape). This versatile embellishment can be used for many things, but for today’s Inspiration Station tutorial I wanted to show you how to combine some of your favorite tapes to create a card background.

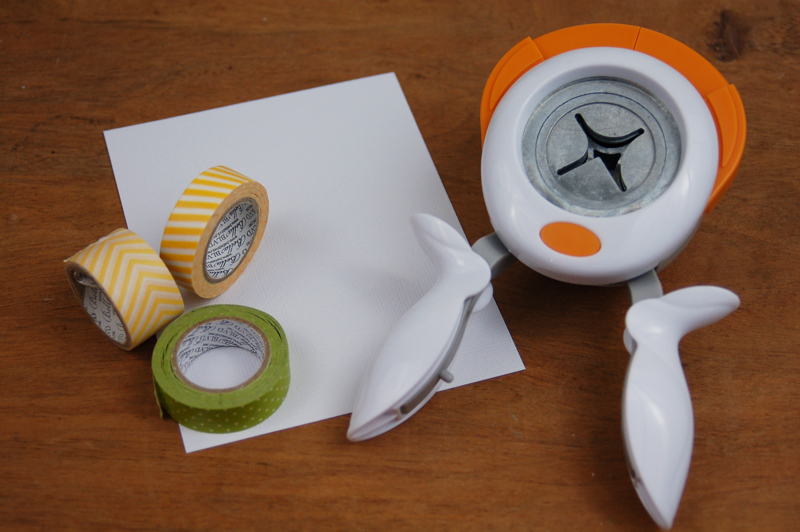
To create a taped card background you will need: cardstock (I chose white); tape in a variety of colors, styles, and widths that work well together (look to the rest of the embellishments you’re going to use on the card as inspiration for these items).
Here’s how to create the background for this card.
Step 1: To create the background, cut the white cardstock into a rectangle and round the corners.
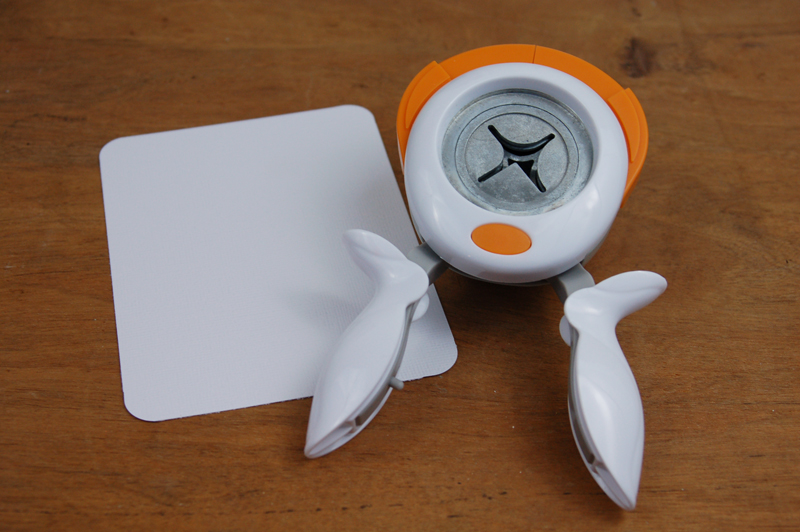
Step 2: Place the first decorative tape strip on the left side of the card front, leaving a slight space between the edge of the paper and the tape.

Step 3: Continue the pattern by adding additional styles of tape in a variety of widths to the card. Tear off the tape edges at different places each time to keep the background even more interesting.
Here’s another look at the card so you can see how the tape is layered in the background. Note the different widths and the addition of the green tape. All the colors and styles match the look and design of the rest of the card. Knowing these choices beforehand made the design come together easily.

You can use this technique in several different ways. Try overlapping the taped edges rather than leaving a gap between each new tape style. You could make it entirely of one color. You could turn the tape and run it horizontally. You could also mix it up by adding both tape and patterned paper strips torn and cut to look like tape. I’d love to hear your ideas. Simply leave a comment in the comments section below sharing how you might use this technique.
Next week we’ll learn how to turn an ordinary embroidery hoop into an eye-catching home décor project with an unexpected twist. Looking for additional “Inspiration Station” projects? Be sure to search for them here on the Weekly Scrapper blog. You can also find them every Thursday, so stay tuned!
Beautiful card!
Thanks so much, Kimberly!
I love this idea and using paper mixed in will use up valentine scraps and be perfect for a birthday card I need to make for next week. Thanks so much!