By Emily Jones
Little known fact about me:
I originally did this project without a hot glue gun, but I will say that it sure makes things easier. I should really go buy my own. The Nester {one of my faves} uses hers all the time {window mistreatments, adhering a beadboard backsplash} and I’m pretty convinced that it is a worthwhile tool. I’m sure you’re all agreeing …
And so, let me introduce today’s project.
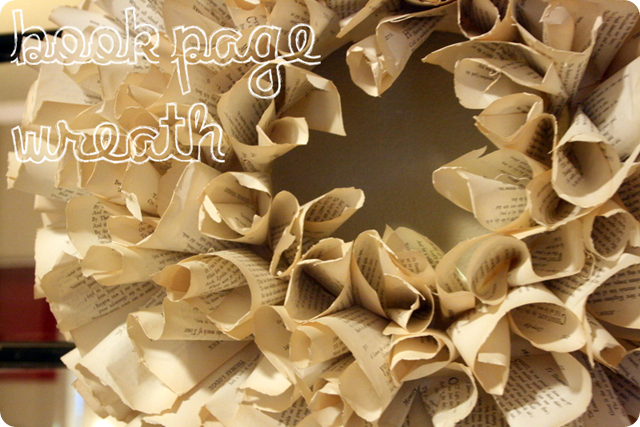
I have to say that this one is not an original project. Last year I was searching for something unique to make for my sister for her birthday and came across this tutorial. Since we’ve already established that I love book pages, this one was right up my alley. I loved it so much, I kept it for myself and bought my sister a shirt instead. Sorry, sissy.
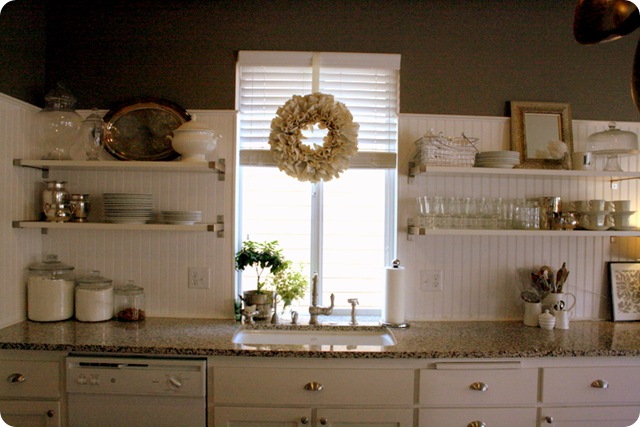
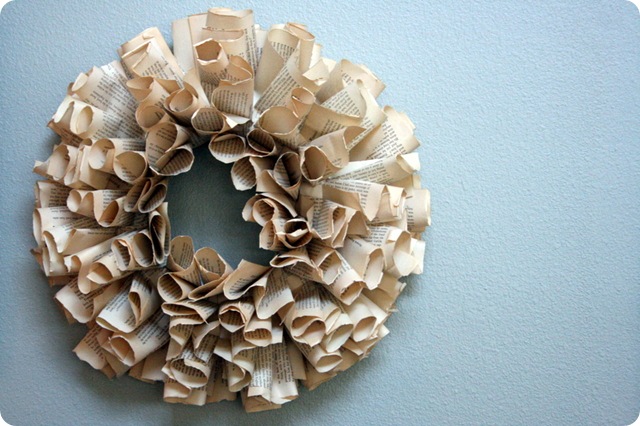
I have mine hanging in my kitchen window so that I can enjoy it often:
It is the project I received the most requests for instructions on, so here I am to deliver.
Let me start by saying two things:
1. This is a very photo heavy tutorial. Hope you don’t mind.
2. This takes a LONG time to make {well, not as long as the painted wallpaper, but about 2 hours or so, which is long when you’ve got little boys wandering around the house bored out of their minds and you are doing everything you can to just finish the project already.
You are warned.
Shall we get started?
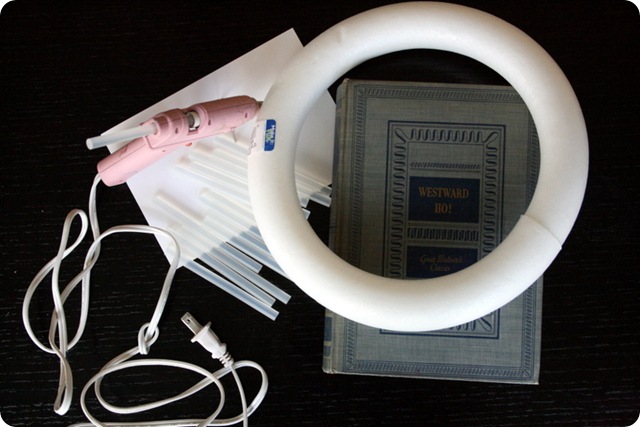
Here is what you’ll need:
:: styrofoam wreath form {mine is 10”}
:: book {I’ve found that thin pages {as used in my first wreath} work better than thicker pages {as used here} – think text weight paper vs. cardstock}
:: glue gun & glue sticks
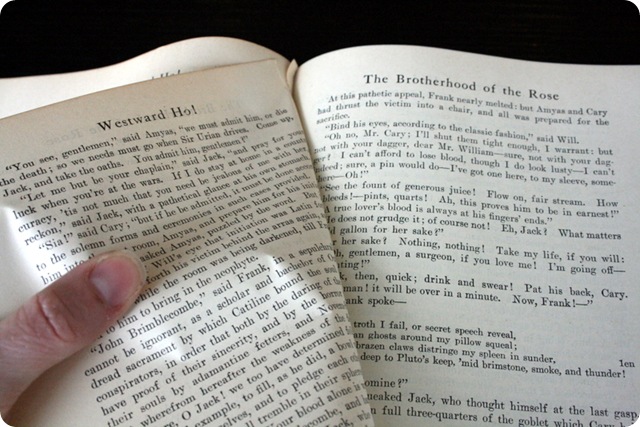
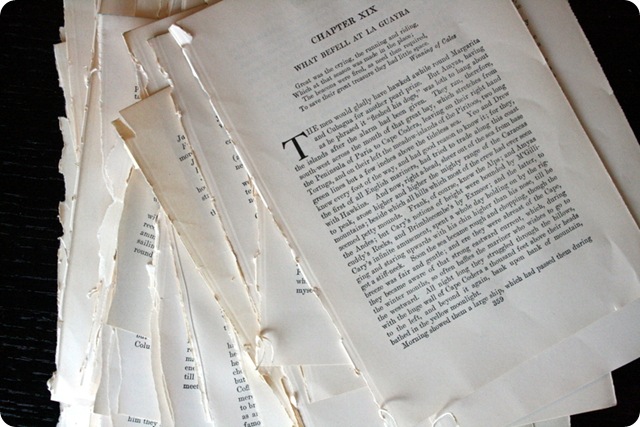
STEP ONE: tear out the pages
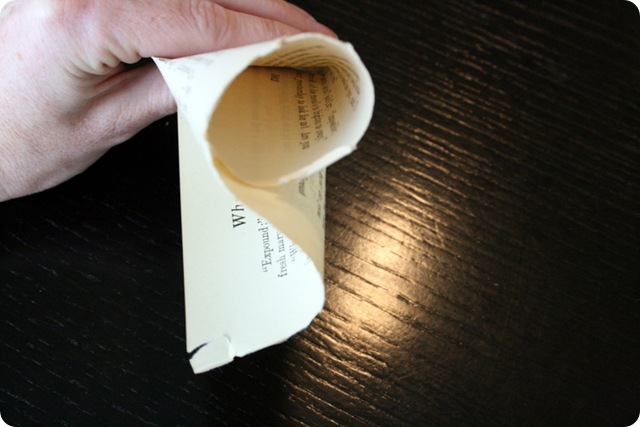
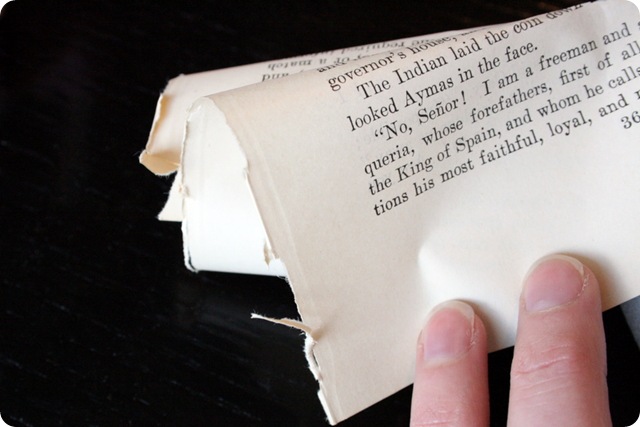
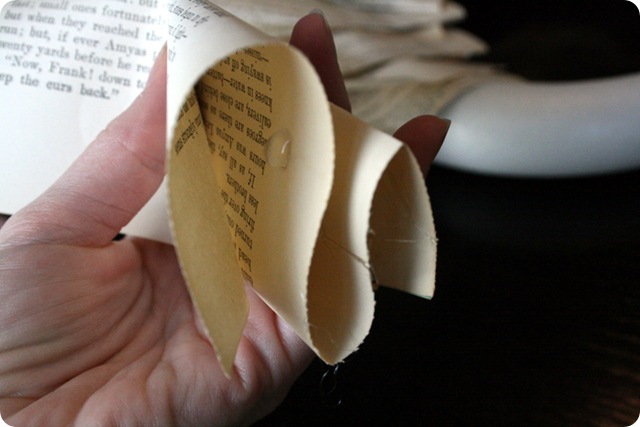
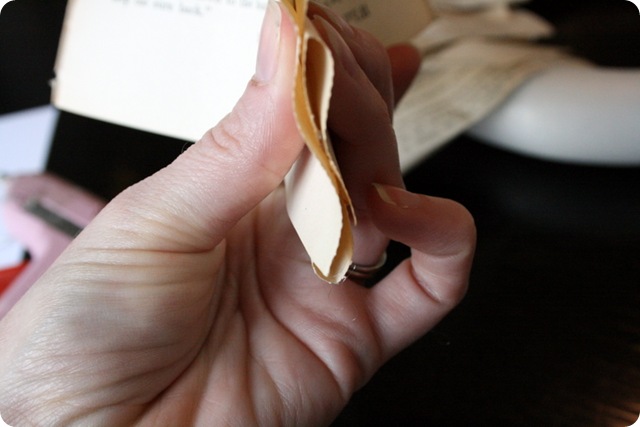
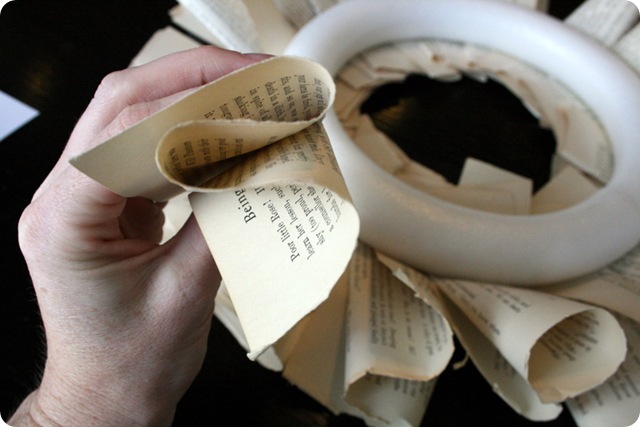
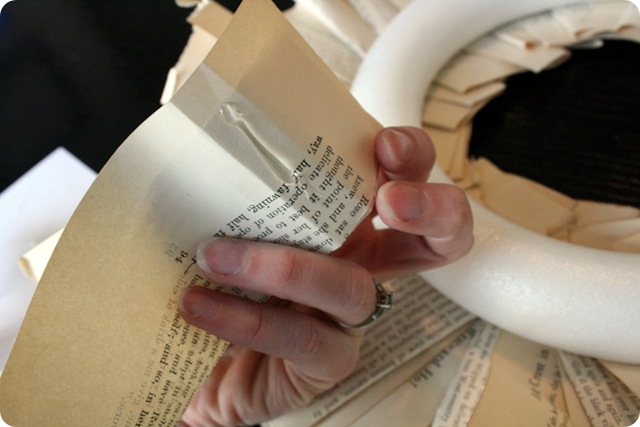
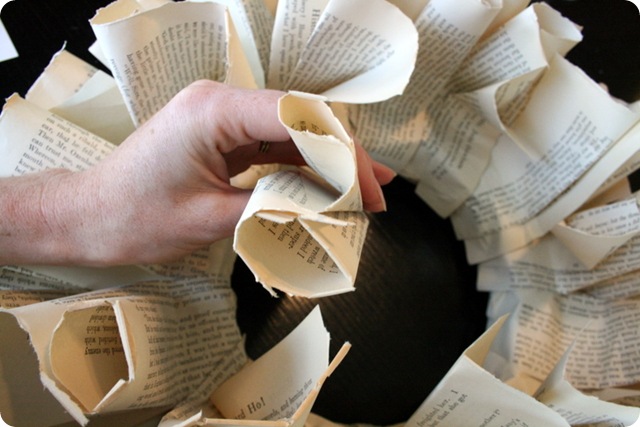
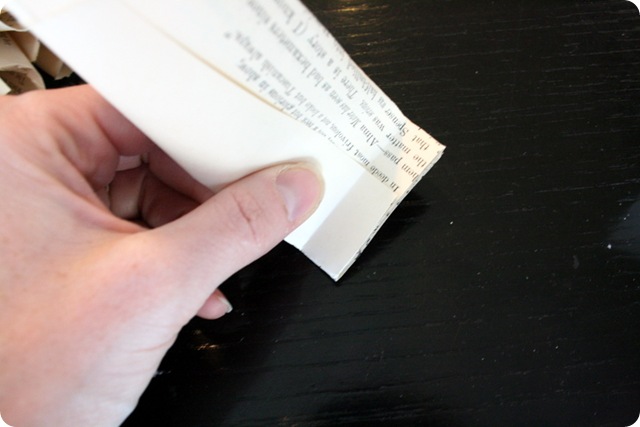
STEP TWO: bend the page
Bend & roll into a shape similar to shown above.
I like the ripped out edge to show {it gives it that pretty ruffly look}.
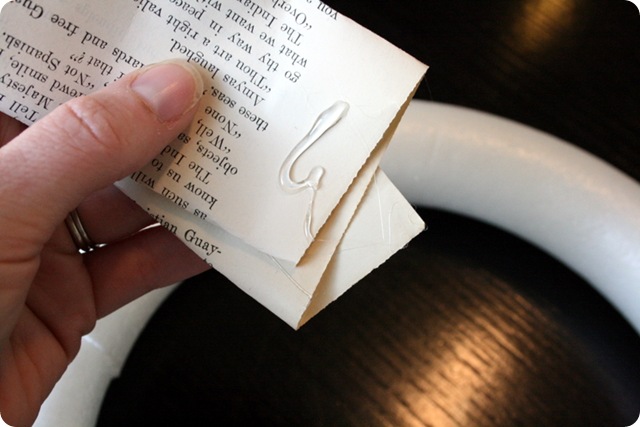
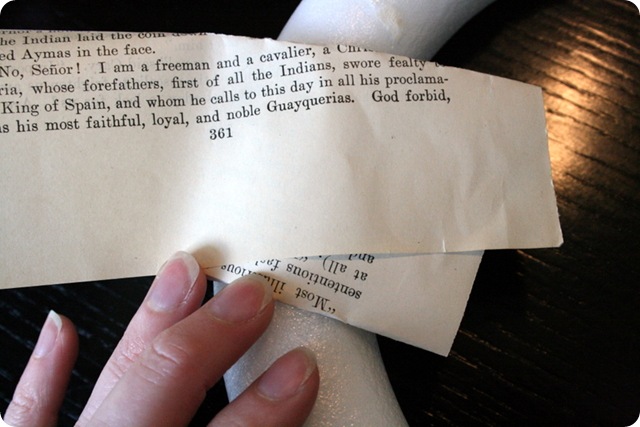
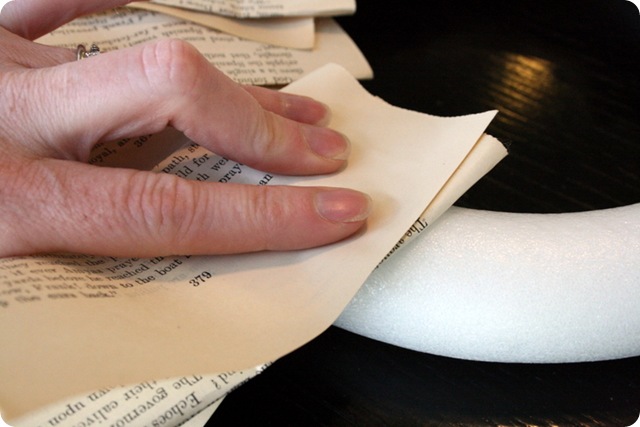
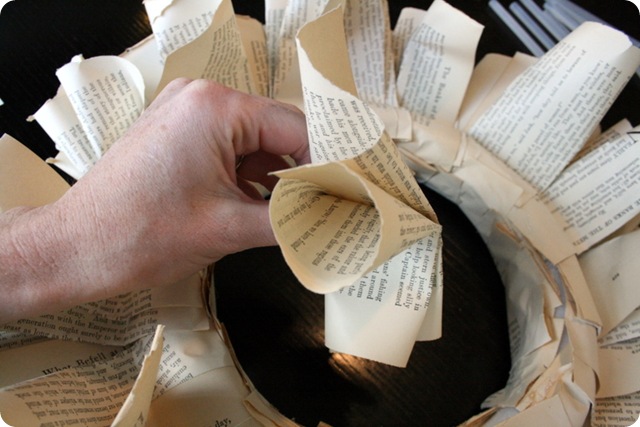
STEP THREE: attach the back layer to the wreath form
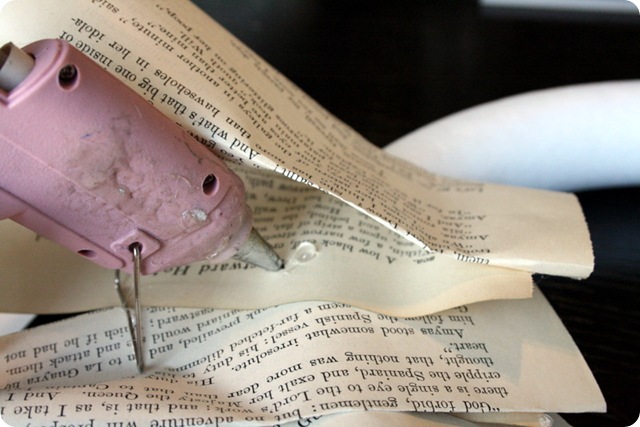
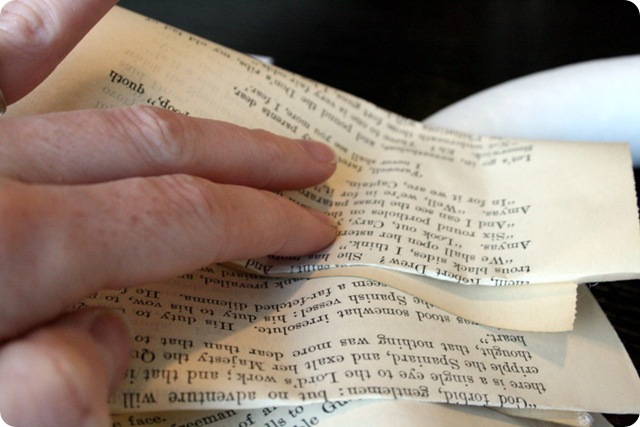
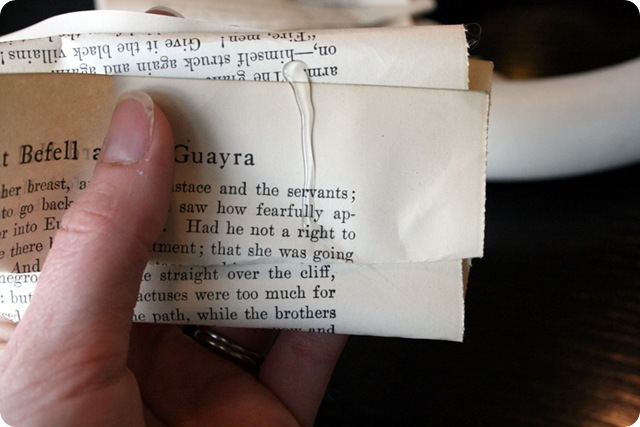
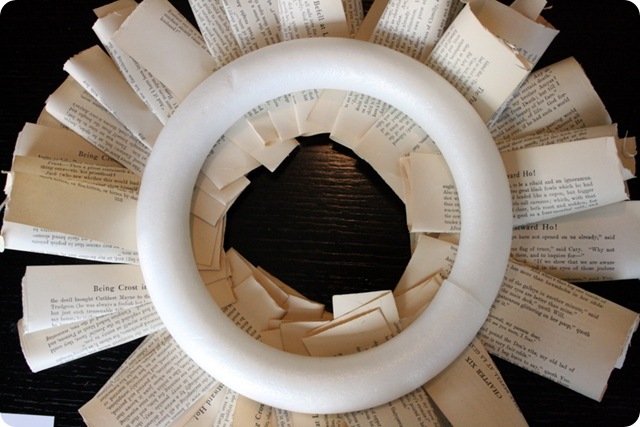
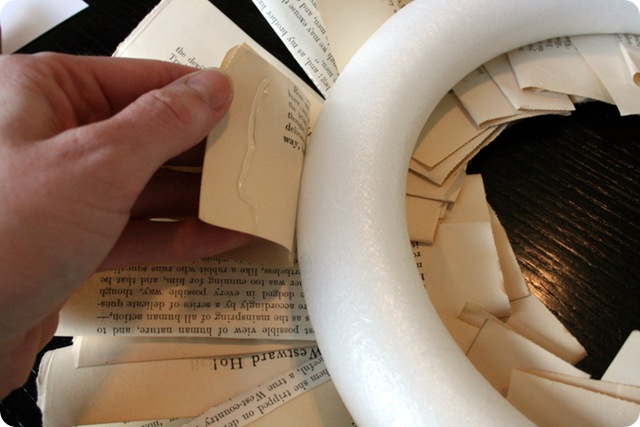
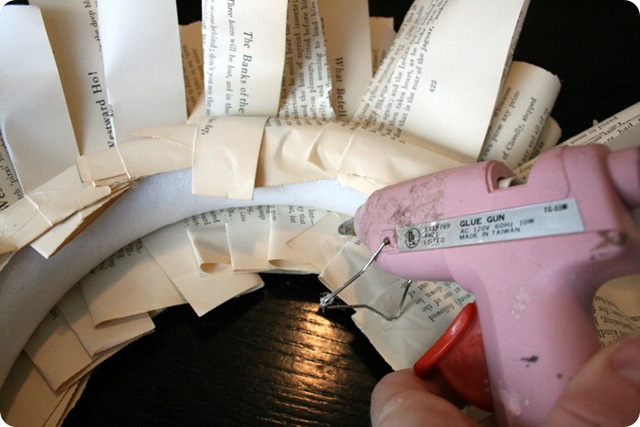
STEP FOUR: glue down the layers
Or you could go this route and add glue to the middle of the folds before you attach to the wreath.
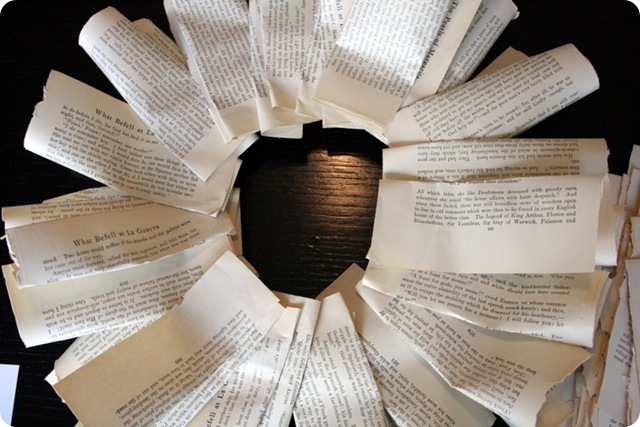
Keep going all the way around the wreath until you get this:
Flip it over to continue.
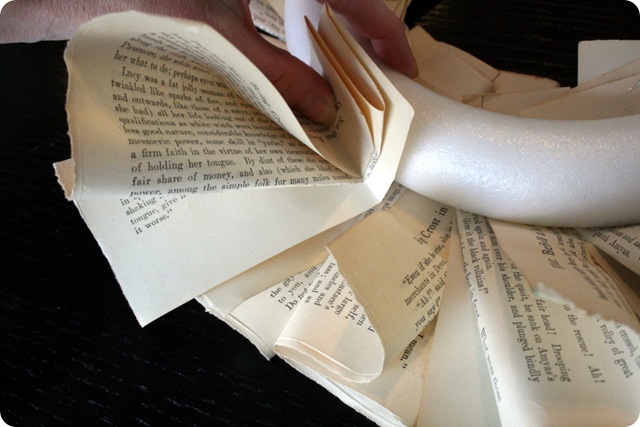
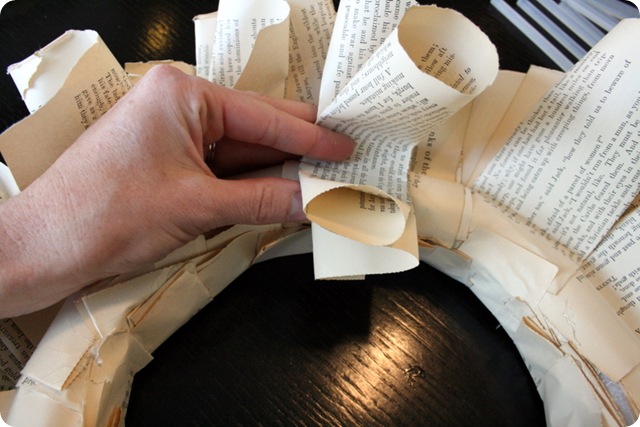
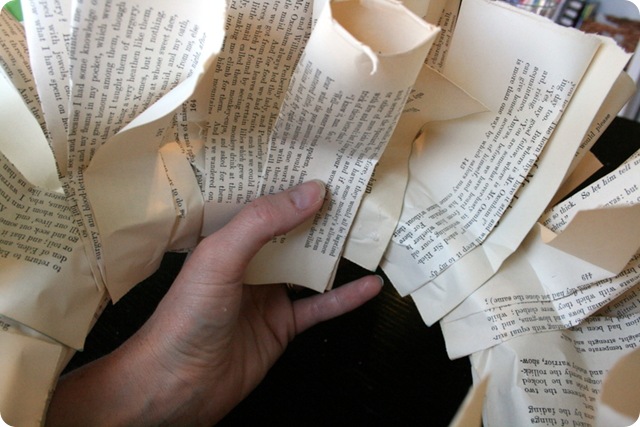
STEP FIVE: attach the next layer
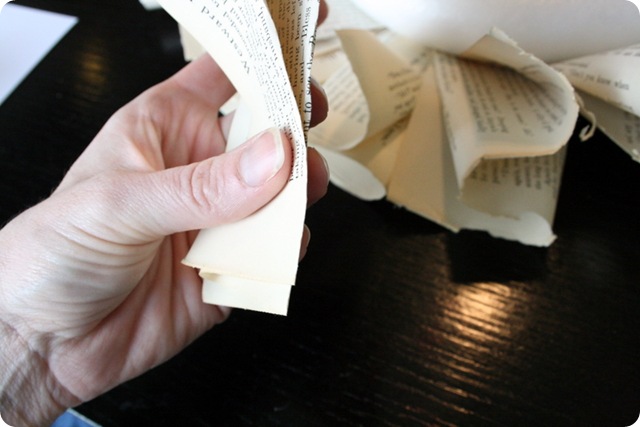
bend
crease
figure out how long you want the paper to be {so that it is about equal with the layer behind}
crease
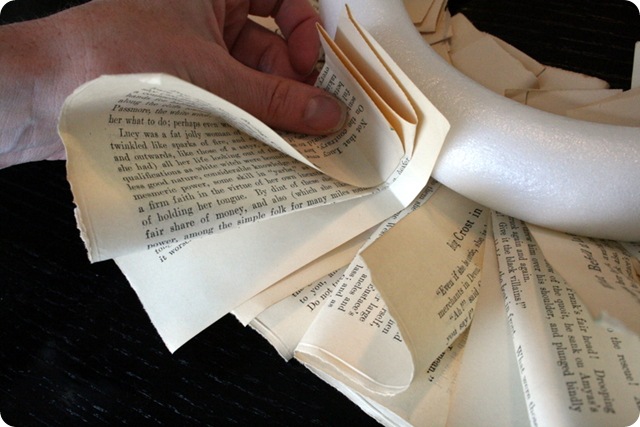
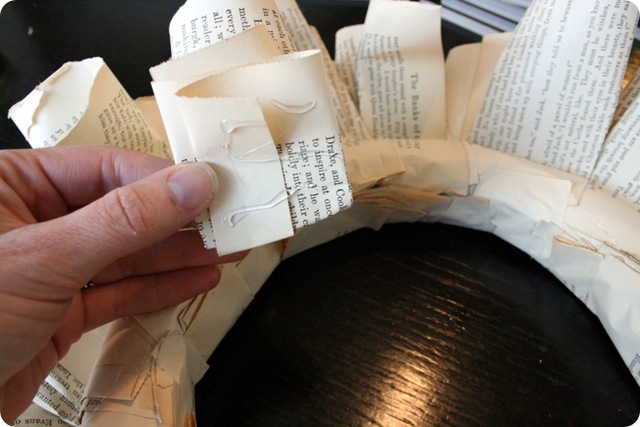
glue & attach.
Add a line of glue and glue down the extra paper.
Here’s what you’ll have:
STEP SIX: fold up and attach bottom layer
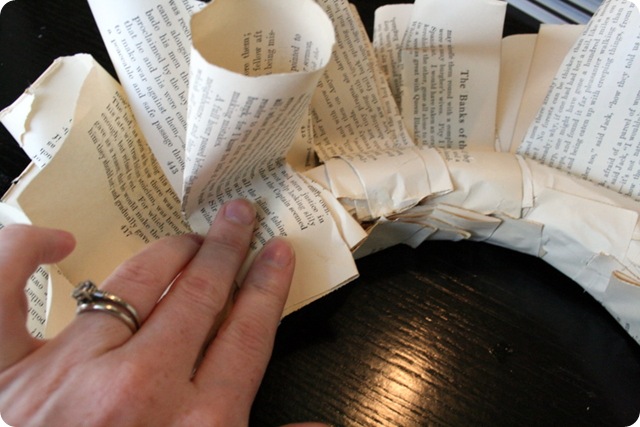
STEP SEVEN: attach the next layer
bend
figure out length
glue & attach
and you’ll have this:
STEP EIGHT: attach the next layer
and you’ll have this:
STEP NINE: attach the next layer
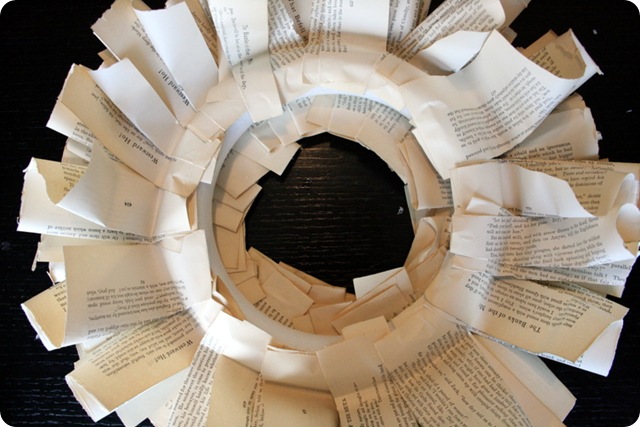
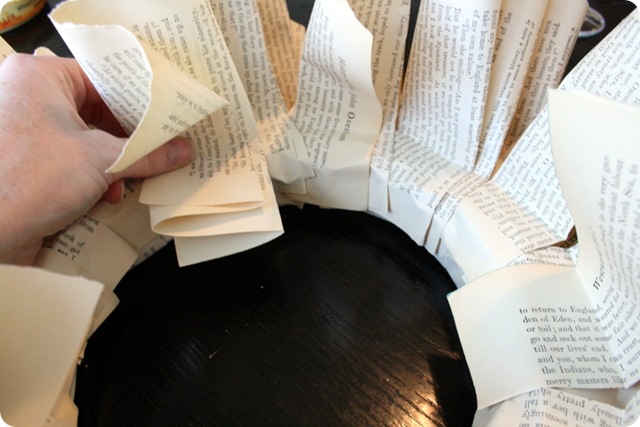
This time, the page will be attached to the inside perimeter of the wreath and the extra end of the page will be folded & glued under.
almost there!
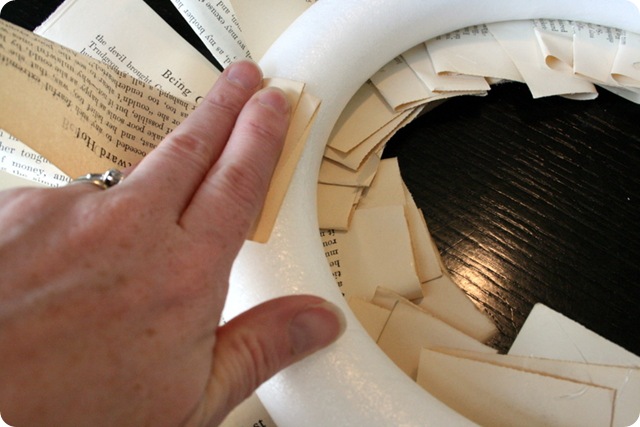
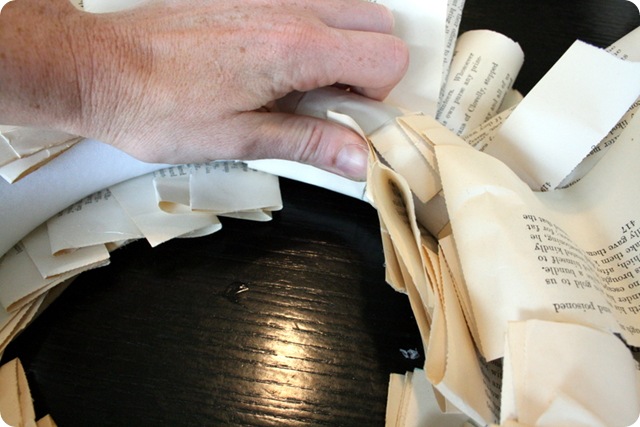
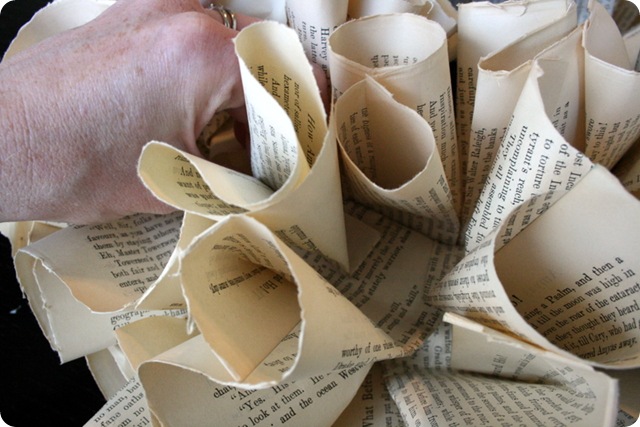
STEP TEN: fill in the holes
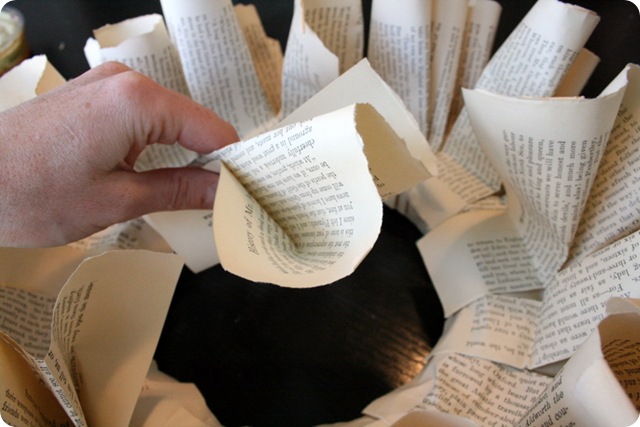
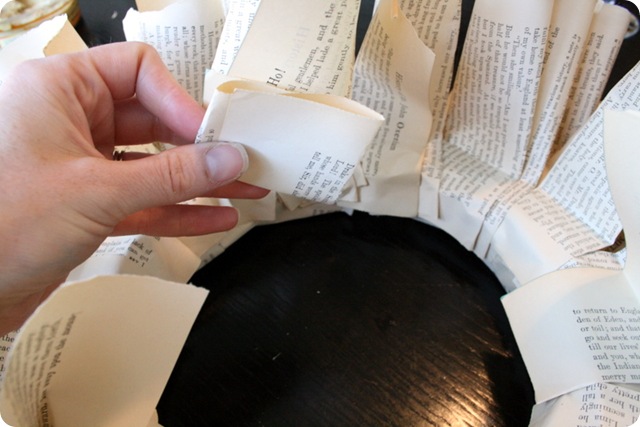
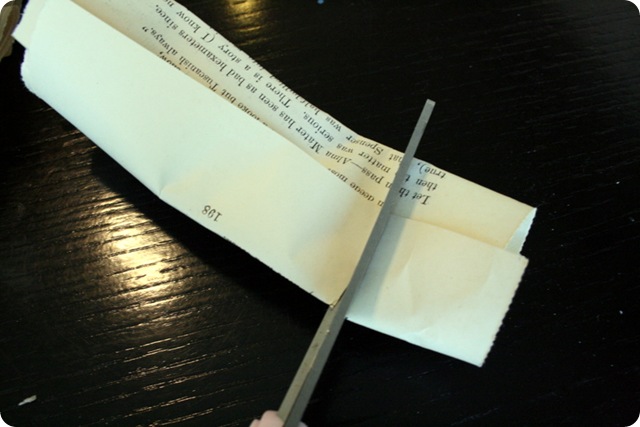
Where there are spaces, add in another page. Use the same folding/bending technique, cut off the end
give it a little fold, add some glue
and press into hole.
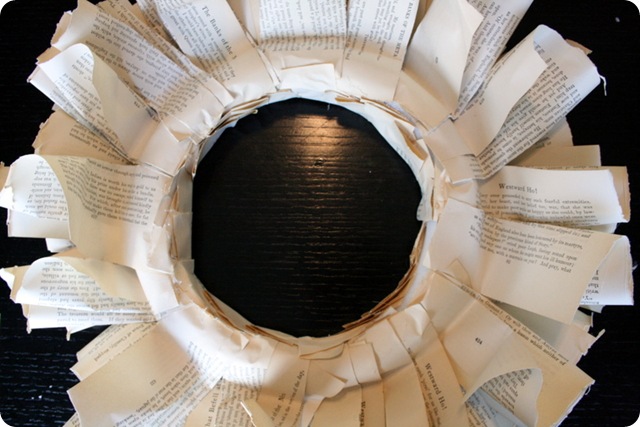
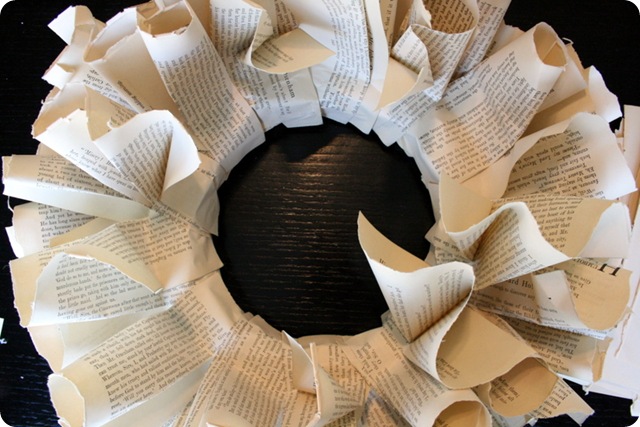
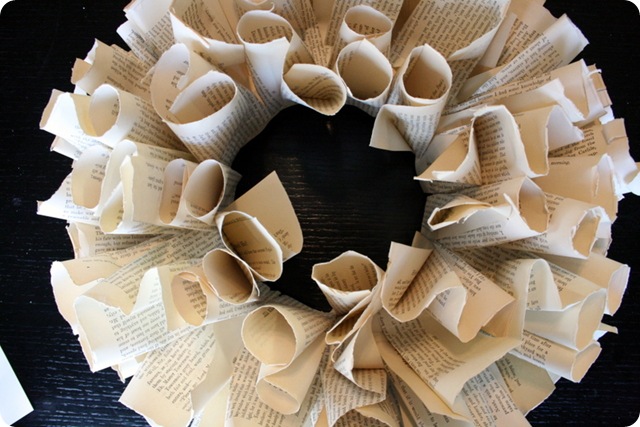
Keep adding more until your wreath is full & fluffy.
STEP ELEVEN: add a ribbon to hang
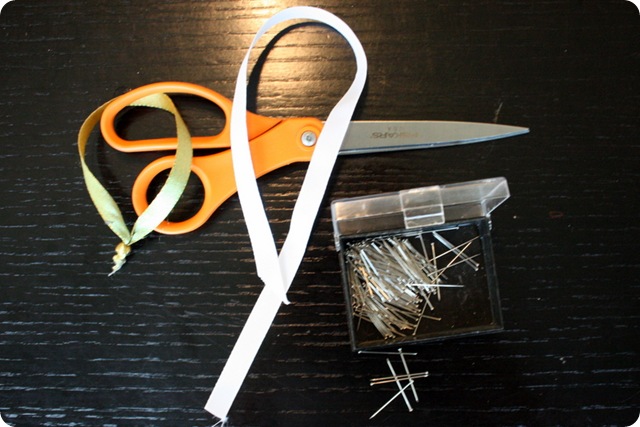
You’ll need:
:: scissors
:: ribbon
:: pins
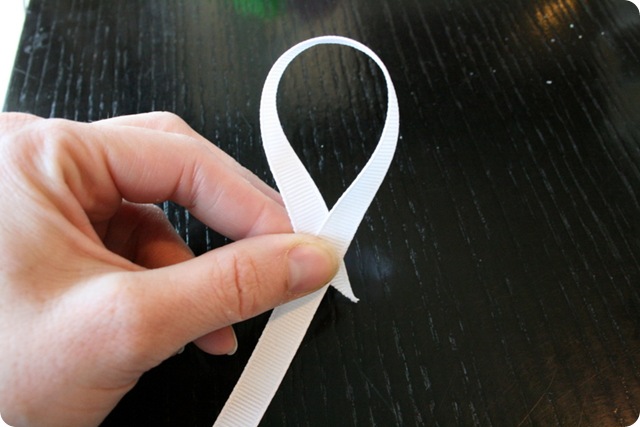
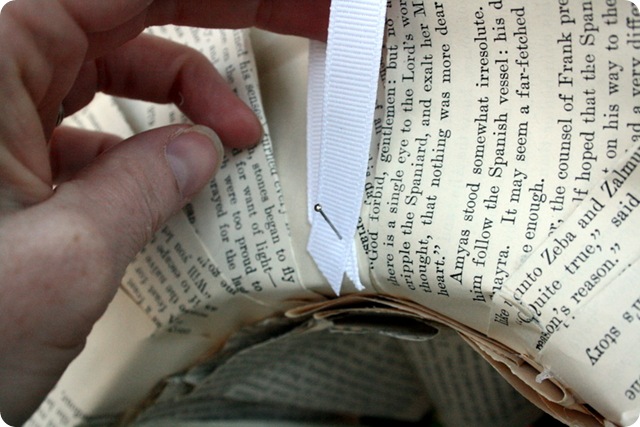
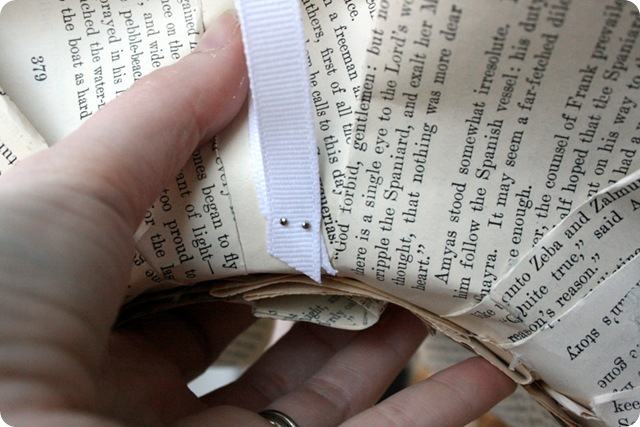
bend the ribbon into a loop & cut
attach to the back of the wreath using the straight pins
And it is done!
I . love . it
Here are some other gorgeous options:
{via}
{via}
{via}
I have a feeling there will be a lot of books destroyed to create these beauties …
Reposted with permission from: http://jonesdesigncompany.com/create/5-days-of-favorite-projects-day-4/








Super cute! Thanks for the great and thorough instructions. Can’t wait to make one. This is going to so much fun!