Everyone loves butterflies, don’t you think? There are so many ways to create butterflies with paper crafting, but I’ve never seen this one before. Use Baker’s Twine to create cute little butterflies!
By Jennifer Carter
This is Jen from Jen’s Ink Spot with you today and I am so happy to be back for another term with the Twinery’s Design Team! I have a fun project that I have been so excited to share with you today!
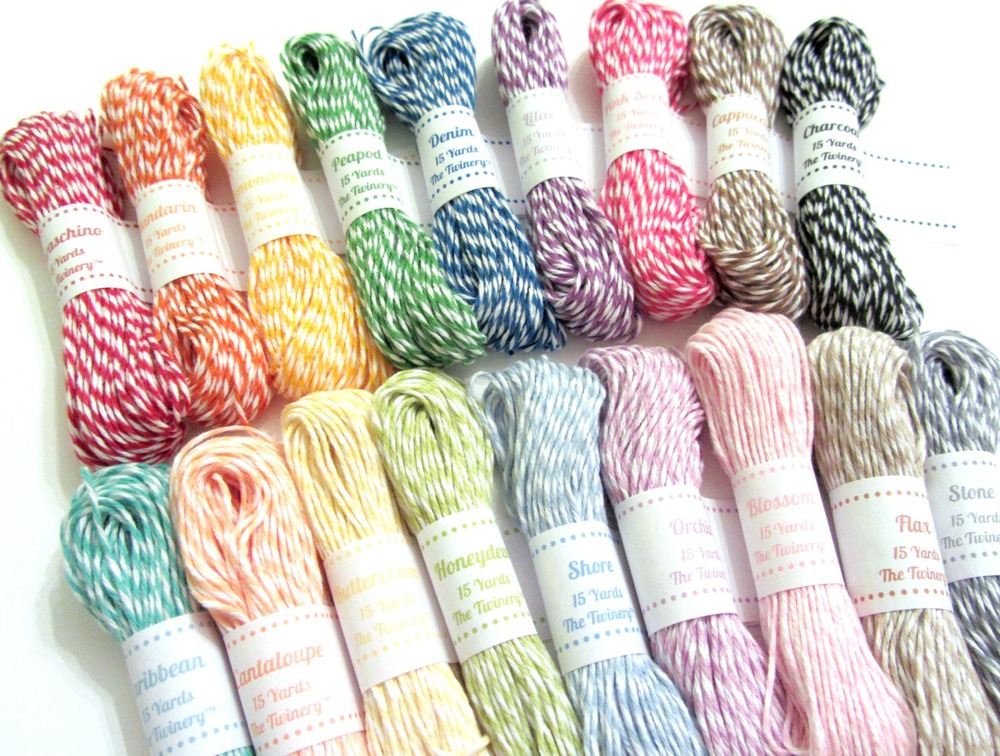
You know how much I love using the Twinery’s Twine on my projects and I am always trying to think of out-of-the-box ideas on how to use it.
This idea came together a few months ago when I was thinking about a pom-pom tutorial that Caroline had put together last year. I discovered that when you pulled the bundle of twine off of the fork what you have looks like a butterfly (at least to me) before you cut it apart. If you enjoy looking at paper craft ideas, you have probably seen the very popular cards and frames that include butterflies or apples or other die cuts lined up to form a grid.
So I took that idea and ran with it!
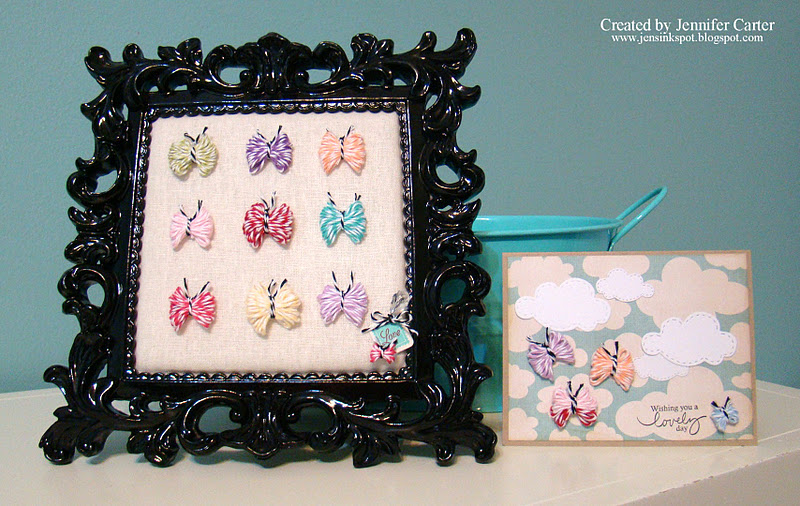
I had so much fun putting this together! Don’t you just love those twine butterflies!? You can create so many fun color combinations and even have multi-colored butterflies like you see on the card! You can make the butterflies very large and full or very small and delicate. I’ve included a tutorial at the bottom of this post to show you how to create your own.
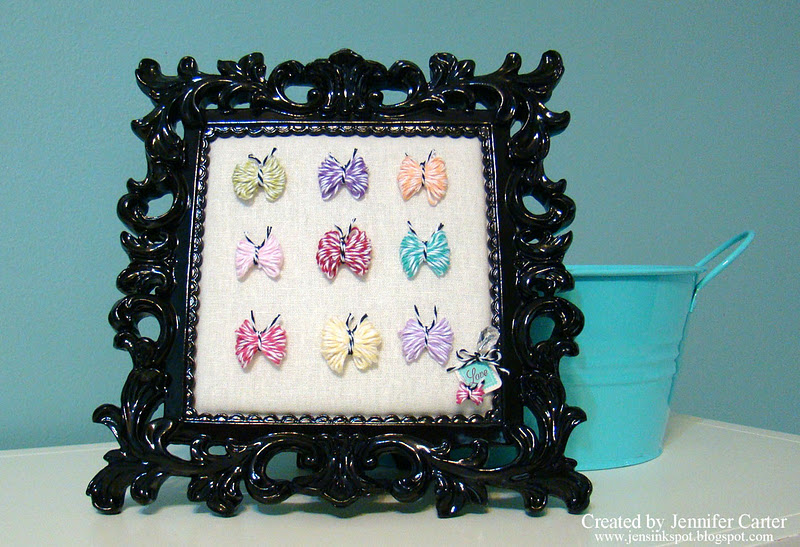
This frame was a great find from an arts & crafts store. It has a cushiony canvas back to it and I thought that the ivory contrast against the white in the bakers twine was perfect.

In the bottom corner, I attached a tiny twine butterfly on a tag using a pin. This tiny butterfly is so sweet! Can’t you image using these in your party decor or on your cards? So cute!

I also created a coordinating card to go with the frame. The butterflies work perfectly on a card and make a fun and unexpected embellishment.
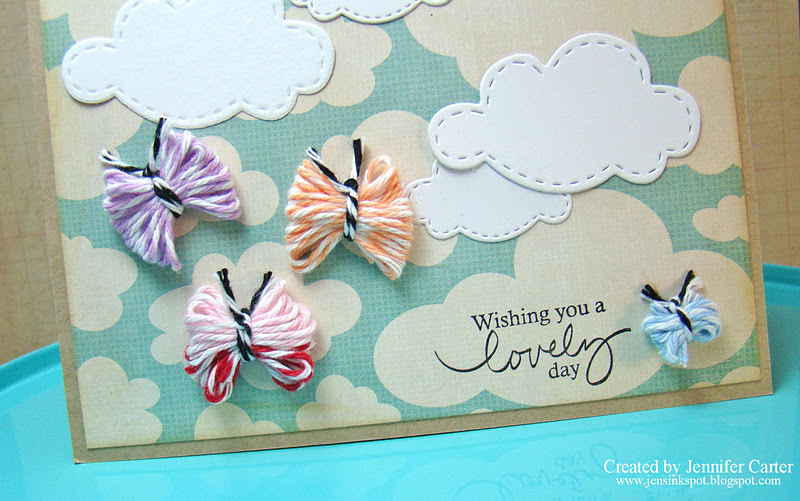
As you can see from this card, I made a multi-colored butterfly by following the steps I’ve shown below but also adding a 2nd color to the fork before tying the twine and taking it off the fork.
Here is how I made the butterflies:
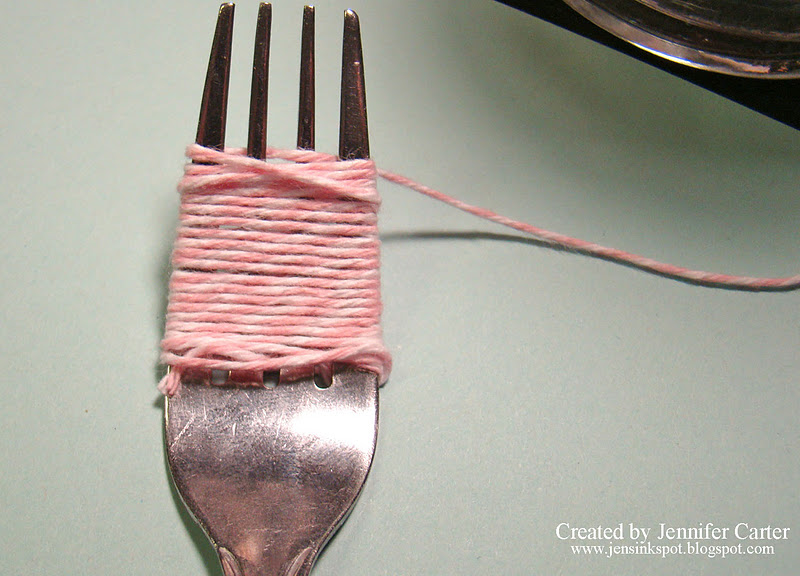
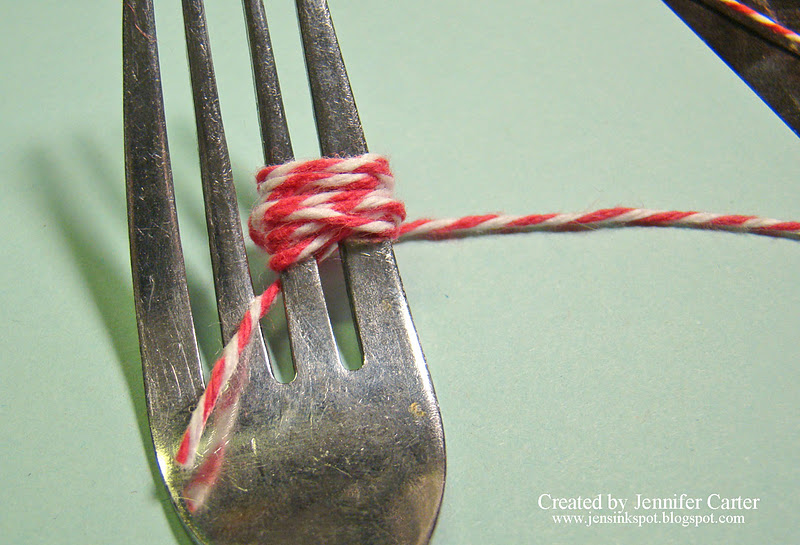
First, wrap as much twine around a fork as you’d like. The more twine you use the fuller your butterfly will be. For the size of butterflies I made on the frame, I wrapped the twine around all four tines on the fork. In order to tie the butterflies evenly at the end, it is best to wrap around an even number of tines.

After you’ve finished wrapping, you will want to take a contrasting color of twine and wrap around the center tine twice and tie. You will want the knot centered at the top of the butterfly. Be sure to pull tight. Once you tie your knot this piece will also become your butterfly’s antennas.

This is what the butterfly looks like after you’ve taken it off the fork.
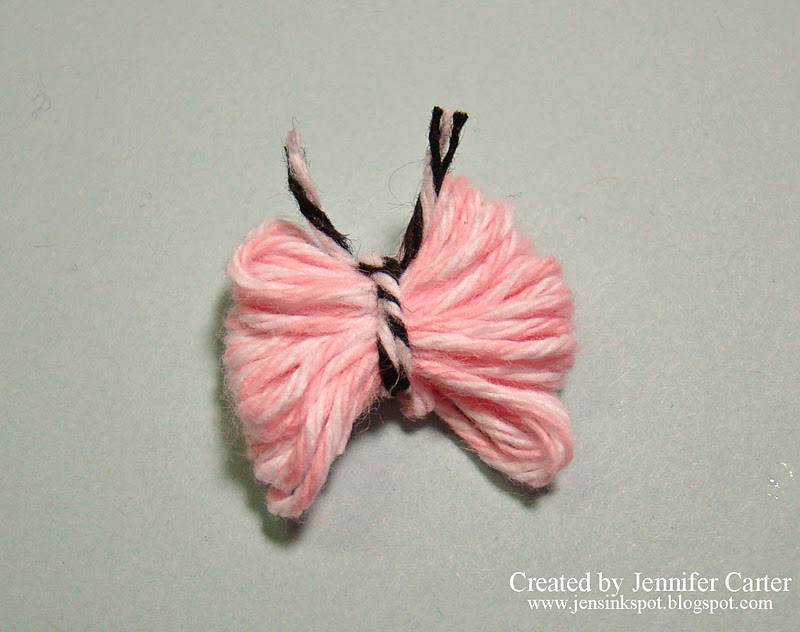
The last step is to trim the antennas to the size you would like them to be.
If you want to make the smallest butterflies, I wrapped the twine around only 2 tines and then completed the steps above.

Here is one more look at the finished product! I hope you enjoyed it!
What colors of butterflies are you imagining?