

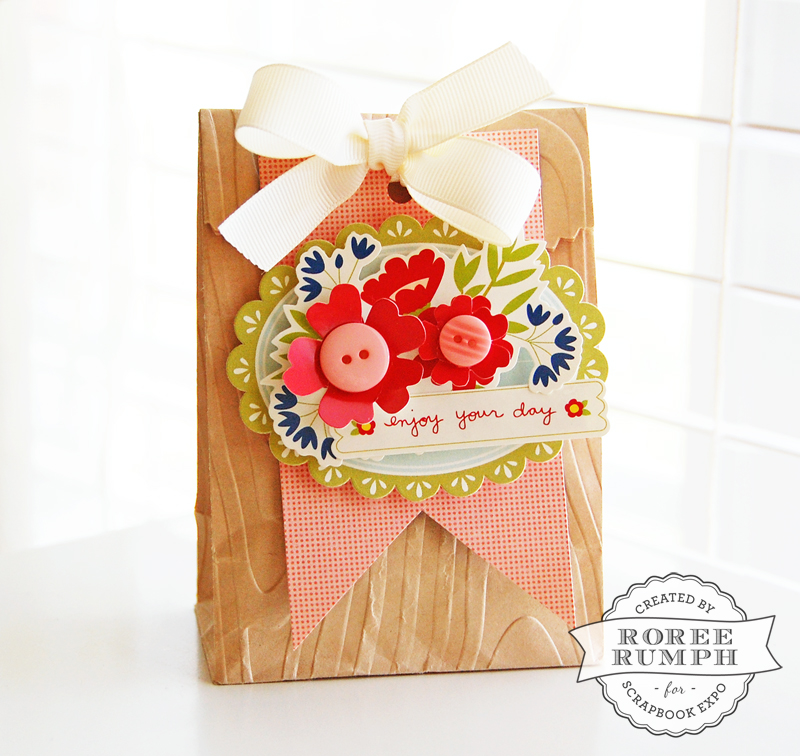
Hey, everyone! Roree here with another Make It! Monday project. Today I am going to share with you an embossed gift bag with tag—perfect for a special occasion or simply “just because.”
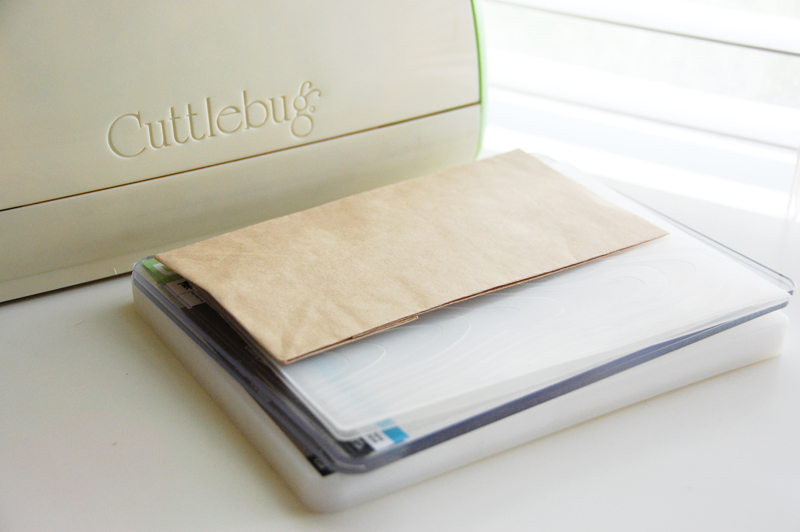
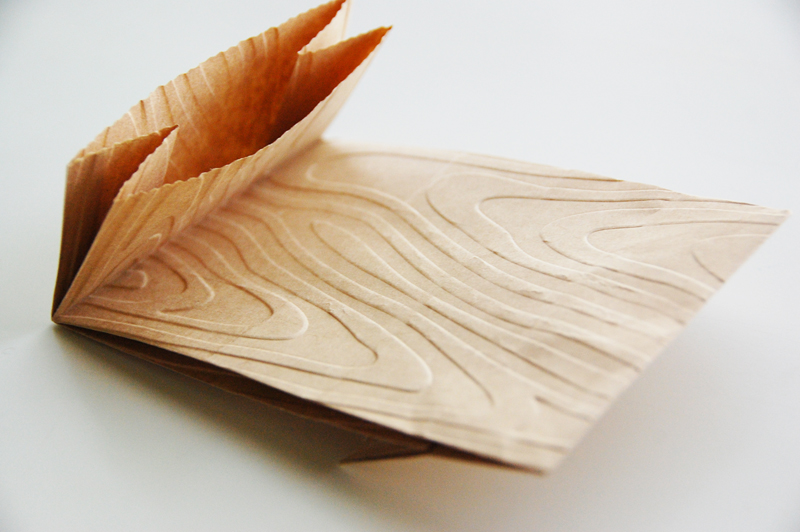
To create this gift bag and tag, I started off with a 3-1/2″ x 2″ x 6-1/4″ paper bag and my Cricut Cuttlebug™ machine and Woodgrain embossing folder.
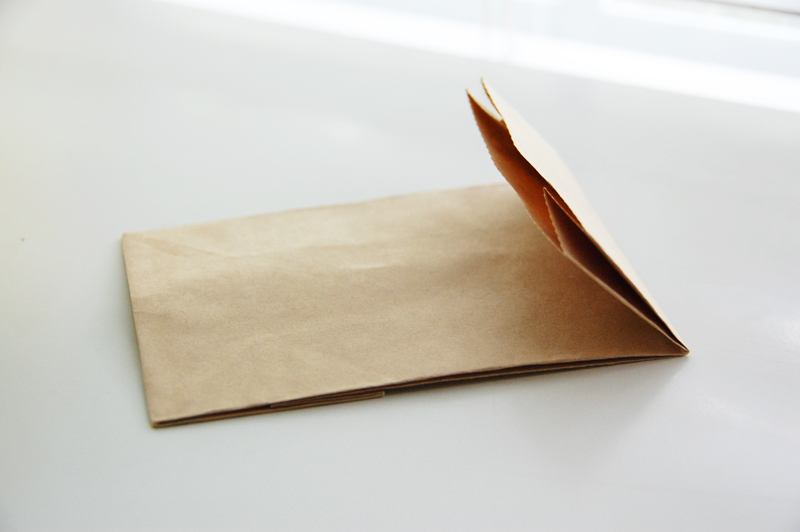
I folded the top forward 1-1/4″ so that the bag would be 5″ tall.
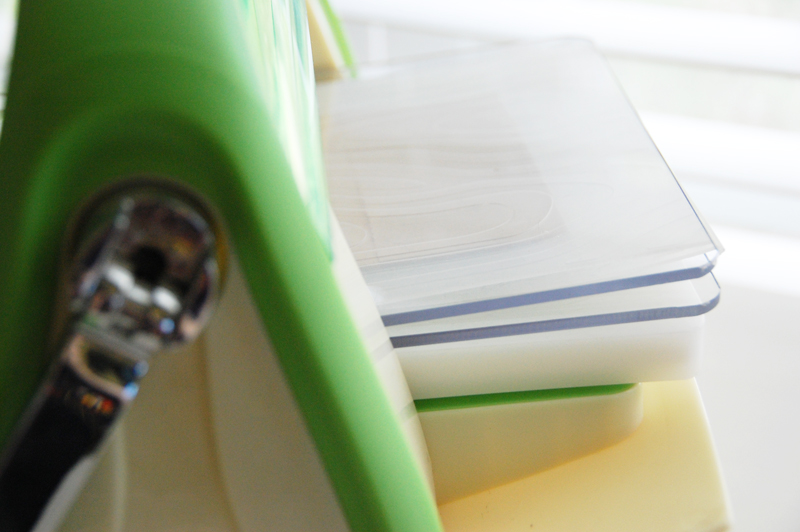
I placed the folded bag inside the embossing folder and ran it through the Cricut Cuttlebug™ machine.
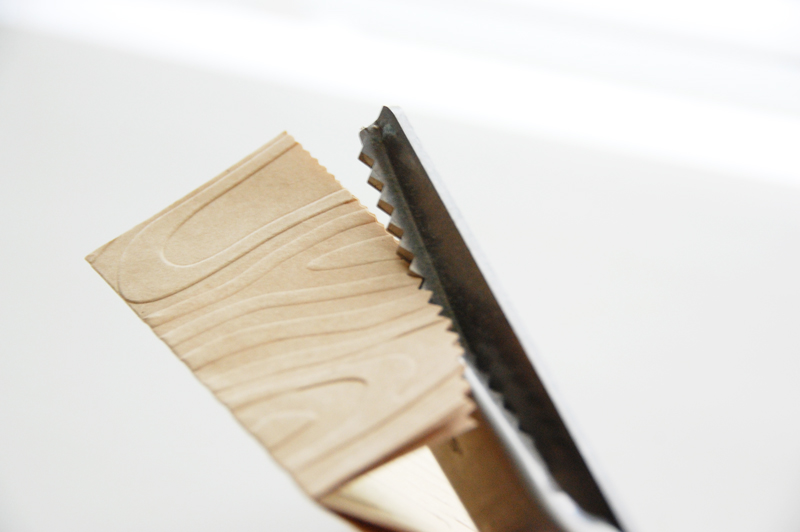
I trimmed the folded flap with some pinking shears, creating a slightly curved flap.
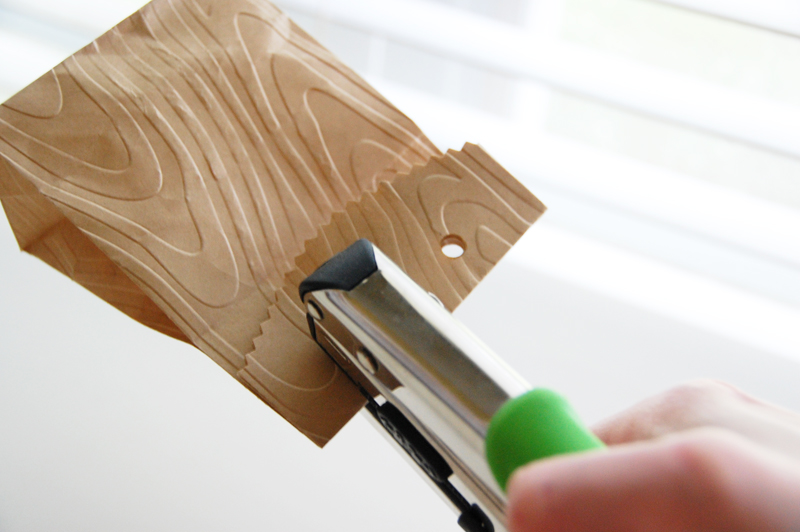
Then, I punched two holes through the flap and upper part of the bag.

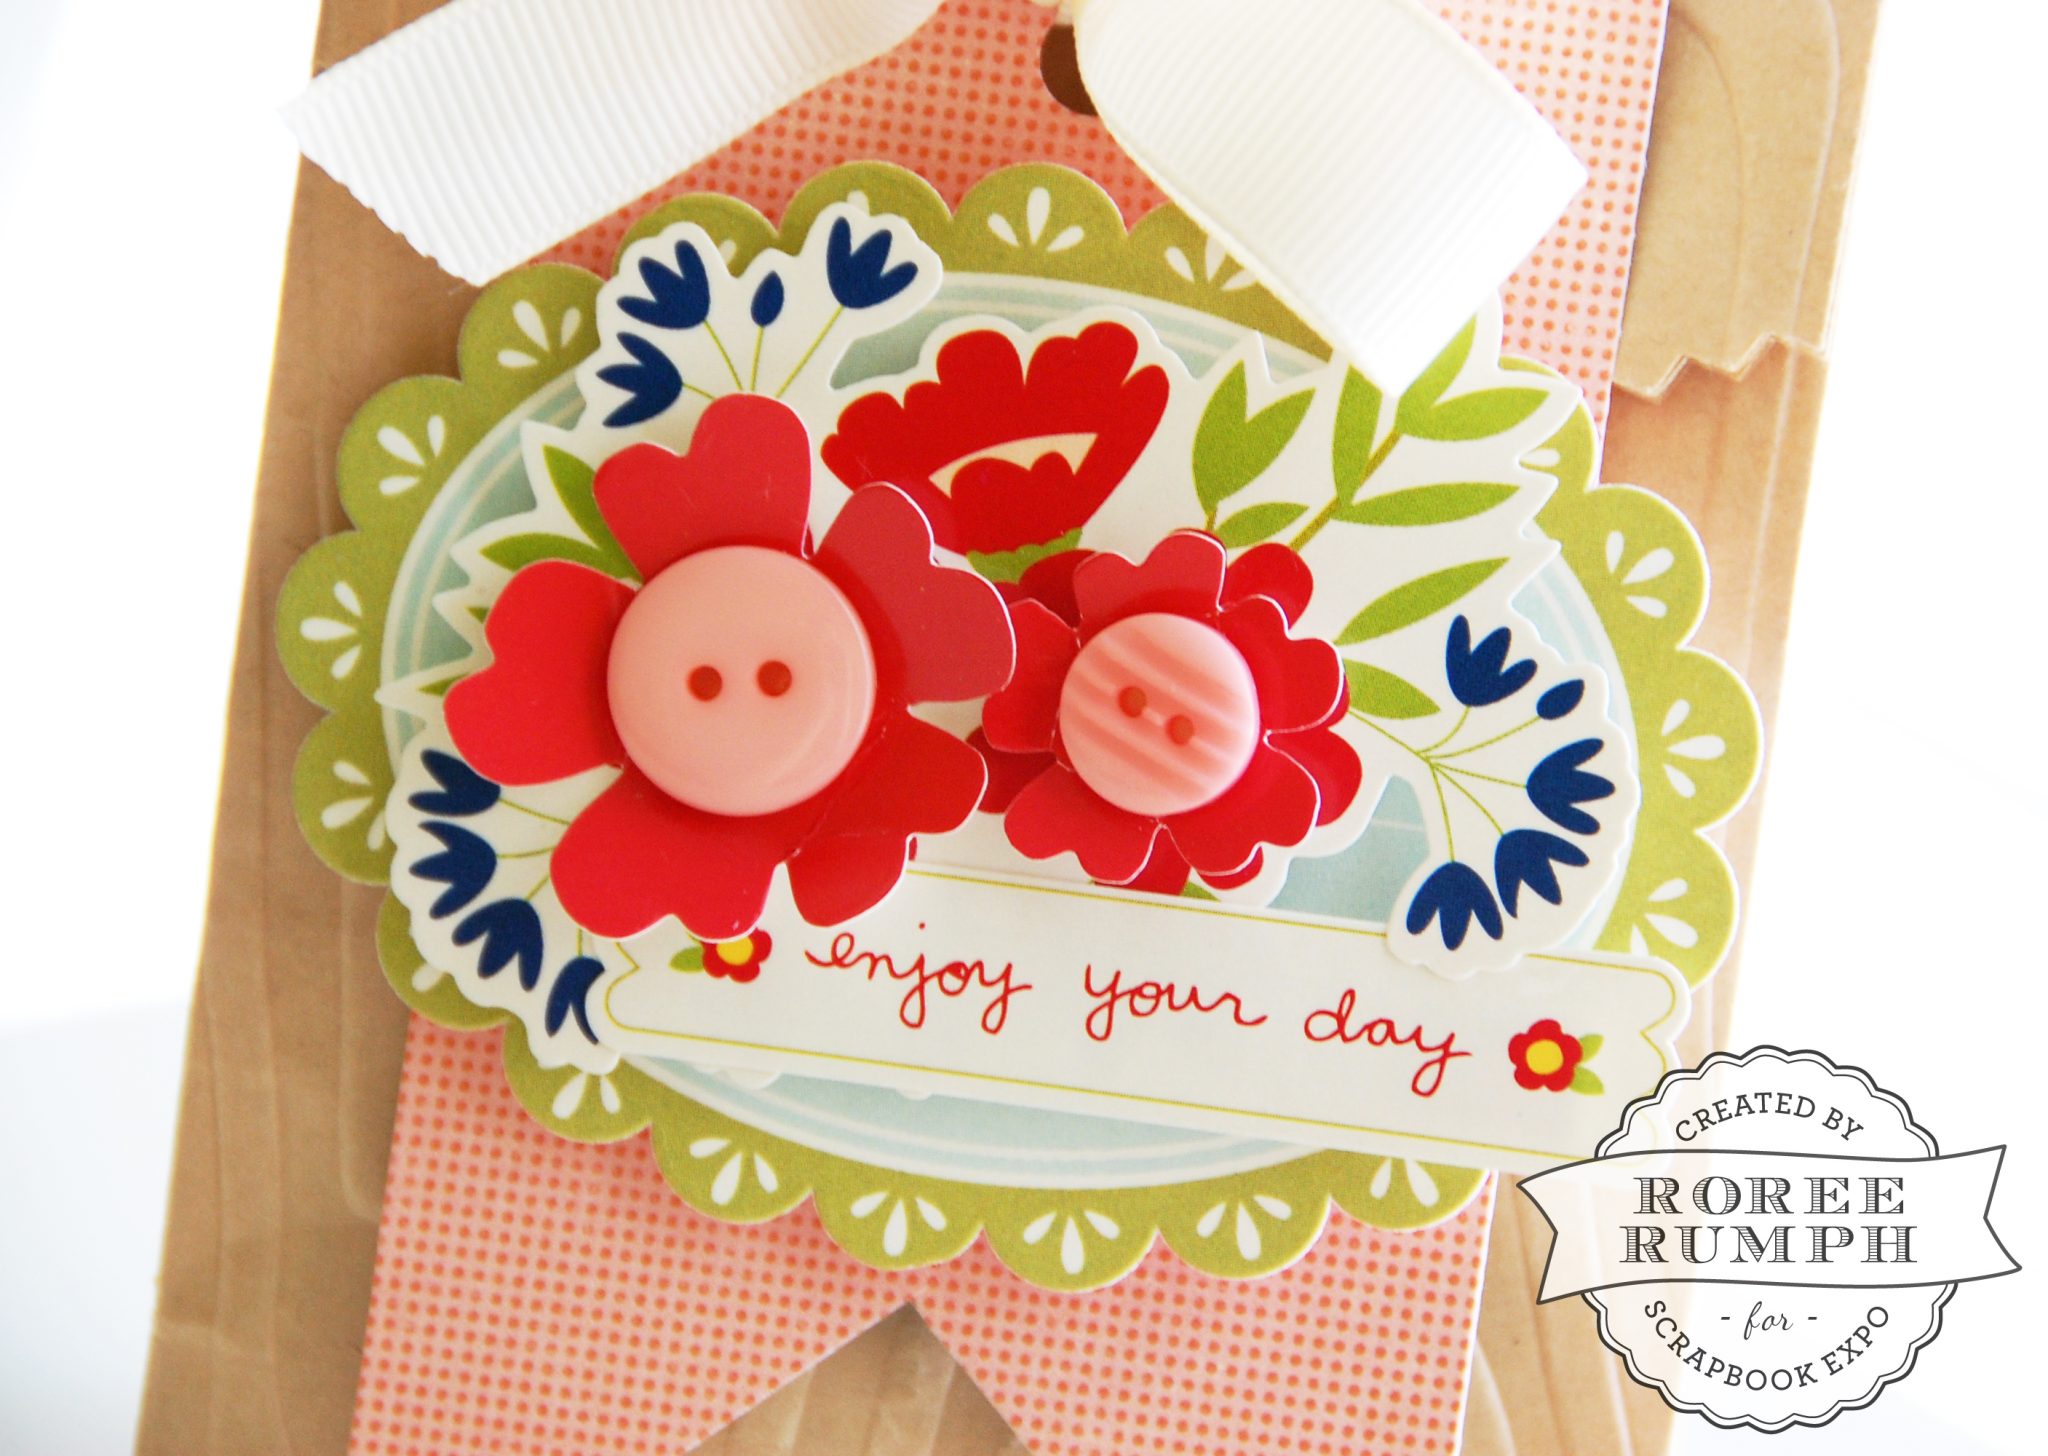
I created a tag using a patterned paper banner, layered stickers, and a couple of buttons.
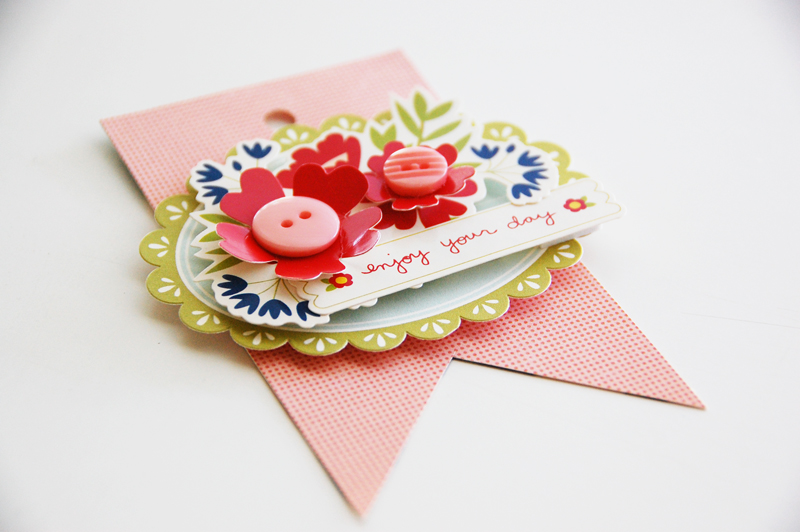
I threaded the holes in the bag with ribbon and attached the tag to finish.
This bag can be used for any occasion by simply changing the sentiment.
I hope you enjoyed today’s Make It! Monday project. Thanks so much for stopping by!
So cute! Most people have a paper bag on hand.
Thanks so much, Donna!