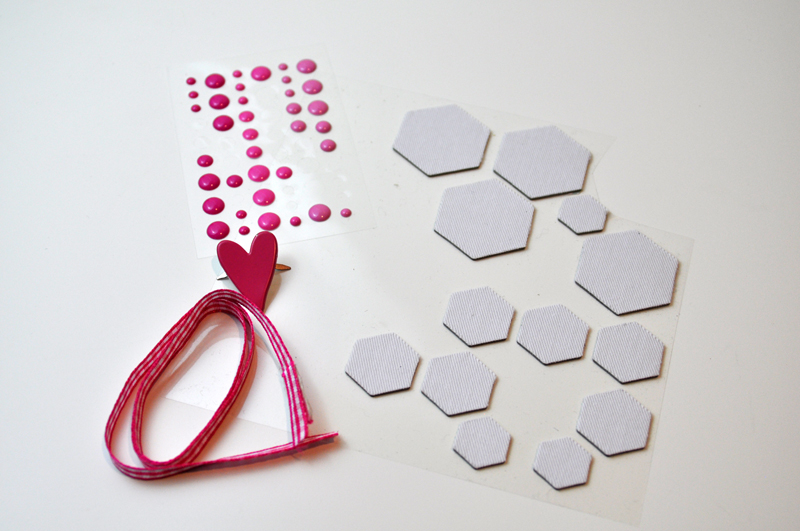
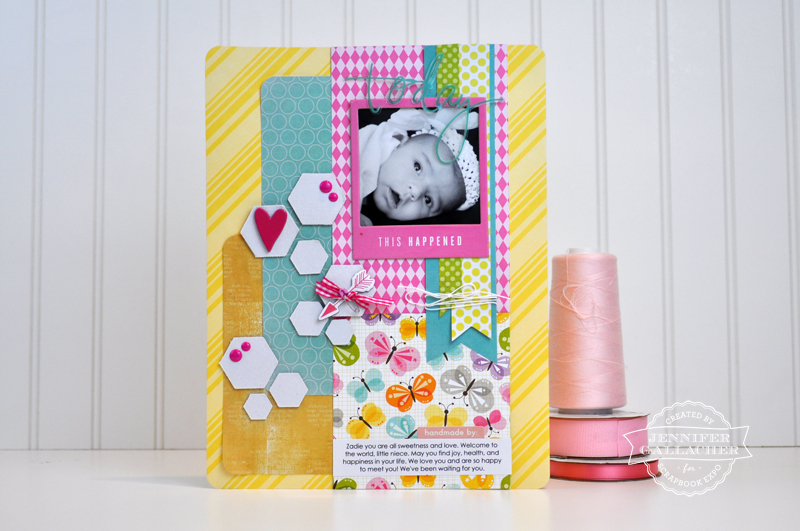
 Welcome back to another “Inspiration Station” blog post. For this week’s layout, I wanted to create an 8 1/2″ x 11″ layout. This is the size of layout I started with and continued for many years, and many scrapbookers still prefer this size. On this layout I wanted to show you how you can dress up simple canvas stickers with items you likely already have on hand. To start, you will need a canvas sticker, chipboard element, or other items that can easily be altered; enamel dots, brads, and ribbon.
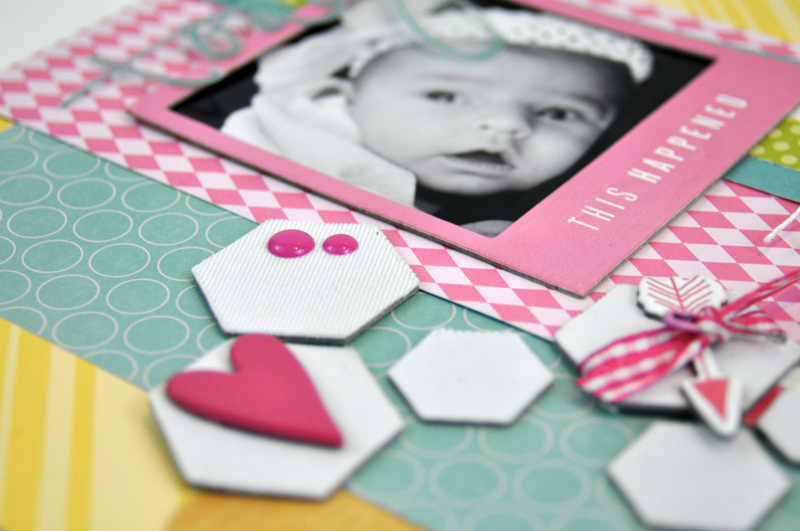
Step 1: Add enamel dots to the sticker. This is the quickest and easiest way to dress up any embellishment.

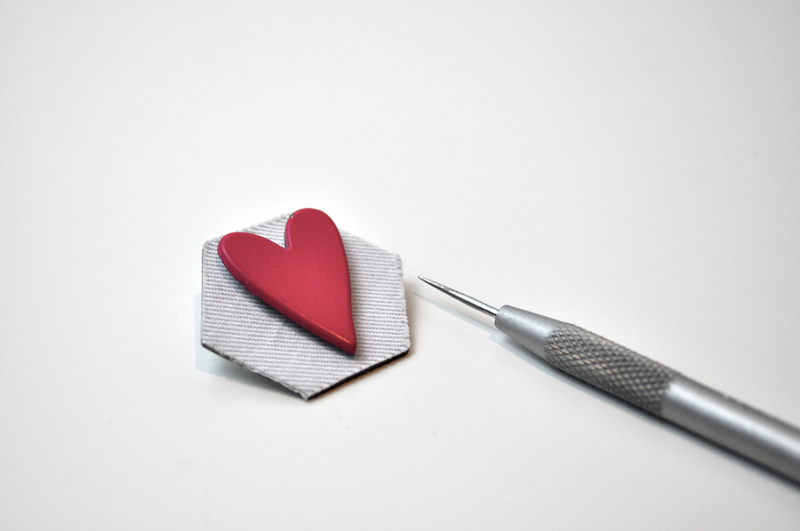
Step 2: Add a brad. Use a paper piercer to poke through the center of the embellishment and add a brad. This dresses up the embellishment even further.
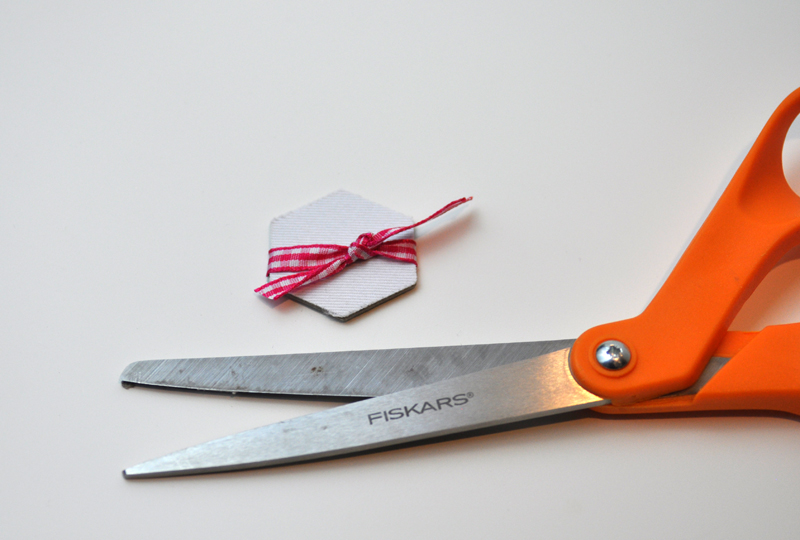
Step 3: Wrap ribbon around the element. This adds to texture to the embellishment. You could do all three steps if you want to dress up a larger element.
Here’s a closer look at the layout. You can see how great these embellishments look together. A simple element can become something special when you look for ways to dress up and alter them.
Join me next week, as I walk you through the steps to create a card that you can give to a loved one.