Hey, everyone! Roree here with another Make It! Monday project. Today I am sharing a frame I created using a butterfly stencil, molding paste, and a few embellishments.
I started off with a butterfly stencil from BoBunny, molding paste by Art-C, a palette knife, and some mixed media paper.
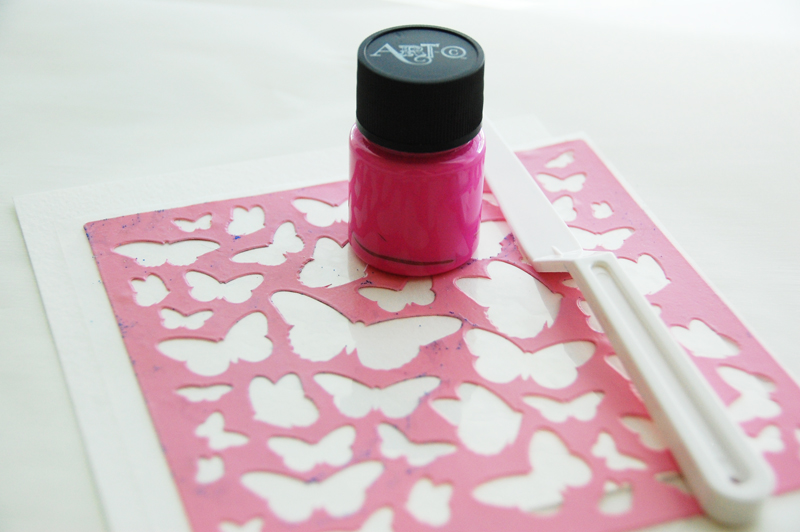
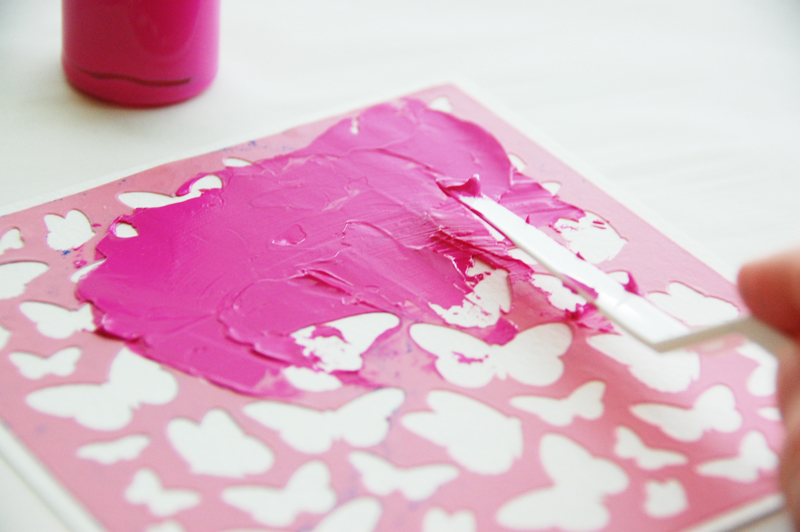
I placed the stencil over a 6 x 6″ mixed media paper panel.
I spread pink molding paste over the stencil with the palette knife covering the entire stencil.
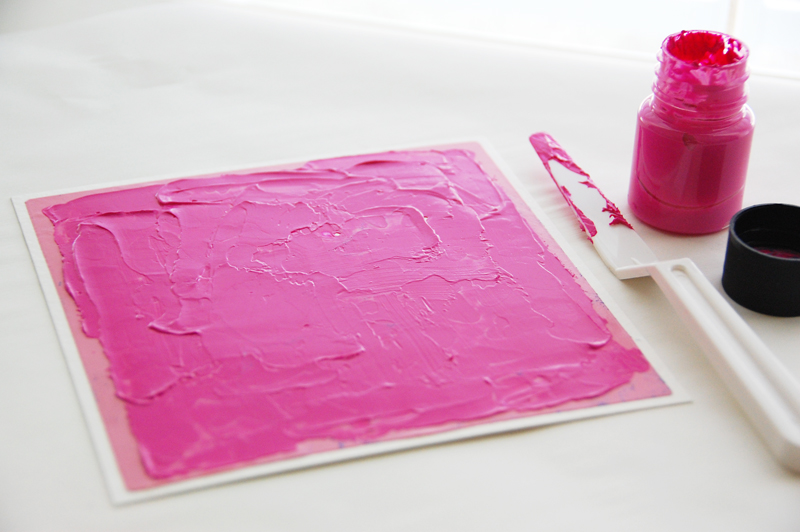
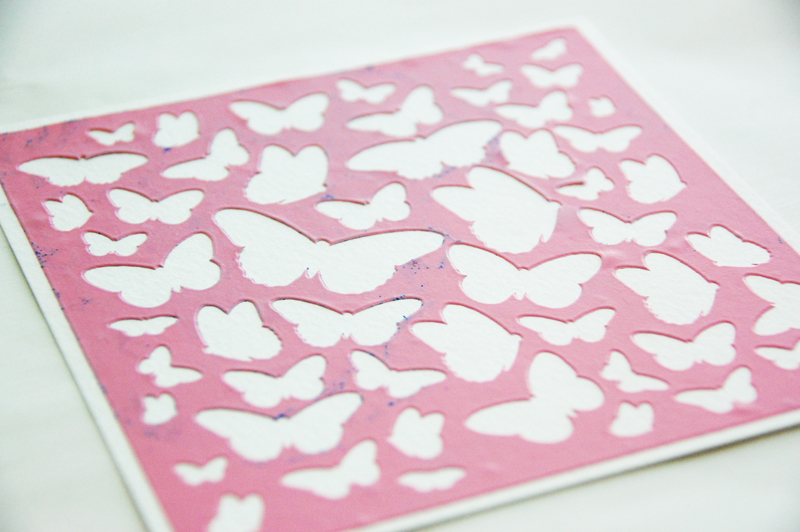
I removed the stencil from the panel revealing the butterfly design.

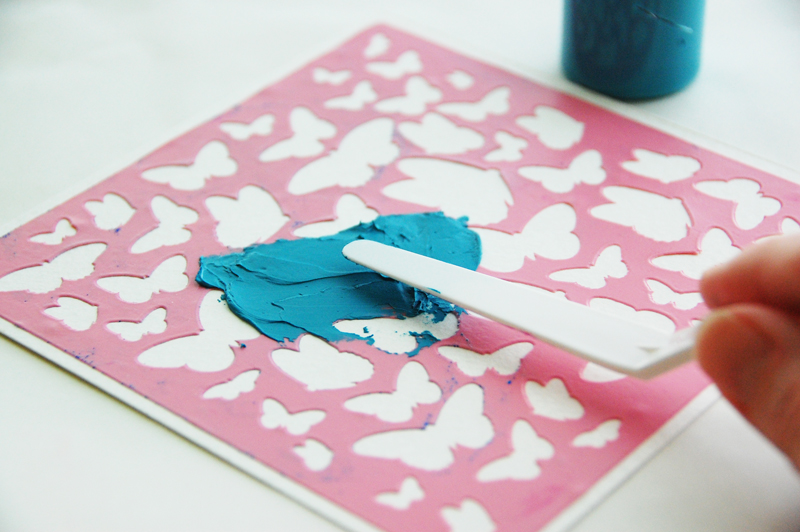
I washed and dried my stencil and palette knife, placed the stencil over another mixed media paper panel, and applied blue molding paste over just one butterfly.
I removed the stencil revealing the butterfly. I then washed the stencil and palette knife.
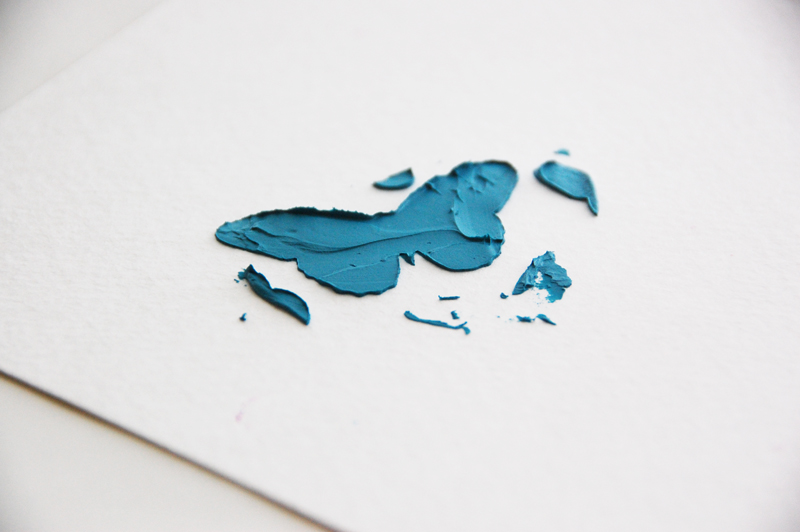
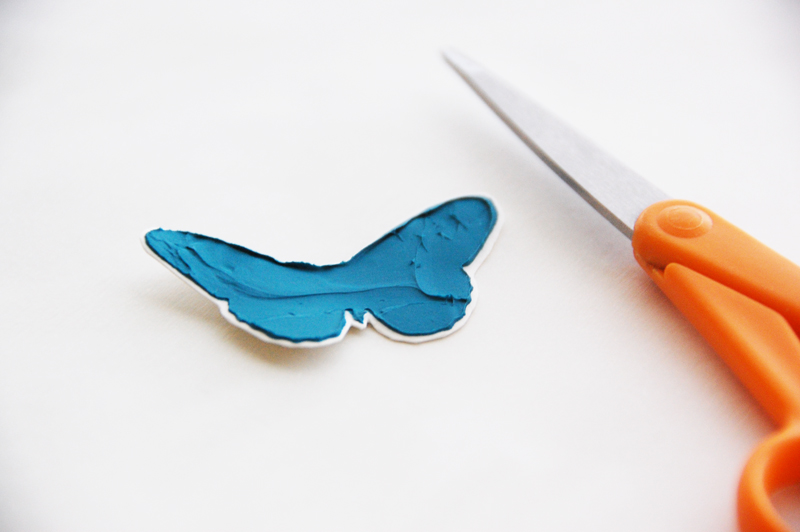
After both panels dried, I hand cut the blue butterfly.
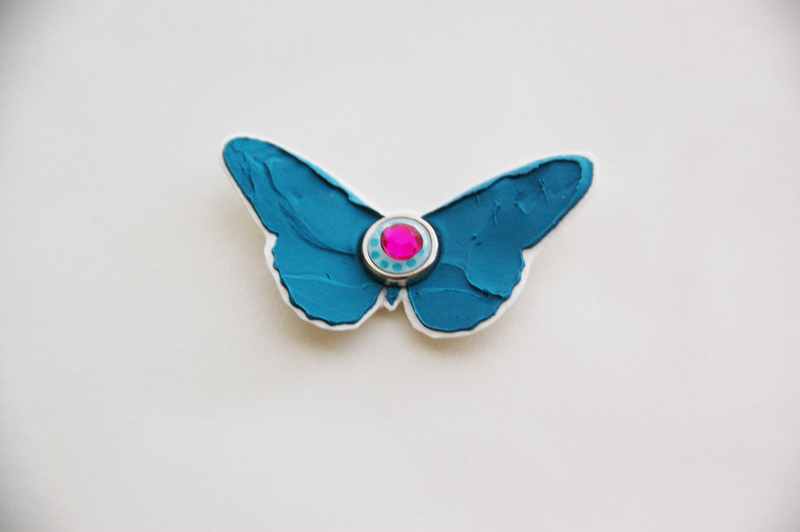
I added a brad and rhinestone to the center of the butterfly cut.
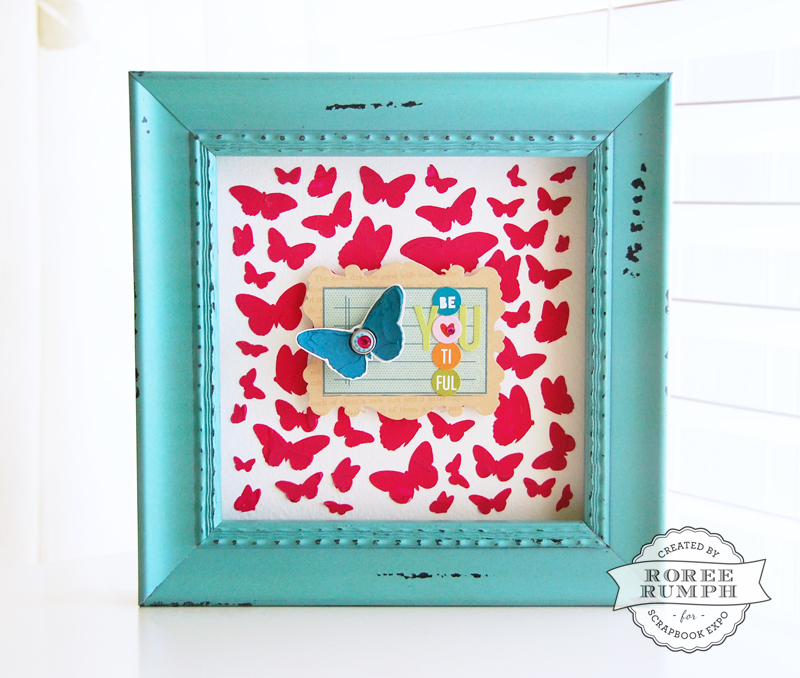
I attached the butterfly to a journaling sticker along with some letter stickers and a small rhinestone, then I added the journaling sticker to the center of the 6 x 6″ butterfly panel.

I finished by adding the panel to a blue frame.
I hope you enjoyed today’s Make It! Monday project. Thanks so much for stopping by!