

Hey, everyone! Roree here with another Make It! Monday project. Today I am going to share how I created this fun, festive, and patriotic 4th of July wreath.

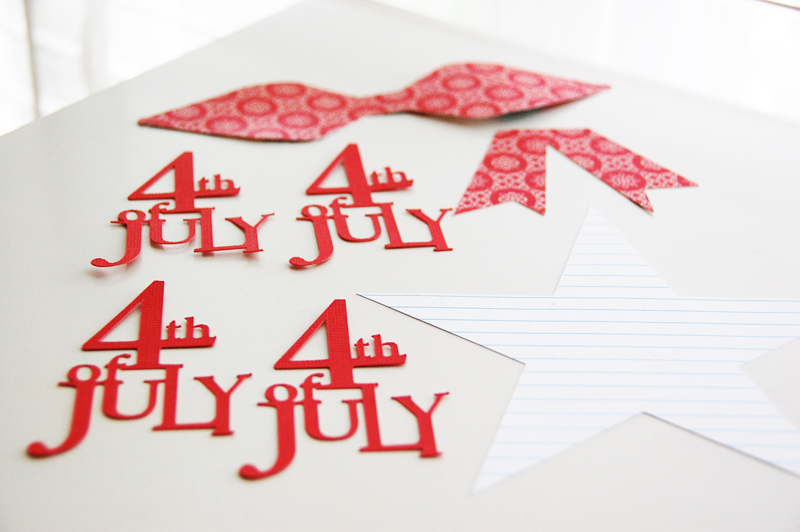
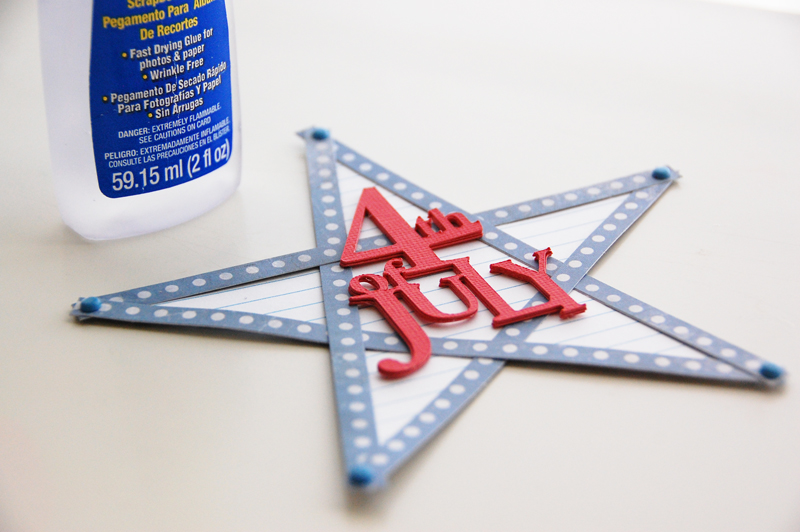
To start, I got out my Cricut Explore® machine to cut a 6″ star from white lined patterned paper and several 2-1/4″ “4th of July” titles from red cardstock using the Stand and Salute cartridge. I cut a 6″ two-piece bow from red patterned paper using the Sweet Tooth Boxes cartridge.
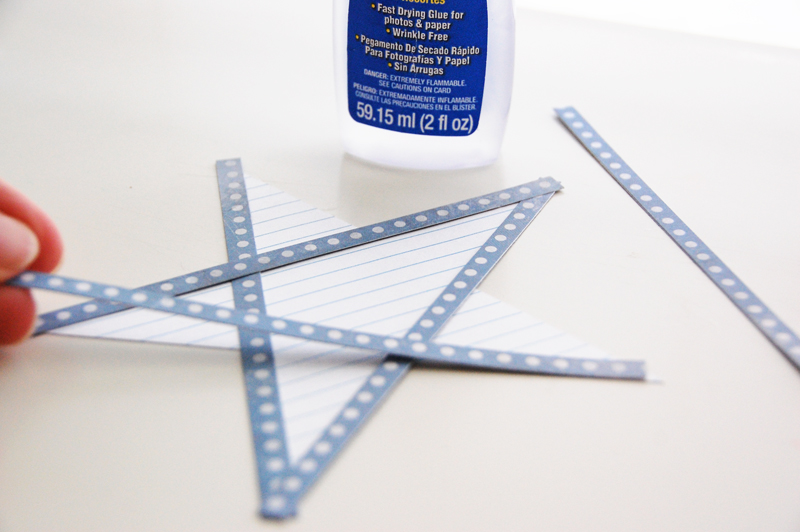
I then cut five 6″ strips of blue patterned paper and adhered the strips around the outside edges of the star die cut.
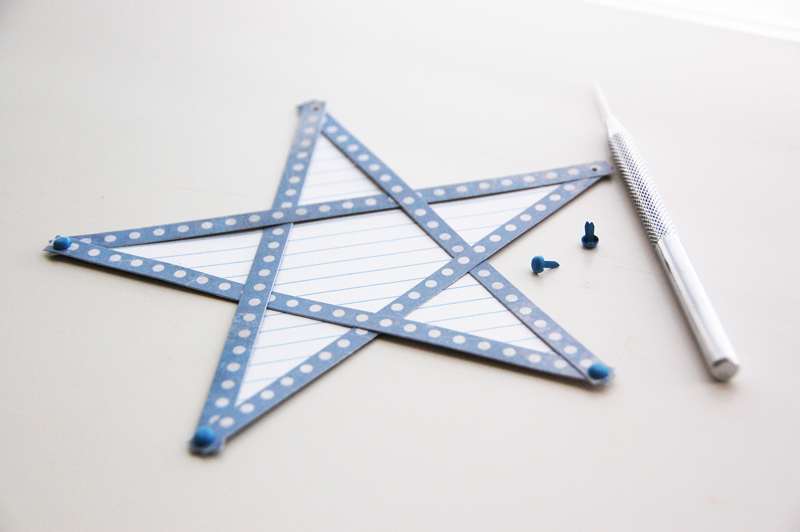
I pierced a hole at each point on the star cut and attached a blue brad.
I layered the “4th of July” title cuts to create a 3-dimensional title.
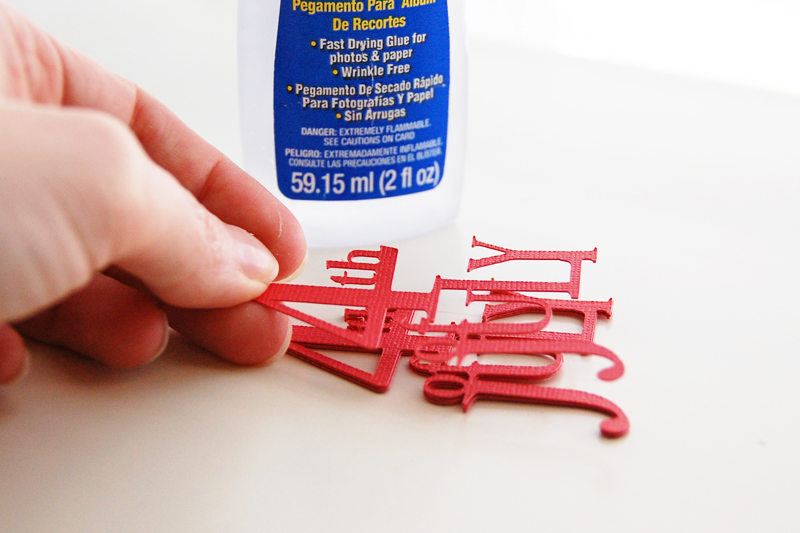
I adhered the 3-D title cut to the center of the star.
I stitched a button to the center of my bow cut with blue thread.
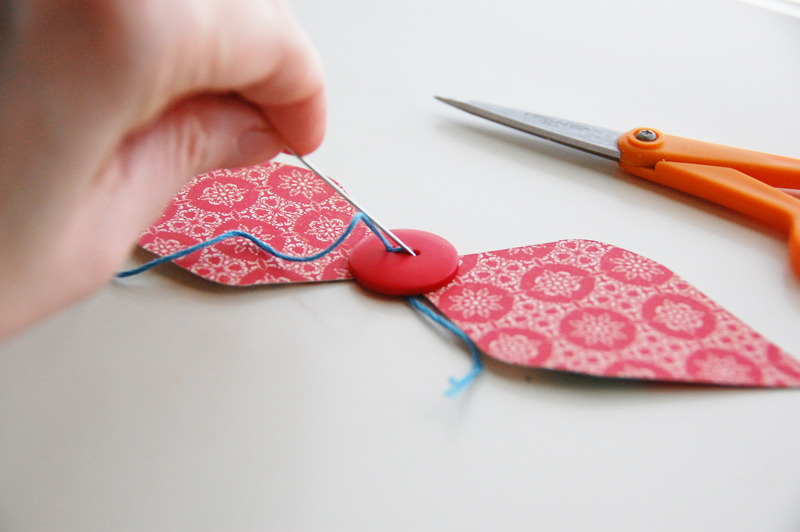
Bending the ends of the bow cut back, I adhered them to the backside of the cut. Then I adhered the tail cut underneath.

I adhered the star to a 6″ grapevine wreath and added the bow at the top to finish it off.

This is a fun and easy project that will add the perfect patriotic touch to your home to celebrate our nation’s independence.
I hope you enjoyed today’s Make It! Monday project. Thanks so much for stopping by!