
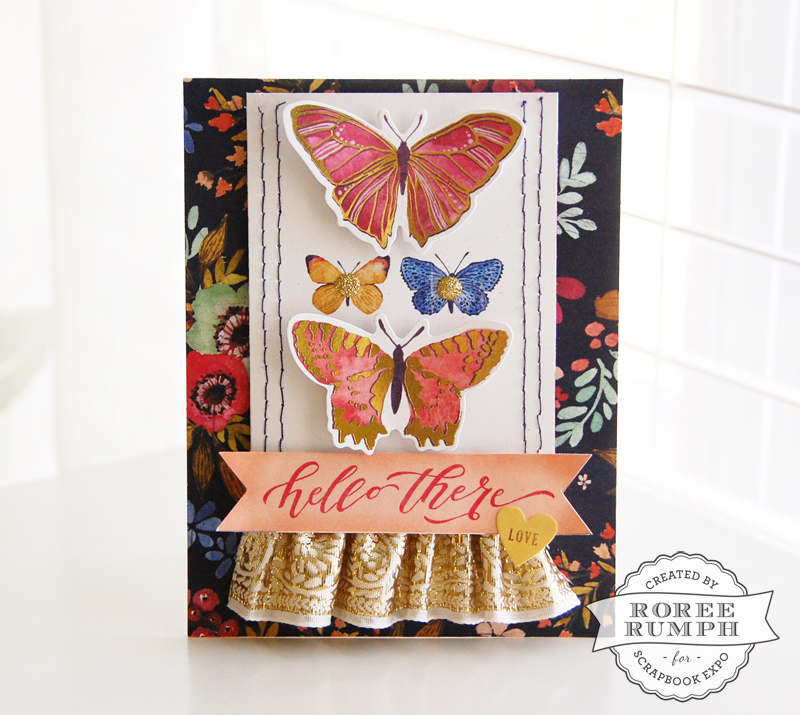
Hey, everyone! Roree here with another Make It! Monday project. Today I am sharing a pretty ruffled ribbon border—perfect for cards, layouts, and more.
I love ribbons and trims. I am sure you have noticed that quite a few of my projects have included bows of one sort or another. I decided to take a break from the bows this week and use ribbon in a slightly different way.
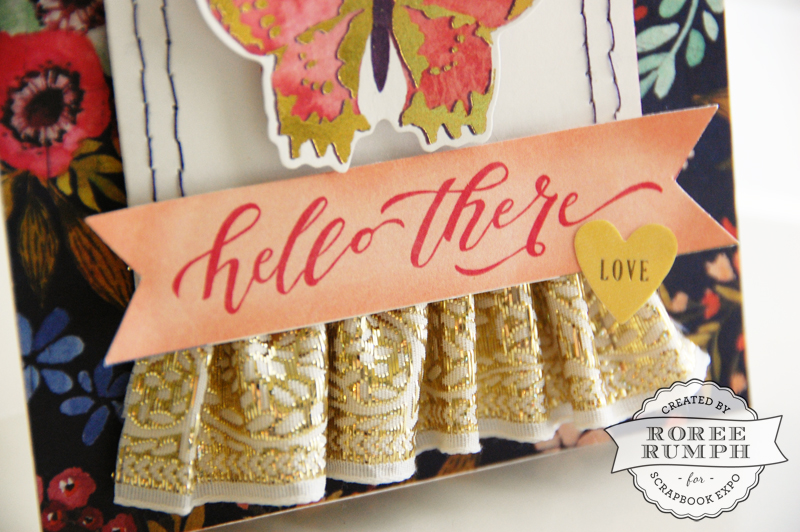
For this week’s card, I created a ruffled ribbon border along the bottom of my card. I found a gorgeous length of ribbon in my stash that I thought would work perfectly with the new Wildflower collection from We R Memory Keepers.
First off, I started out with my supplies: a 4 1/4 x 5 1/2″ patterned paper panel, an image and sentiment cut from patterned paper, a length of 1 1/2″ ribbon, and some double-sided tape.
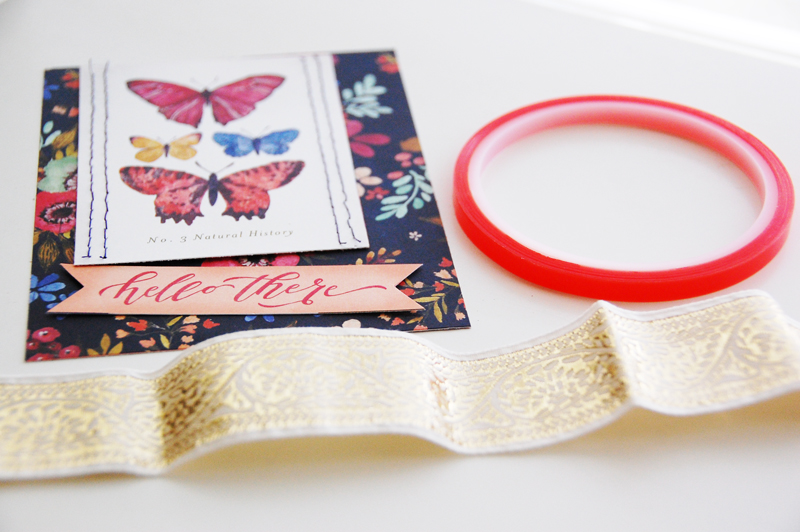
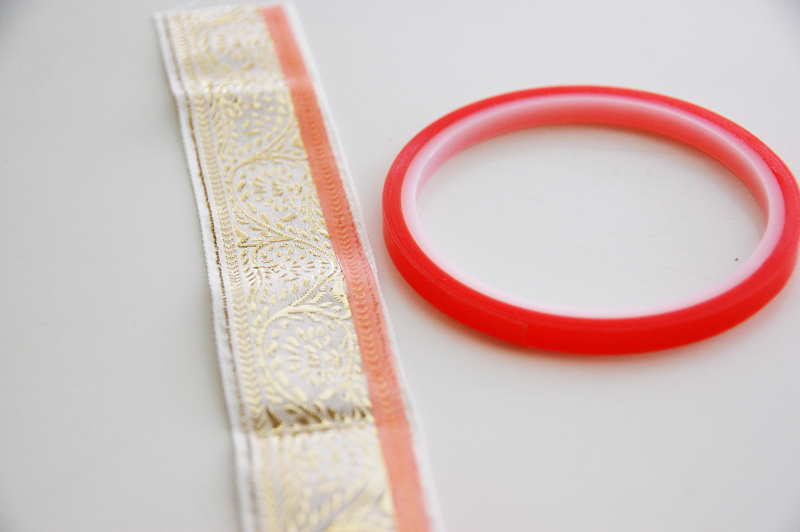
I added a strip of double-sided tape on the backside of the ribbon along the top.
I attached one end of the ribbon to the butterfly card cut and pleated the ribbon along the bottom, creating a ruffle.
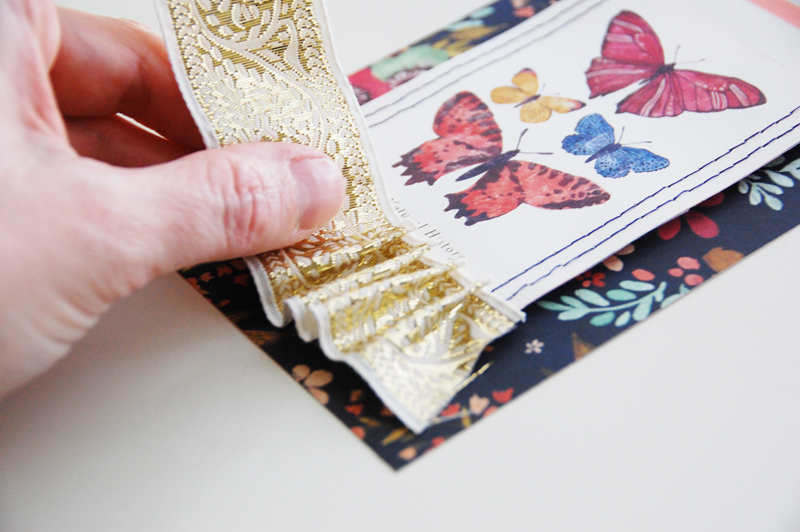
Once I reached the other end of the butterfly card cut, I trimmed off the excess ribbon.
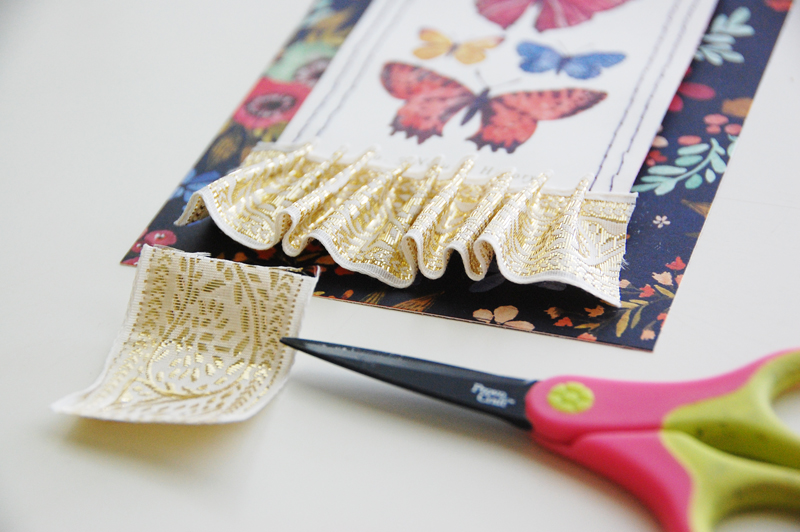
I added another strip of double-sided tap along the top of the pleated ribbon to hold the pleats down.
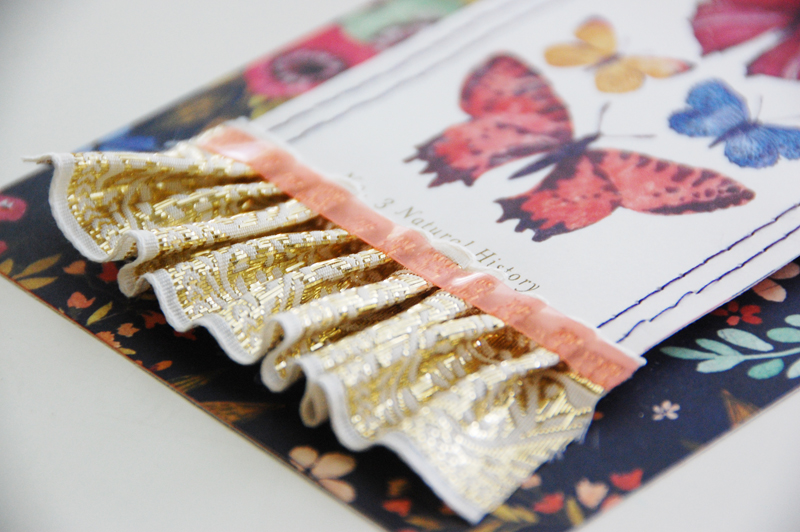
I then added a sentiment banner along the top edge of the ribbon to hide the tape.
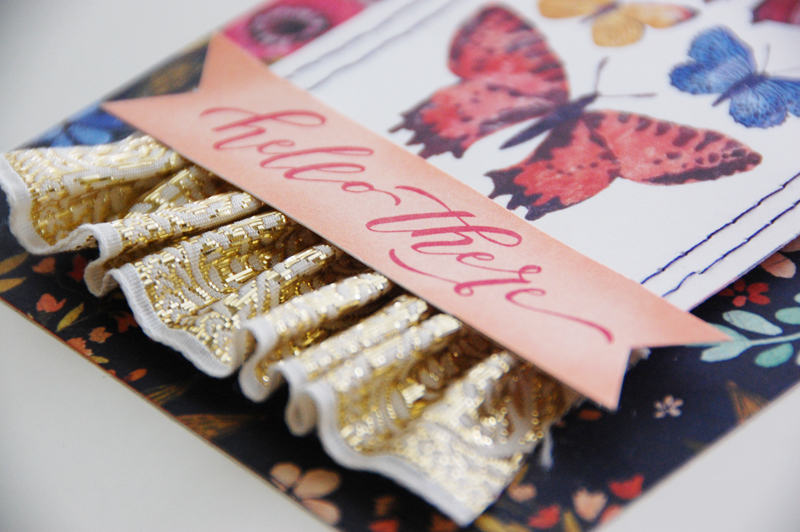
I added a few die cuts and embellishments to finish the card.

If you sew, you could easily run a machine stitch along the top or add a few cross stitches by hand to hold the pleats in place, but the double-sided tape is a quick and easy way to get it done.
I hope you enjoyed today’s Make It! Monday project. Thanks so much for stopping by!


Awesome technique Roree! And so simple!
Thanks so much, Linda!
What a clever way to use double-sided tape to hold the pleats in place. Thanks for sharing!
Thanks, Serena!