 Welcome back to another Inspiration Station blog post. In today’s tutorial, we’re going to be using a vintage sewing pattern to create a dimensional flower. To create the project, you’ll need the following items: a printed sewing pattern (the darker and more “used” the better), buttons, die cut leaves, and either wet adhesive or a glue gun.

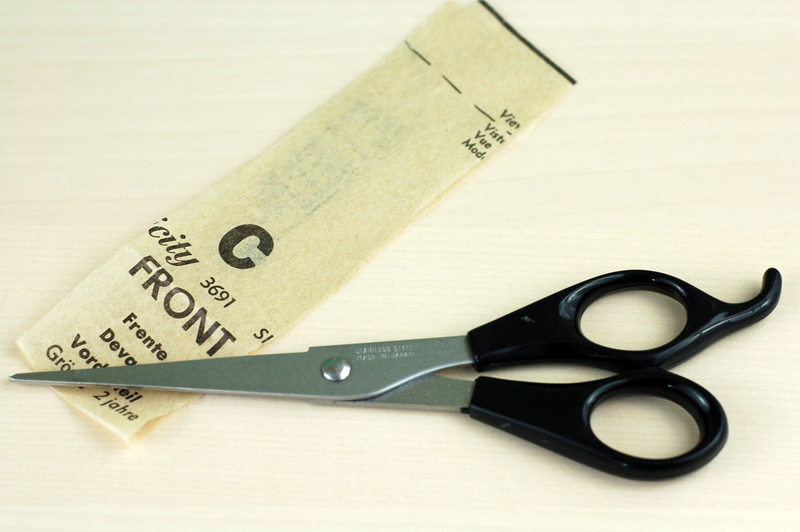
Step 1: Cut a 10-15″ X 2″ strip from the sewing pattern with a pair of scissors.
Step 2: Fold the strip in half long-wise. Then twist and fold the strip into a circular shape. Use the glue gun or wet adhesive to help hold the shape.

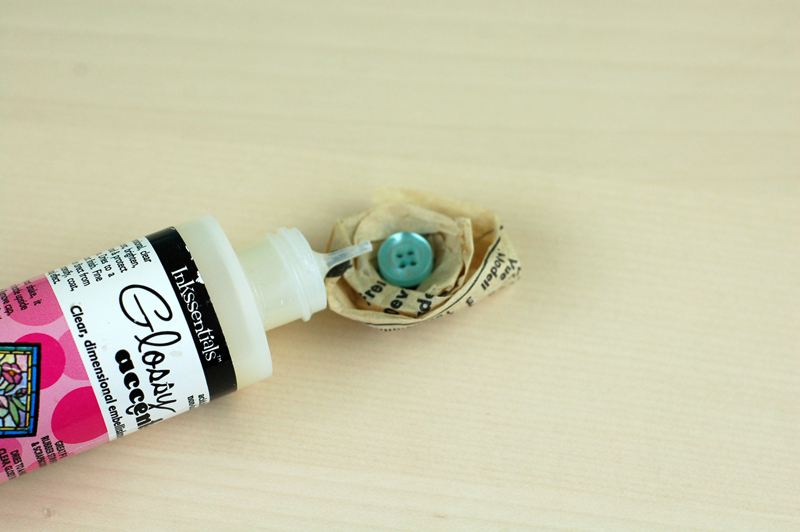
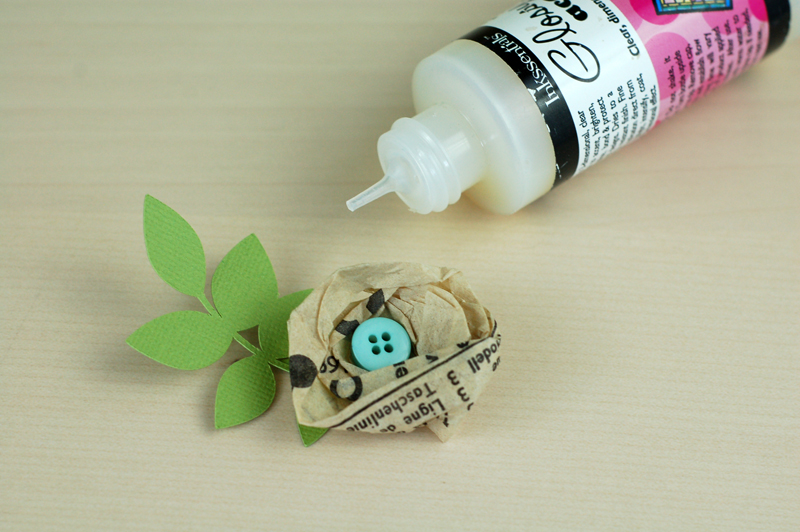
Step 3: Glue a button (or glue the top part of a brad) to the center of the flower using a glue gun or wet adhesive. Let dry.
Step 4: Glue the die cut leaves to the flower shape.
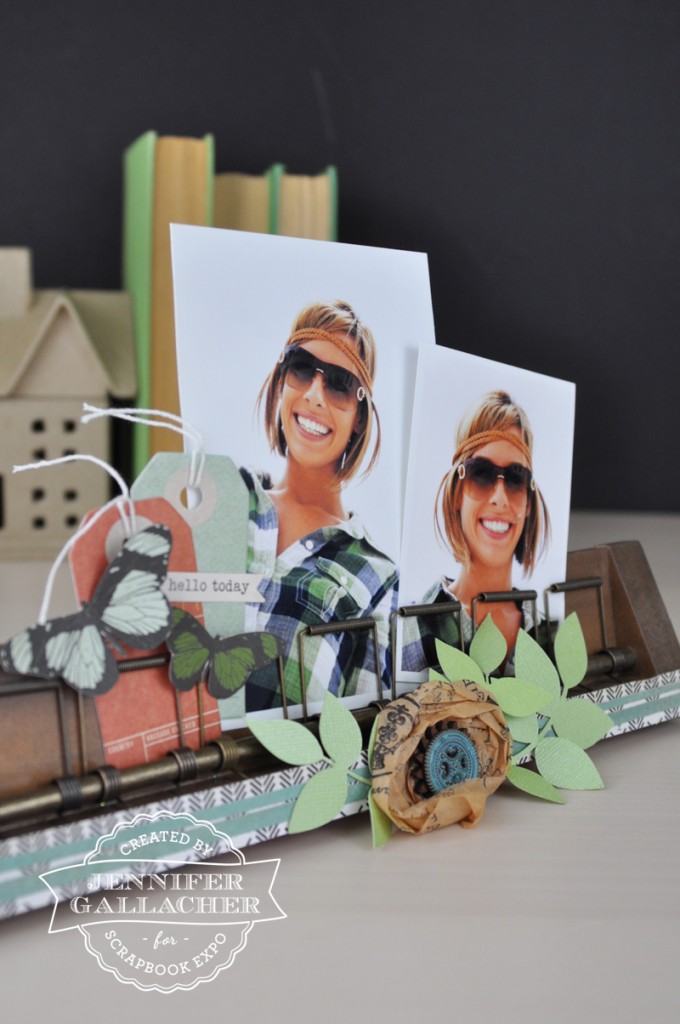
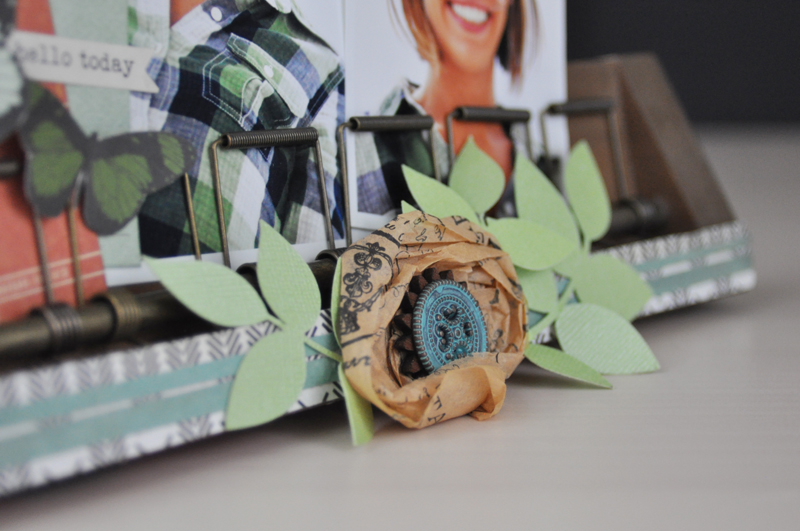
Here’s a look at how the project will look when it’s completed. Note how I used a metal button for the center of this flower. I also layered several layers of die cut leaves.
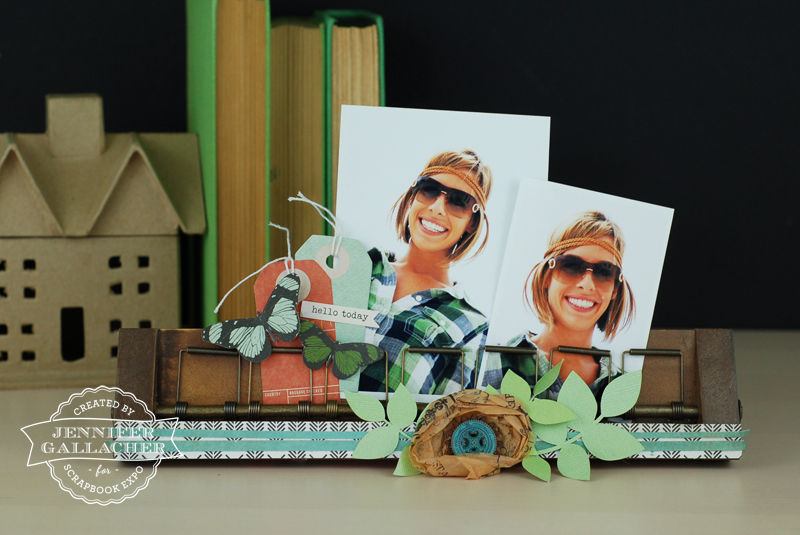
And here’s a final look at the complete project. Note how the tissue paper of the sewing pattern gives the project texture and depth:
You can create larger or smaller flower shapes just by using a longer or shorter strip of the sewing pattern paper. You can use this same technique for regular tissue paper. This will allow you to create flowers in different colors. Looking for additional inspiration? Be sure to check out my past “Inspiration Station” posts which are uploaded on Thursdays. Look for a card making process video next week!
I use stamps any where I can. Cards, scrapbook pages, tags, gifts, etc.
Stamps are a FABULOUS way to add to a scrapbooking page or really anything.
What a fast and easy way to make a dimensional flower! Will try this with colored tissue paper.
It really is quick and easy and so much fun. Thank you for taking the time to leave a comment.