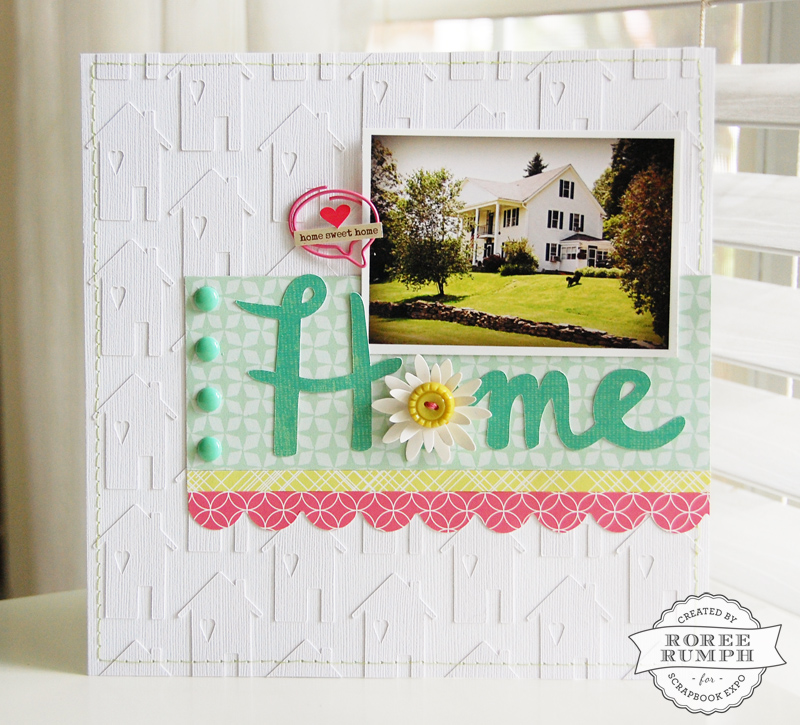
Hey, everyone! Roree here with another Make It! Monday project. Today I am going to show you how to create a tone-on-tone background on your next project.
I love to see others use white backgrounds on layouts but whenever I try it myself, I always feel like mine look simple and unfinished. So with that in mind, I thought I would try to create a tone-on-tone background that would allow me to use white while adding texture and visual interest.
First of all, I started with a white cardstock panel and some white cardstock house die cuts.
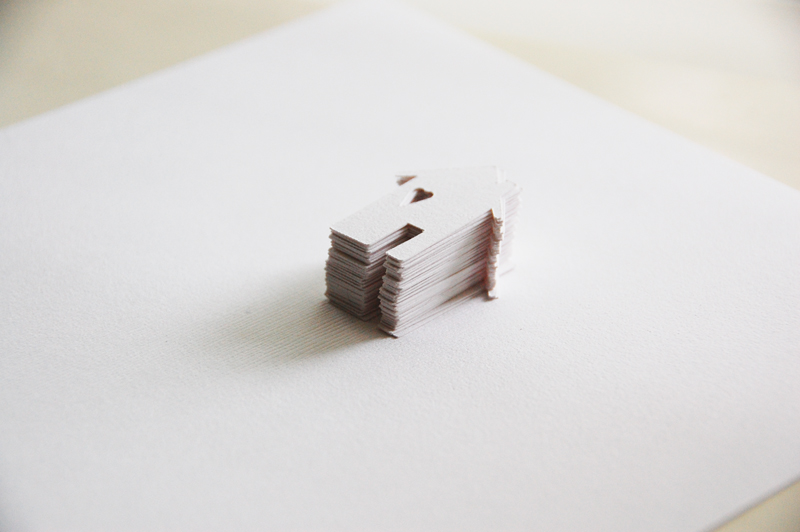
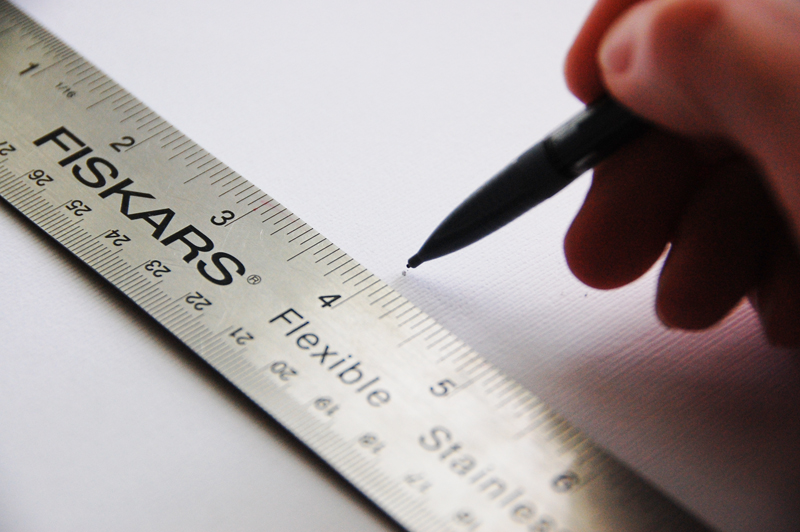
I measured and marked the center of my layout.
Then I adhered the first die cut to the center of the panel.
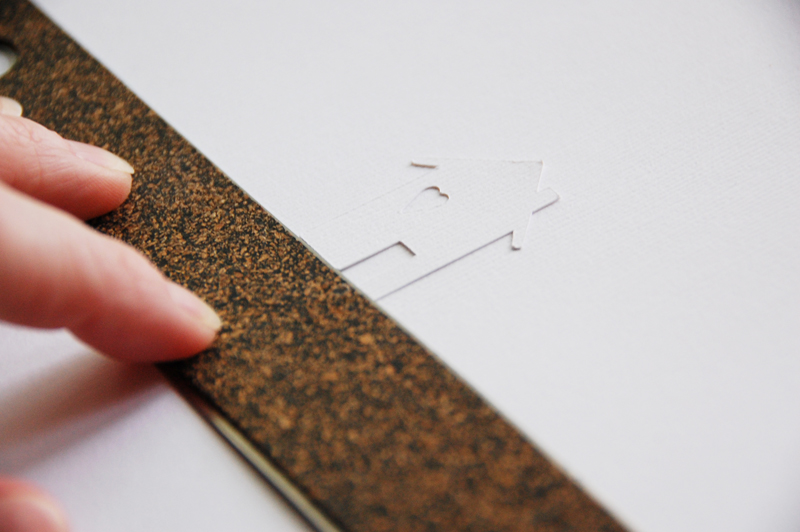
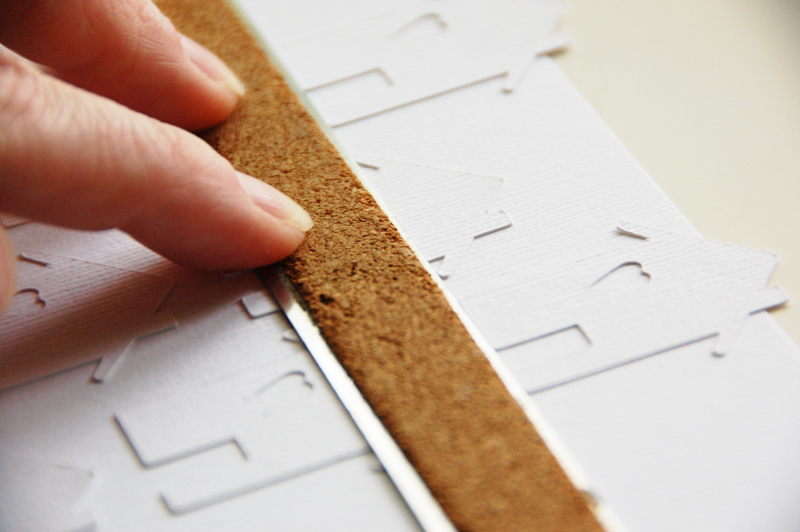
Using a ruler as a guide and one of the die cuts as a spacer, I adhered my second die cut in place.

After I got one row started, I used the ruler as a guide to start a column of die cuts.
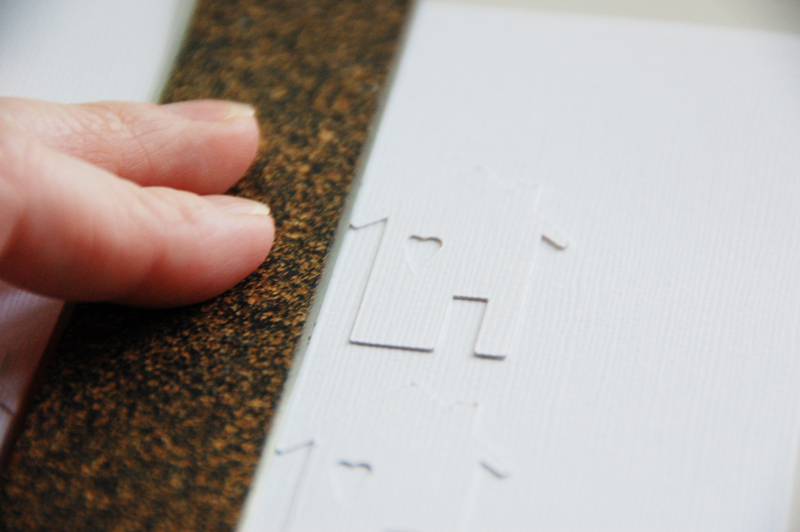
Having a row and a column to go by, I started using two rulers to adhere the rest.
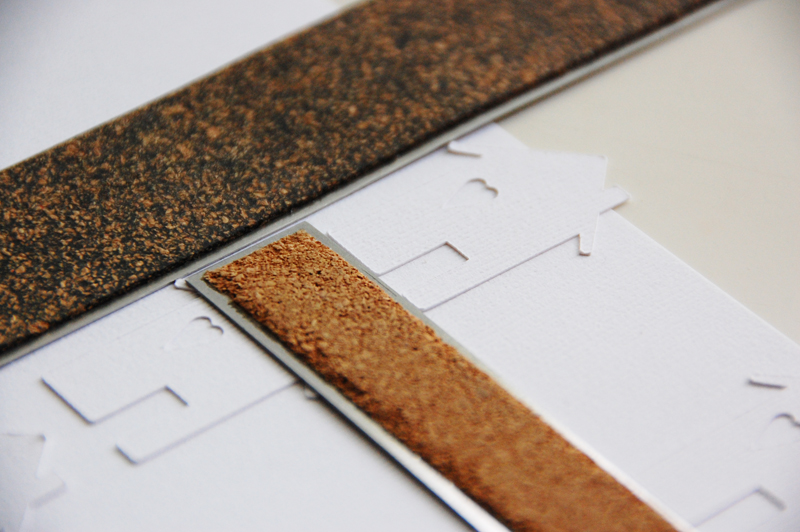
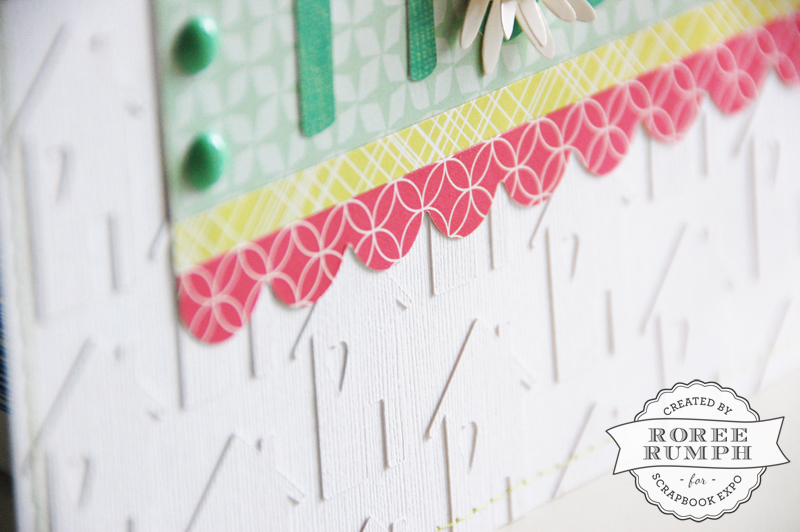
I offset the rows to create a more eye-pleasing pattern.
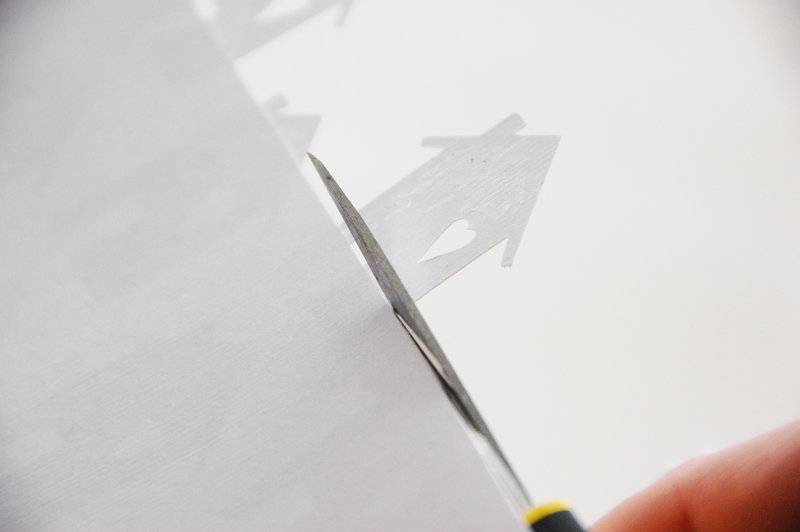
Once I was finished adhering the die cuts, I had some overhang.

I trimmed the edges with some scissors.
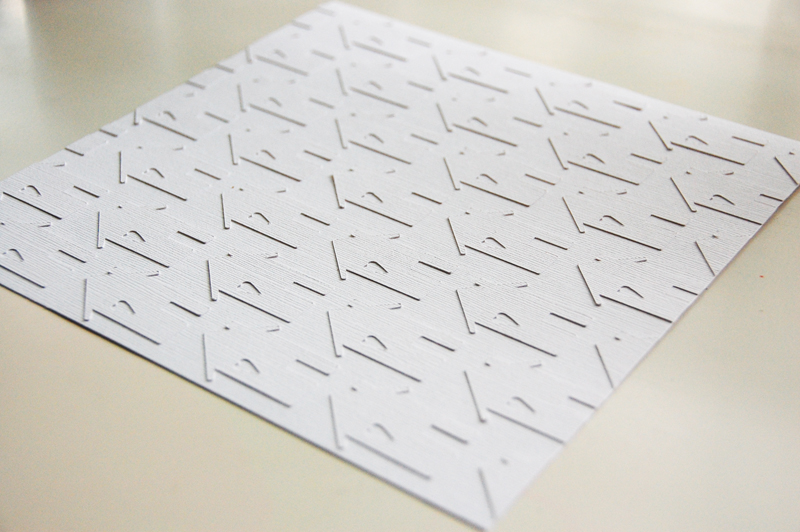
I ended up with this:
All that was left to do was adding embellishments, a little bit of stitching, and my photo.
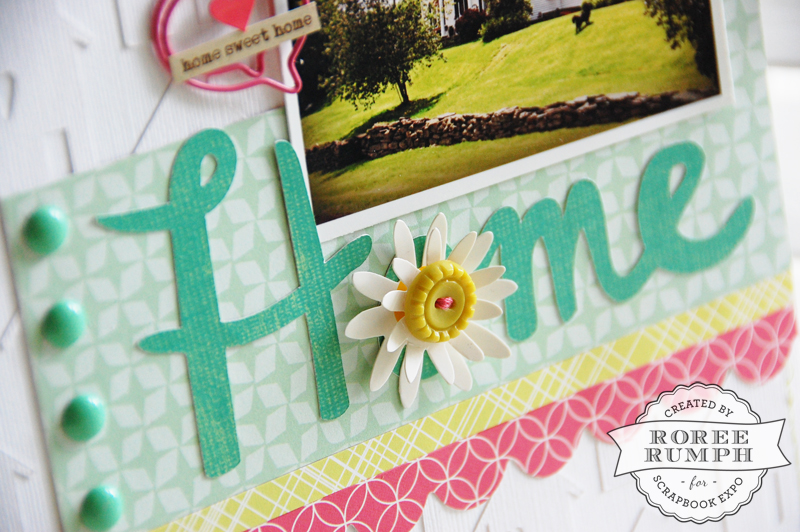
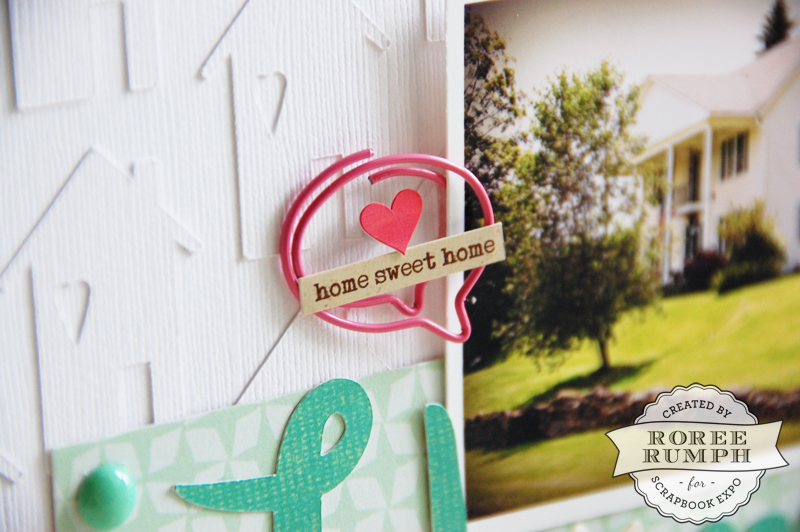
I love the look (almost like it is embossed!) and I can’t wait to try it again!
I hope you enjoyed today’s Make It! Monday project. Thanks so much for stopping by!
Beautiful!!!
Thank you, Linda!
Every time I see the layouts with die cuts, I wish I had a Cricut. Of course, this is beautiful, but seemed like so much work. I like quick and easy layouts (because I’m so far behind on my scrapbooking!)
This one was a little time consuming, Shelly, but you can get a similar tone-on-tone look by using a larger single-cut die cut in the same cardstock or patterned paper as your background panel.
That is awesome!
Thanks, Laura!
I love how you added more visual interest to your tone-on-tone design by using cardstock that already had some texture. That little extra something really made a difference.
It did make a difference, didn’t it? I love texture!
Thx for sharing…it does look like embossing 🙂
Thanks so much, Shawn!