
Hey, everyone! Roree here with another Make It! Monday project. Today I am sharing quick and easy treat bags I created with patterned paper, a hole punch, and adhesive.
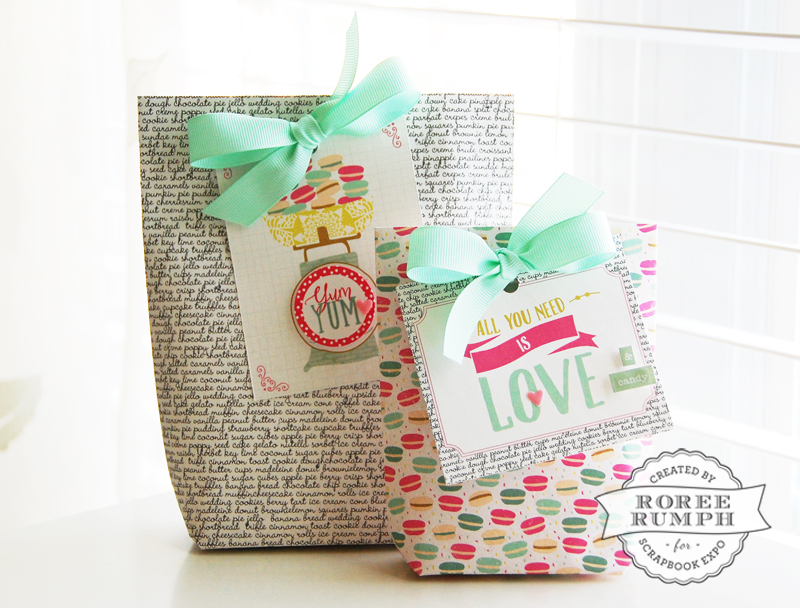
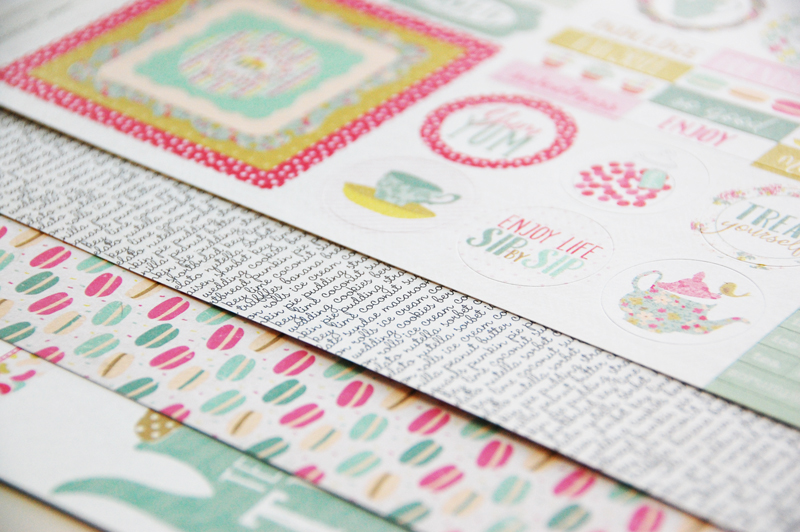
First, I picked out some patterned paper and stickers from Authentique’s Infused collection.
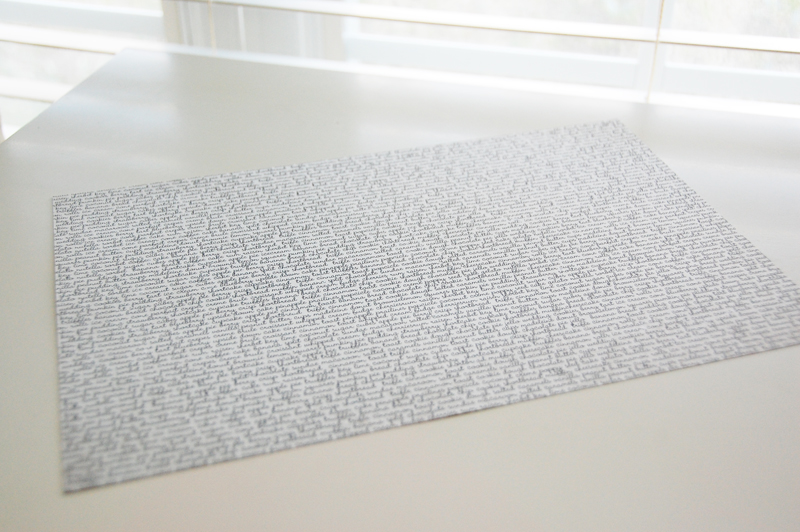
I cut the “gourmet” patterned paper to 8 x 12″.
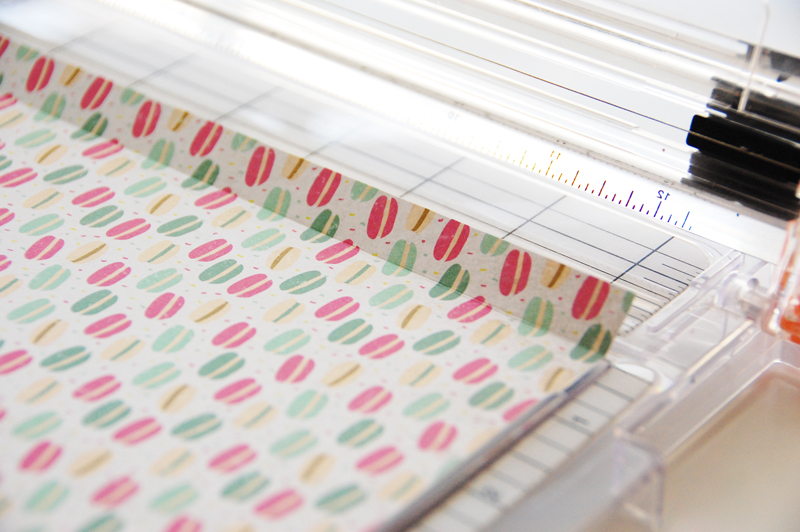
Along the shorter side, I scored the paper 1/4″ from the outside edge.
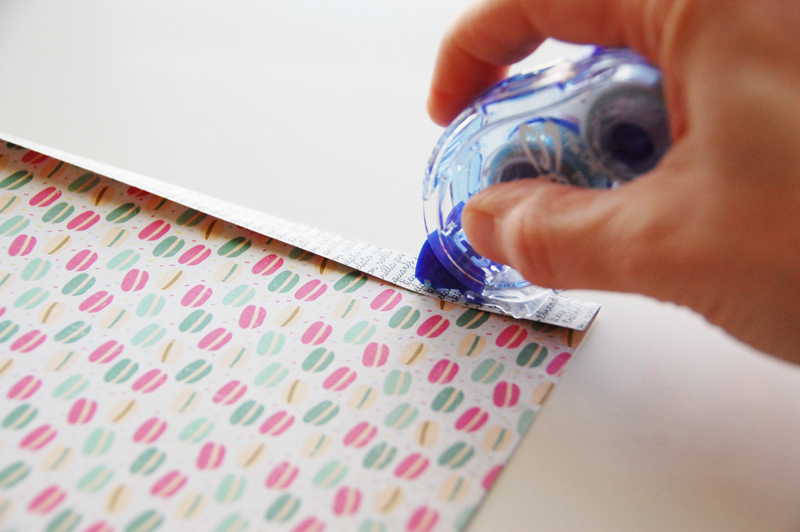
I added adhesive to the outside and adhered the opposite end to the flap.
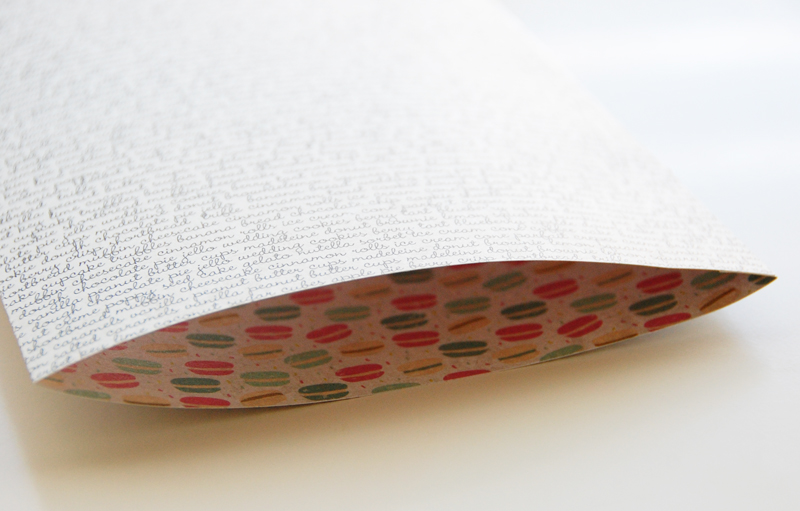
To create the bottom of the bag, I scored the folded patterned paper 2″ from the bottom edge.
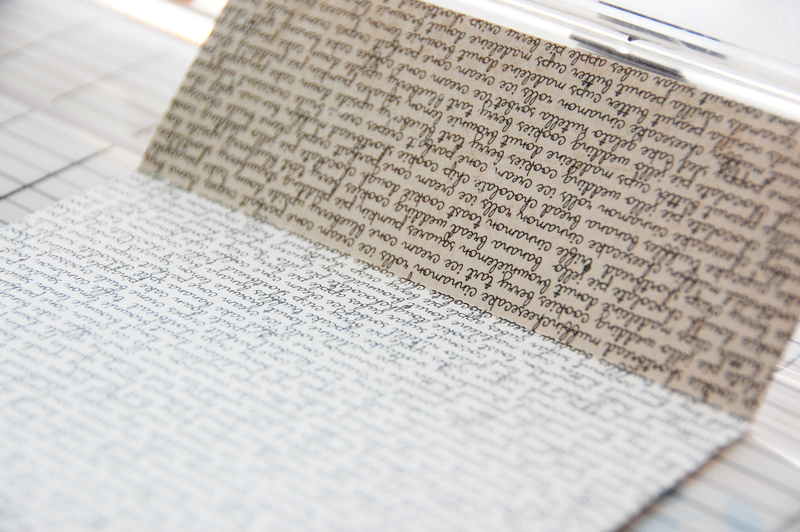
I pulled back the top layer and folded the corners in.
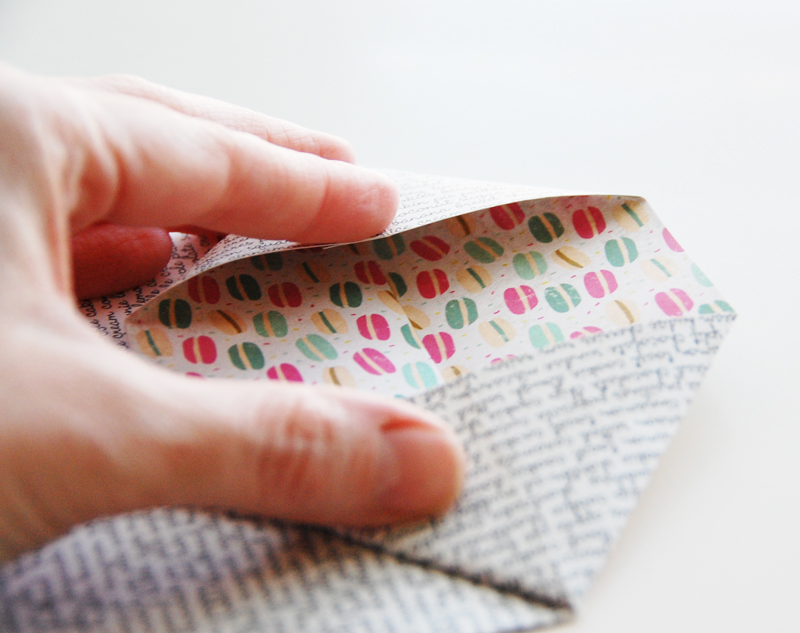
I folded one flap in slightly past the center.
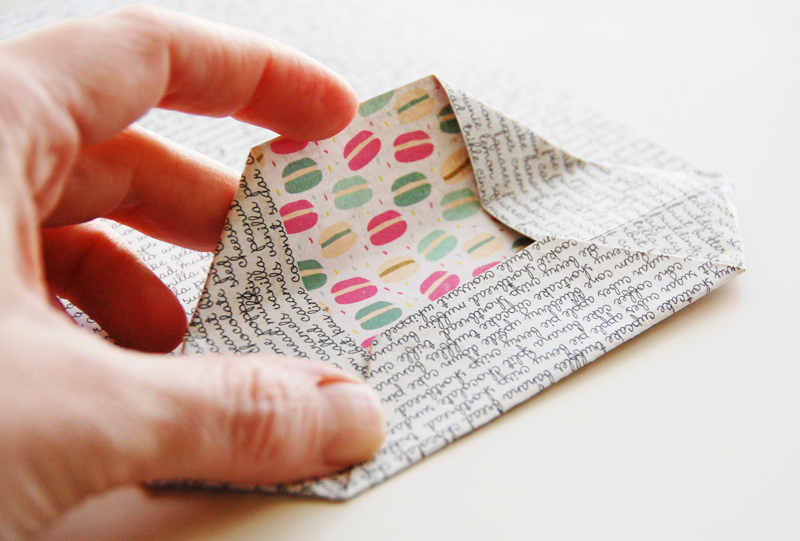
I folded the other end slightly past the center also, so that the flaps overlapped. Then, I added adhesive to adhere the flaps together.
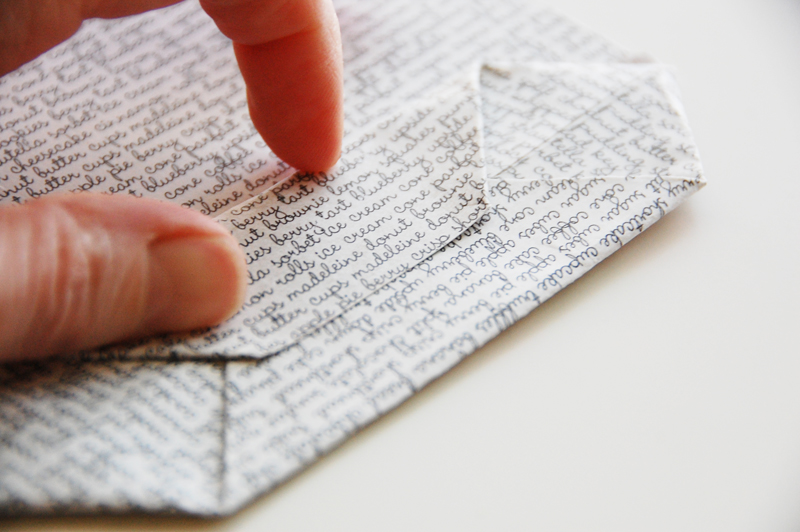
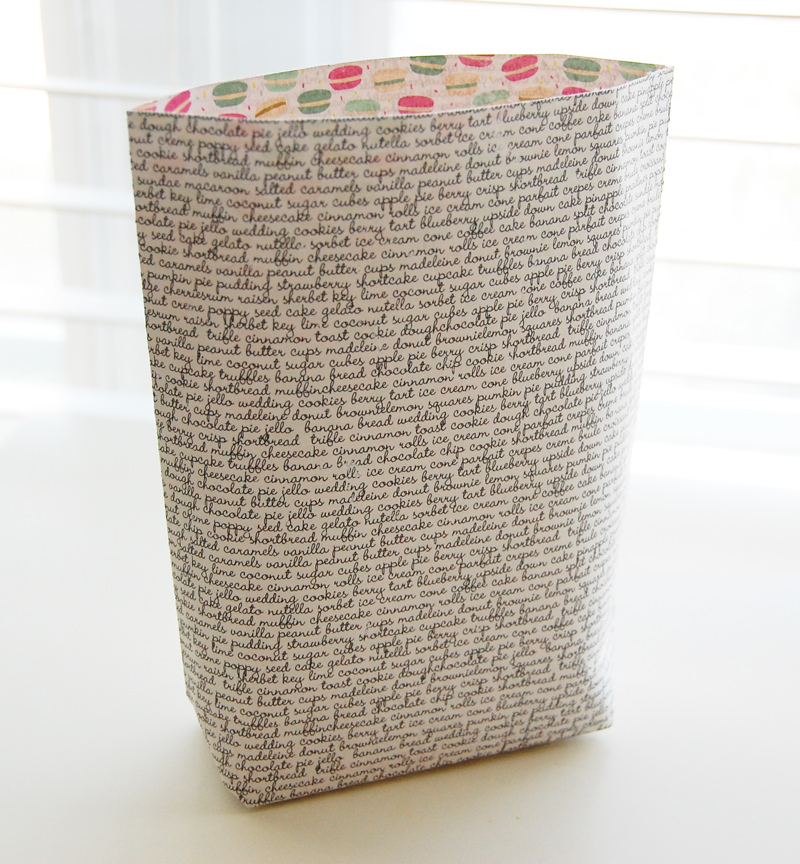
I opened the end and flattened out the bottom to make the bag stand.
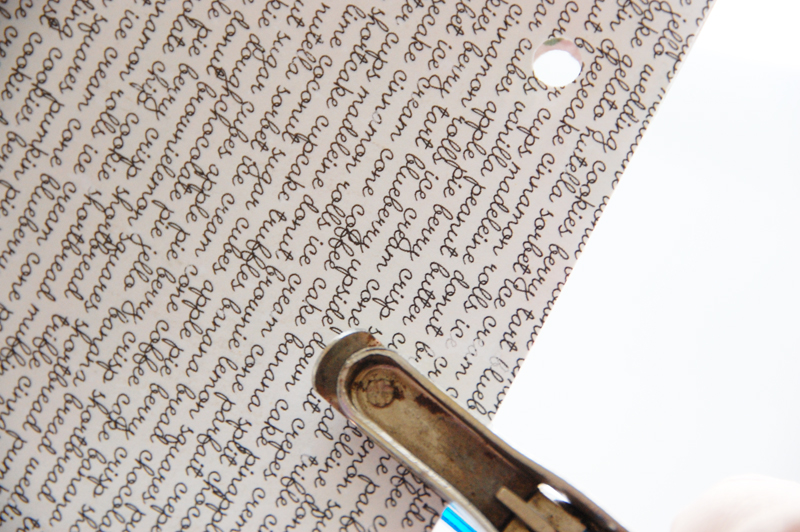
I punched two holes through the top on both sides to thread ribbon.
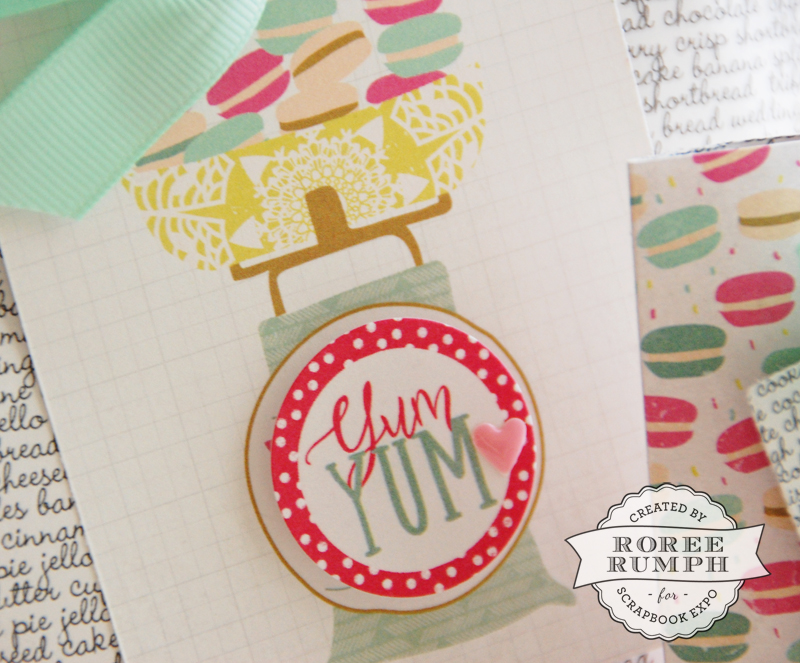
I created a tag from the “enhancements” patterned paper and “elements” 12×8 cardstock sticker sheet and attached it to the bag with ribbon.
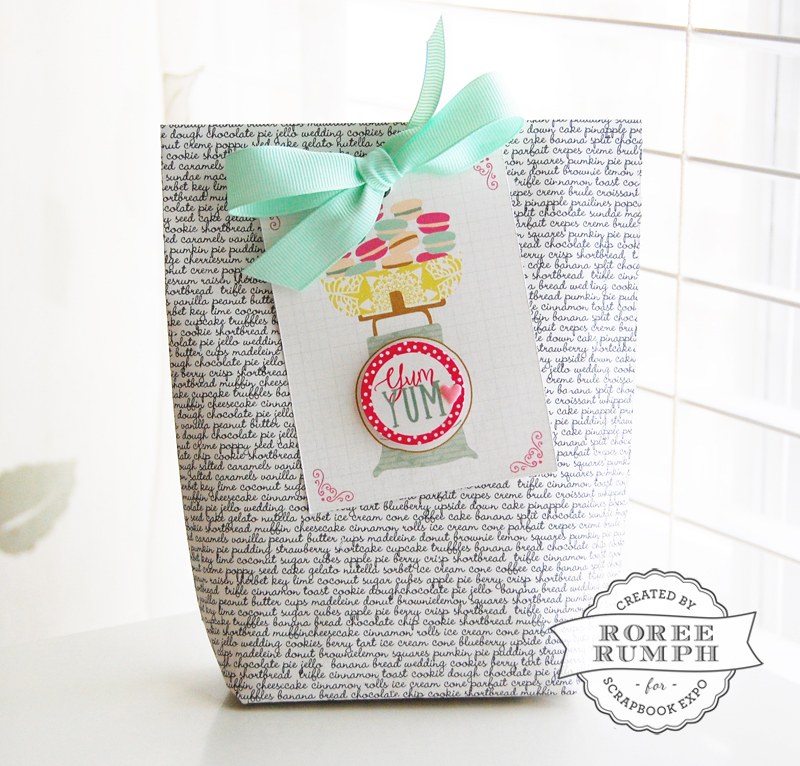
Using the steps above, I created a second smaller bag along with a second tag to attach to it.
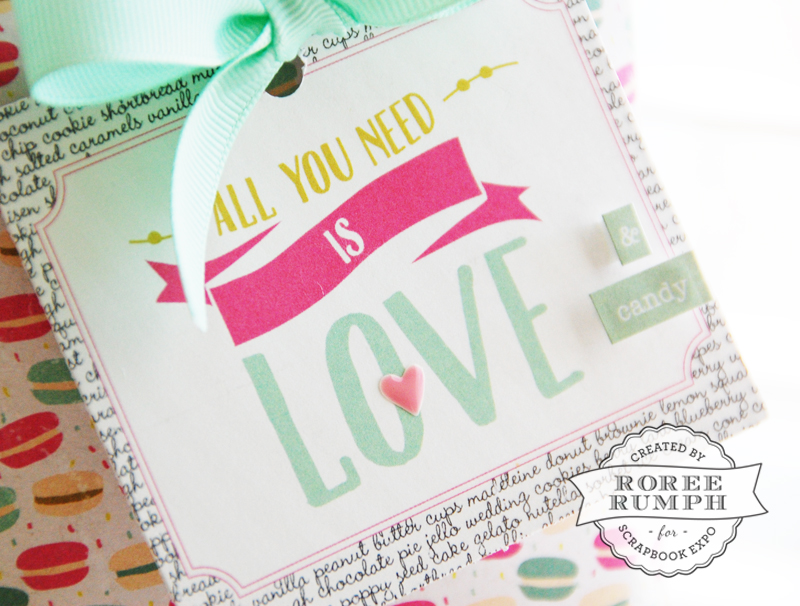
For the smaller bag, I used a 6 x 8″ paper panel and scored it 1 1/2″ from the bottom.

You can easily create any size bag by adjusting the size of the paper panel you start with. The depth of the bag can be adjusted by increasing or decreasing the scored length at the bottom of the folded paper.
I hope you enjoyed today’s Make It! Monday project. Thanks so much for stopping by!


Roree – Theses Are very nice looking bags. Thank you for sharing the how to information. These could be used for lots of occasions .
Adorable! Thanks for sharing how to make these charmers!