 Happy Tuesday!
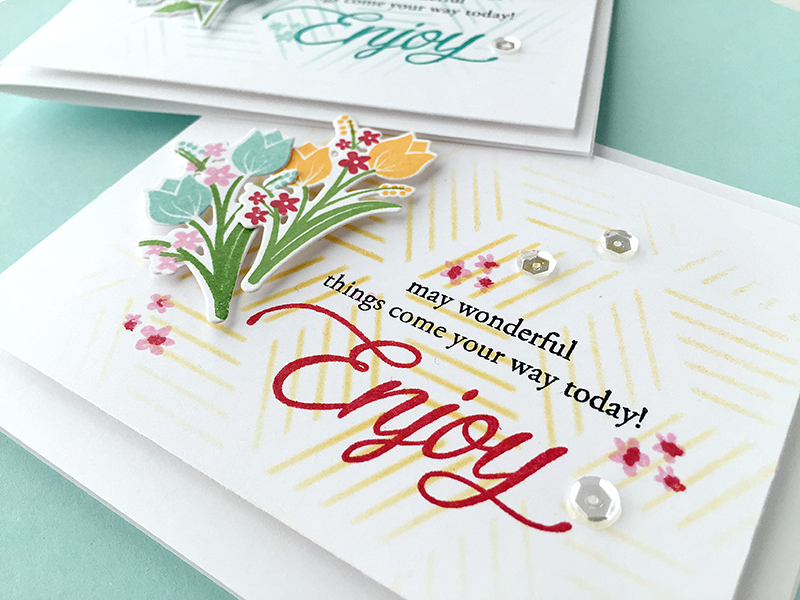
Recently I have started dabbling in ink blending on my cards! It’s such a fun way to add a touch of color to the background. You can ink blend with any color of ink pad directly to the card, or you can ink blend over a stencil.
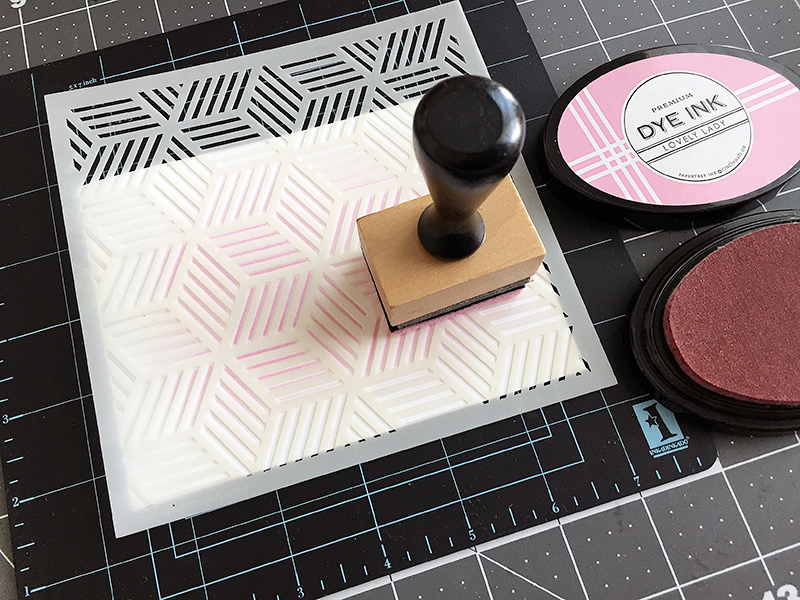
Ink blending is much easier than I expected it to be. I purchased a Tim Holtz blending tool awhile back and some Ranger Ink Blending Foam Pads (you’ll want to change the pad out for each different color) and didn’t use them until recently. All you do is dip the end of the blending tool with a foam pad on the end into the ink pad and rub it over the paper in a circular motion. I like how you can blend out the edges to make it look soft and barely there.

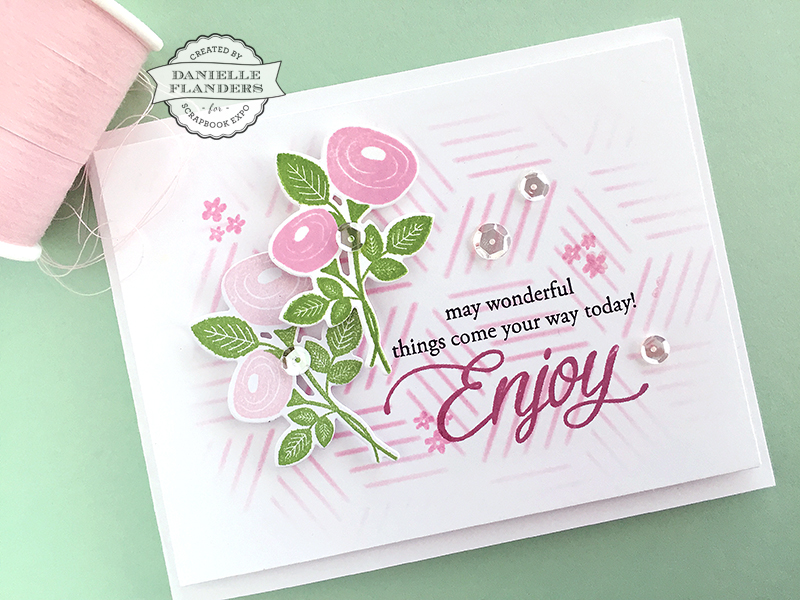
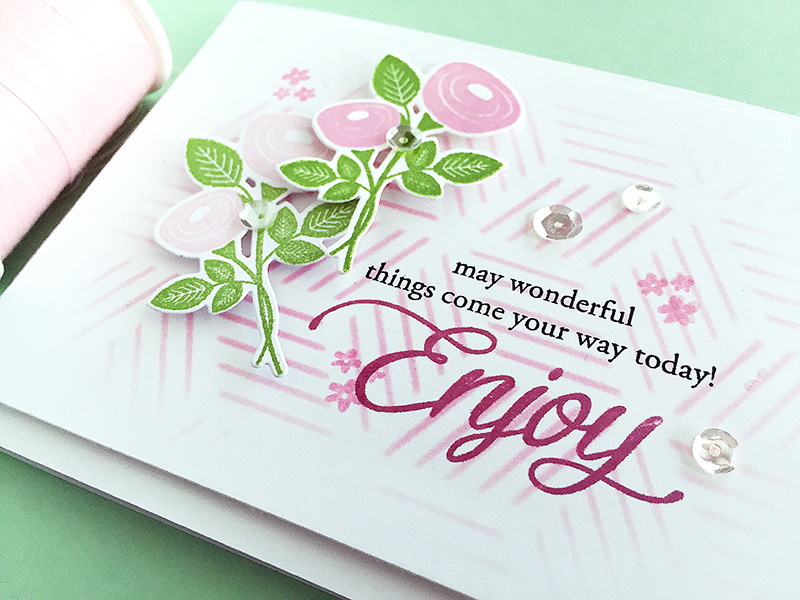
The stenciling in the center does double duty by adding a home for you to place a focal point and a sentiment, so the focal point isn’t “floating” on the card. It also adds pattern and color!
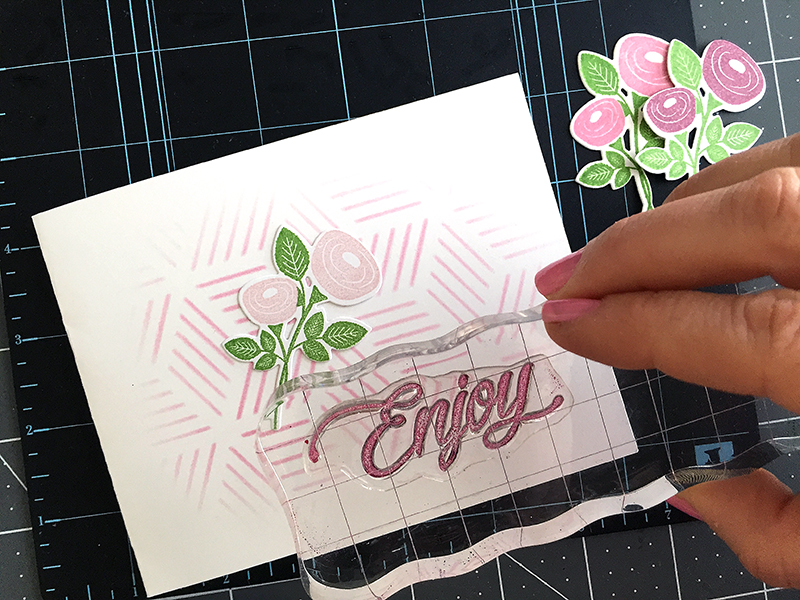
The flower die cuts and stamps used here are from the Bitty Bouquets set by Papertrey Ink, along with the “Enjoy” sentiment. The black stamped sentiment is from Papertrey Ink’s Big Birthday Wishes.

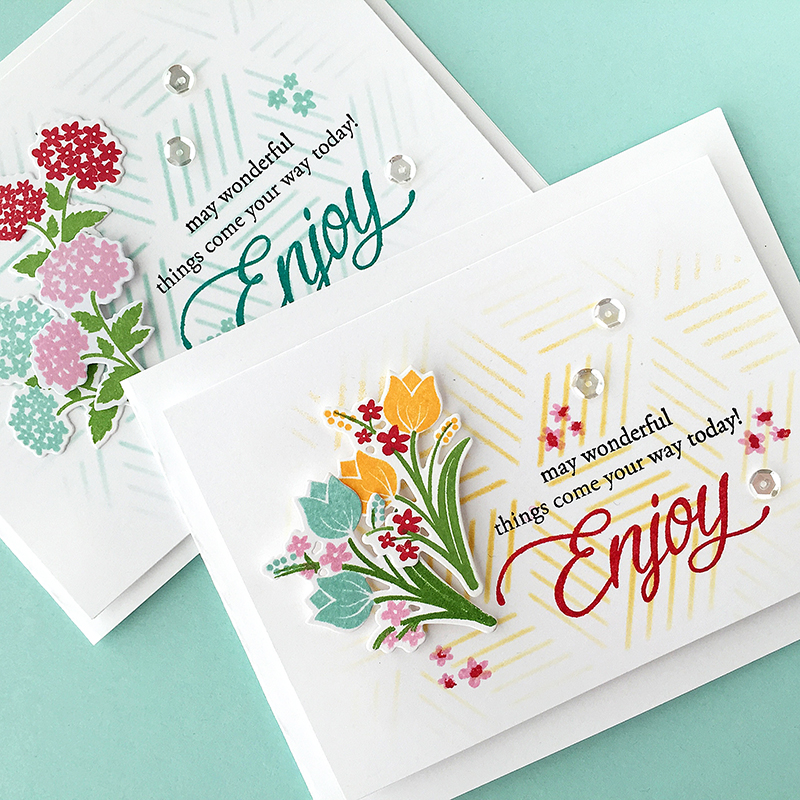
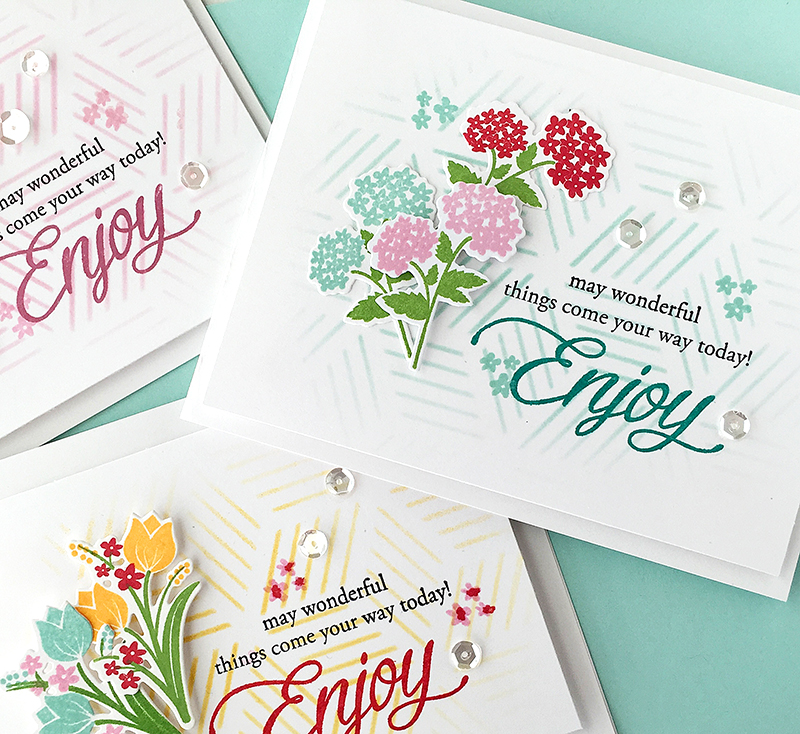
These two cards use different color combinations, but the same design!
Have you tried ink blending yet?Here are a couple more cards I’ve ink blended recently – the bird card in THIS post and the Sending Birthday Wishes card in THIS post. I hope you will give it a go!
Thank you for reading today; happy crafting!
Danielle
Love your background stenciling and the pretty little PTI bouquets!