
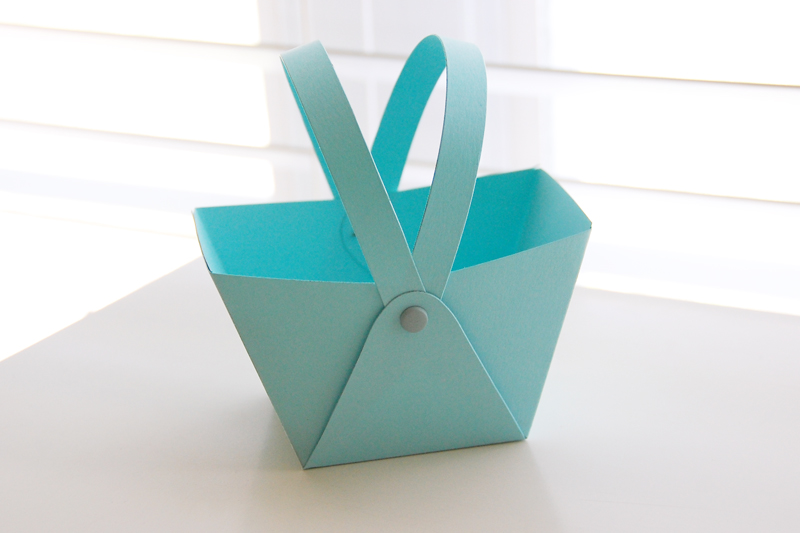
Hey, everyone! Roree here with another Make It! Monday project. Today I am sharing an Easter basket I created using the Bigz™ L Basket #2 die by Sizzix.
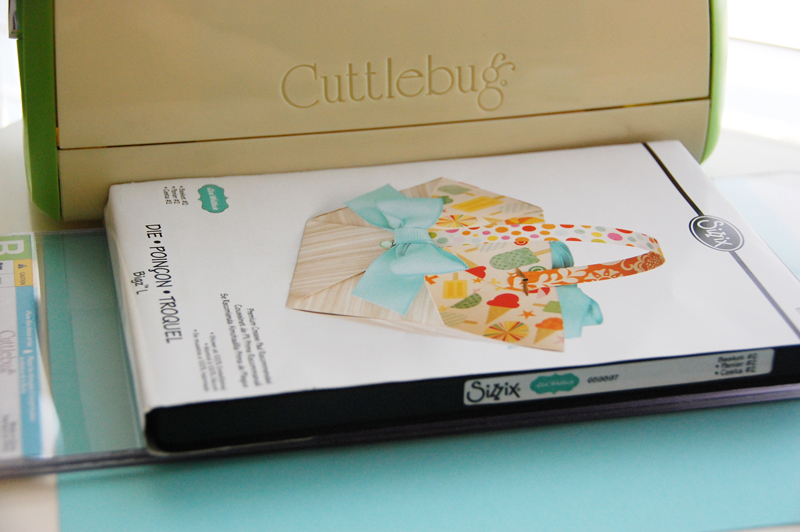
First, I got out my Cricut Cuttlebug® machine, two long B plates, my die, and some cardstock.
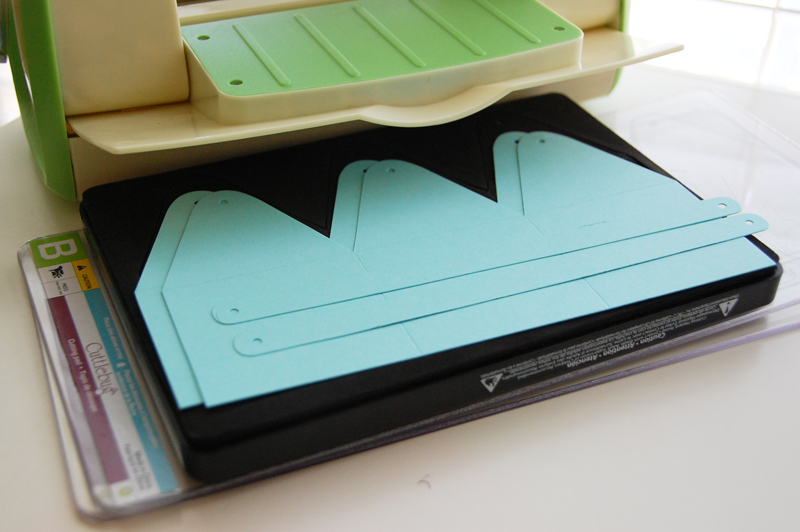
I ran the die through the machine twice, so I had two basket cuts and two handle cuts.
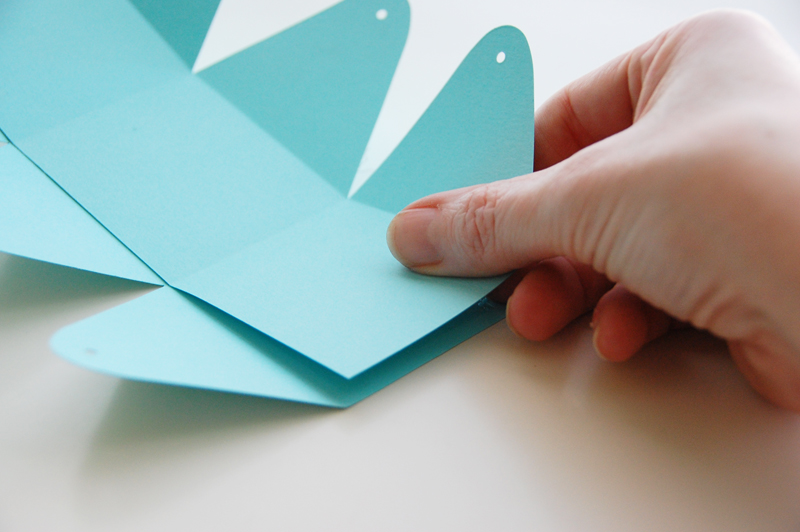
I folded the two basket cuts on the score lines.
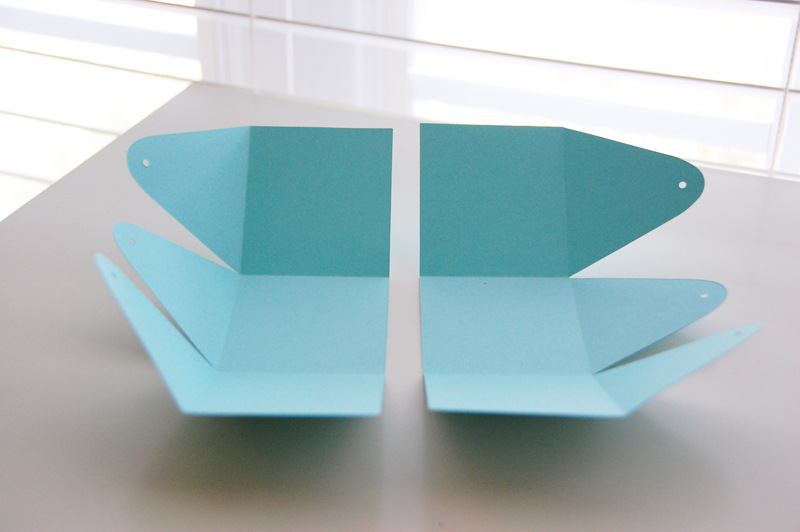
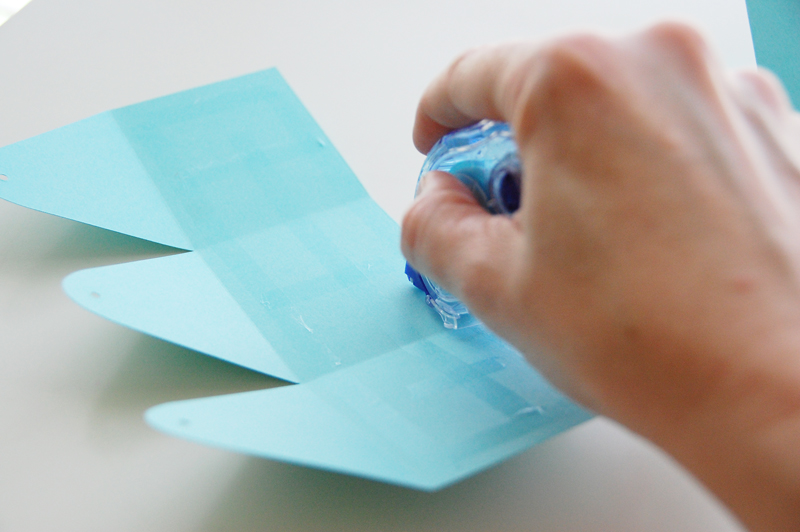
I added adhesive to the inside of one of the basket cuts then layered and adhered the two basket cuts together.
I folded the ends of the basket cuts in and attached the ends, along with both handle cuts, with a brad.
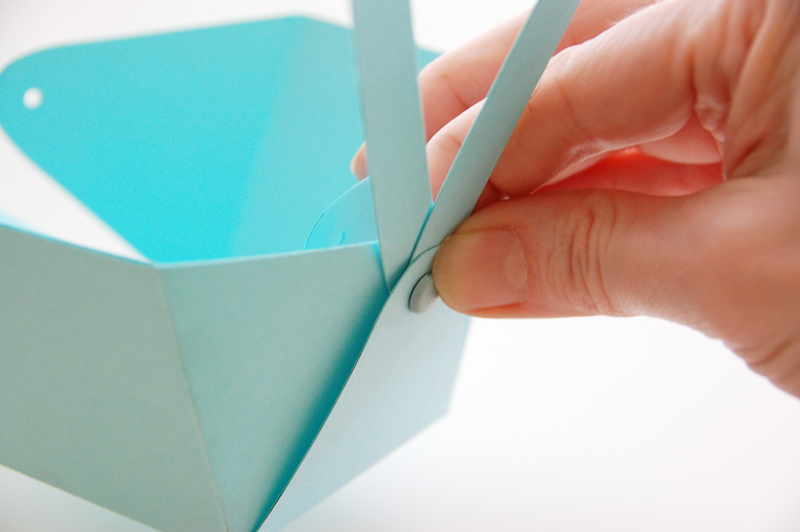
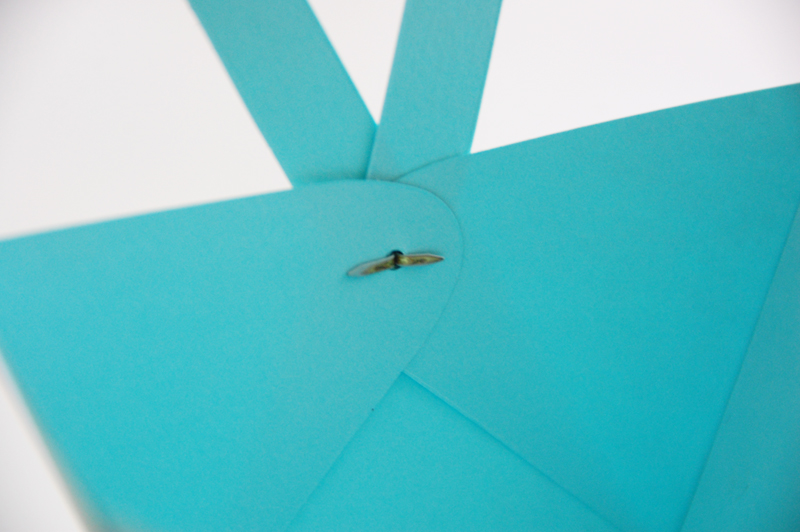
I repeated this step on the other side to create a two-handle basket.
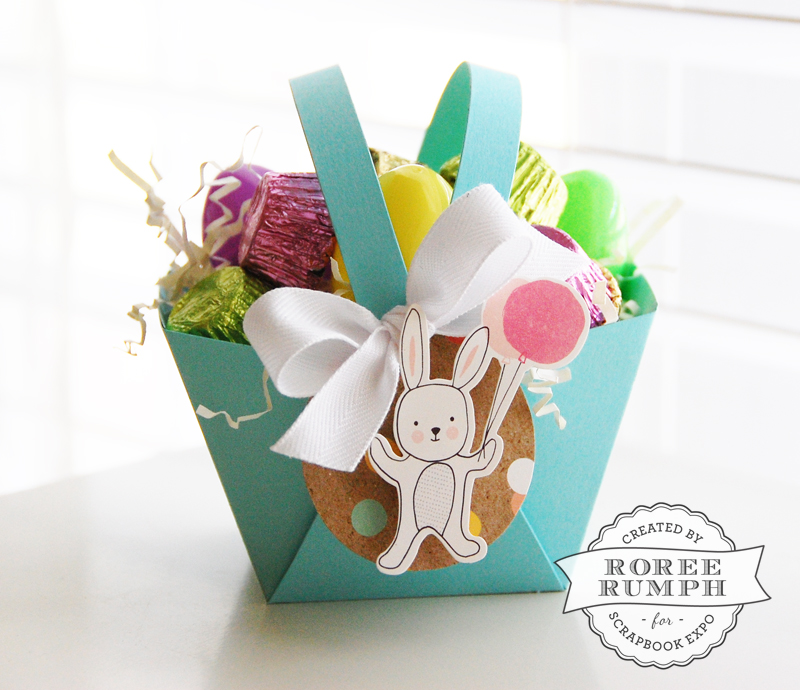
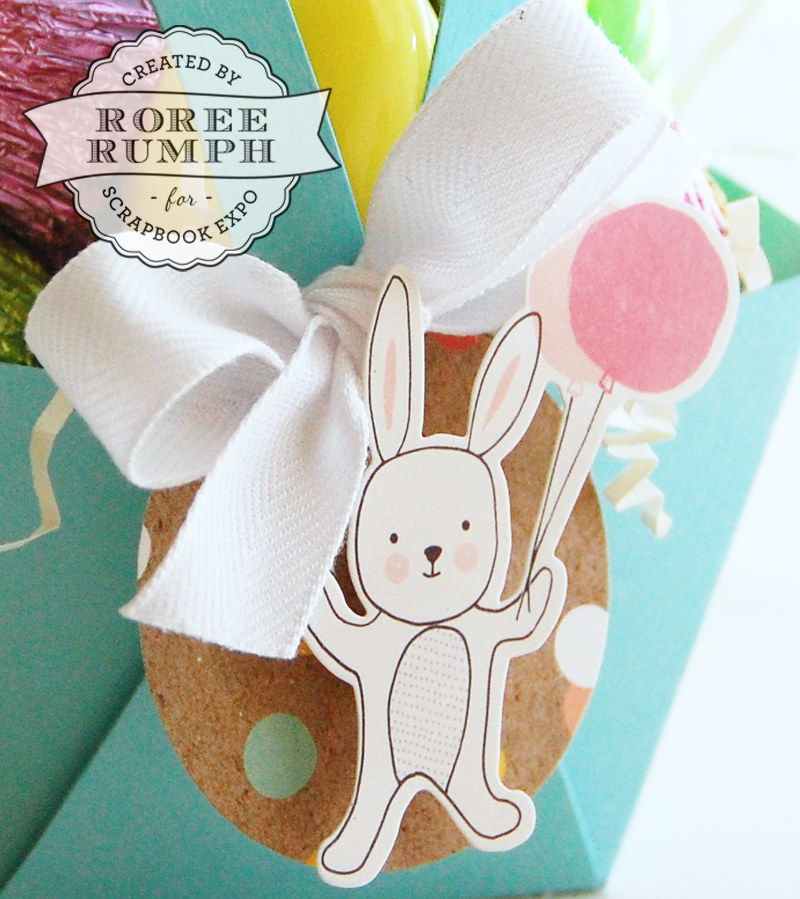
I made a circle-shaped bunny tag using a cute bunny sticker from Crate Paper and tied it to one of the handles on the basket using ribbon.
This is such a quick and easy project! You can create just one or dozens for your closest friends and family this Easter.
I hope you enjoyed today’s Make It! Monday project. Thanks so much for stopping by!
Such a cute little basket, thanks for sharing!