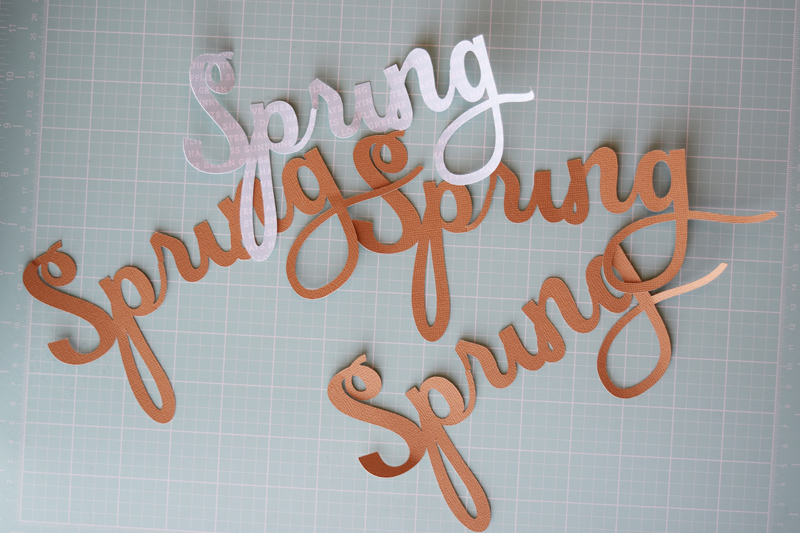
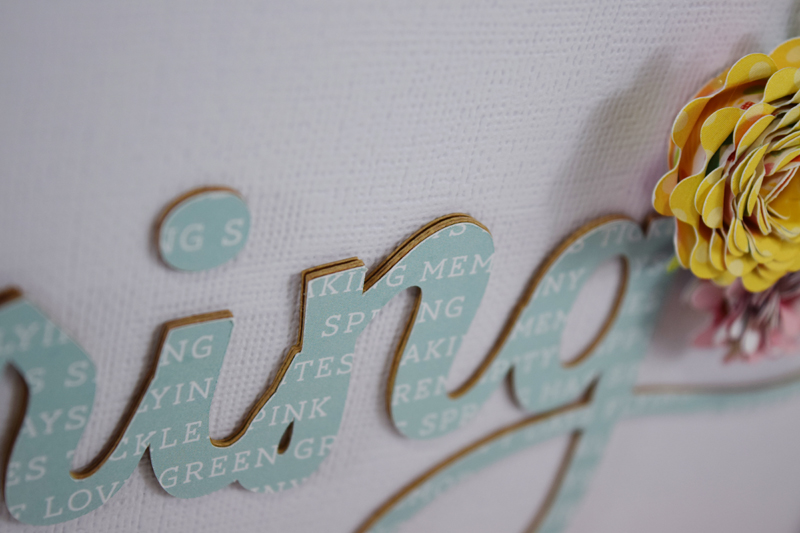
 Hey friends, who is ready for Spring? If you could see me right now, you’d see my hand raised high! I’m so excited for warmer weather. Even though there is snow on the ground, I’m getting ready for Spring in my home. Today I will show you how I created this DIY Spring Home Décor. I started by gathering a few supplies including the Spring collection from Echo Park Paper, my Silhouette CAMEO, and a picture frame. I created a cut file using a font on my computer for the word “Spring.” I cut the word Spring four times. Three times I used kraft cardstock, and the last time I used a piece of light blue text patterned paper.
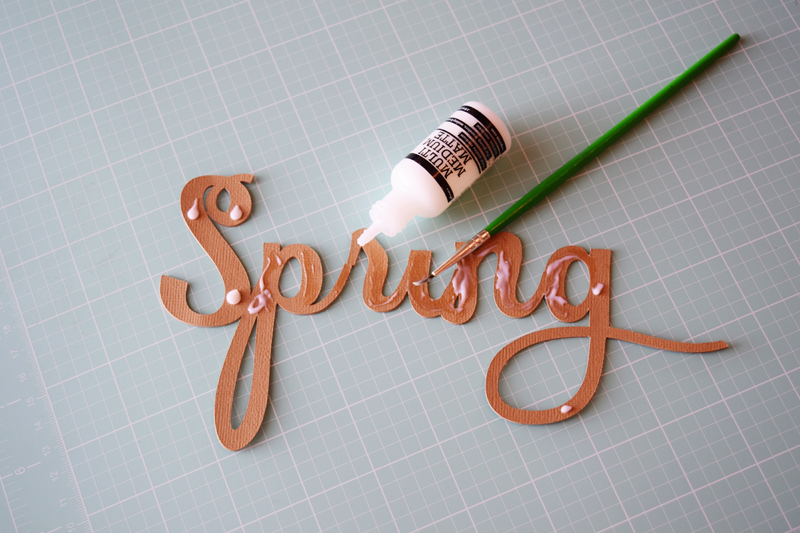
I glued all of these die cuts on top of each other to make the die cut a little bit bulkier. I used liquid adhesive with a paint brush to adhere them all together. (You could also use a glue pen for this step.) If you do use a paint brush make sure you use an inexpensive brush because glue will ruin a paint brush.
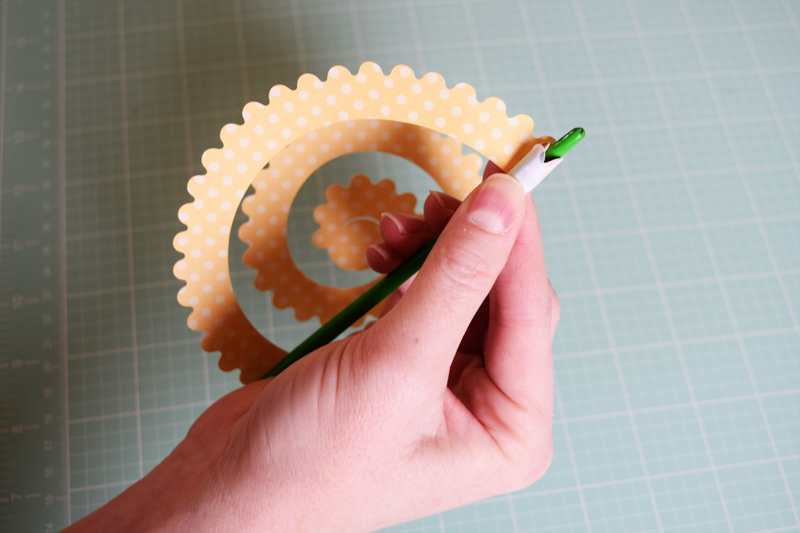
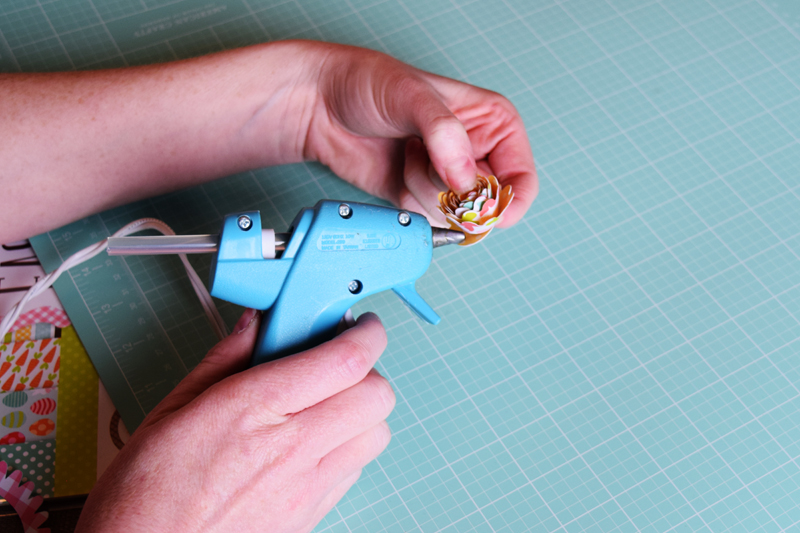
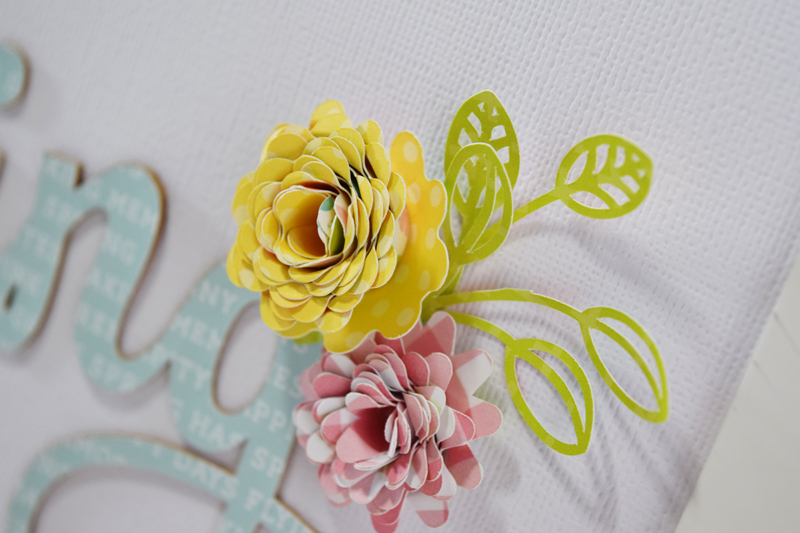
After I had my “Spring” die cut finished. I started creating rolled flower die cuts. These flowers are so easy to make and created a big impact on my project. I used these cut files (rolled flower one and rolled flower two) to create these flowers. I used the end of a paintbrush to roll the flower.
I used a hot glue gun to adhere the flower together. I chose a hot glue gun because it dries so quickly and I didn’t want to hold the flower waiting for liquid glue to dry.
After I had my die cuts assembled I was ready to put my project together. I laid all the pieces out to make sure everything was going to fit.
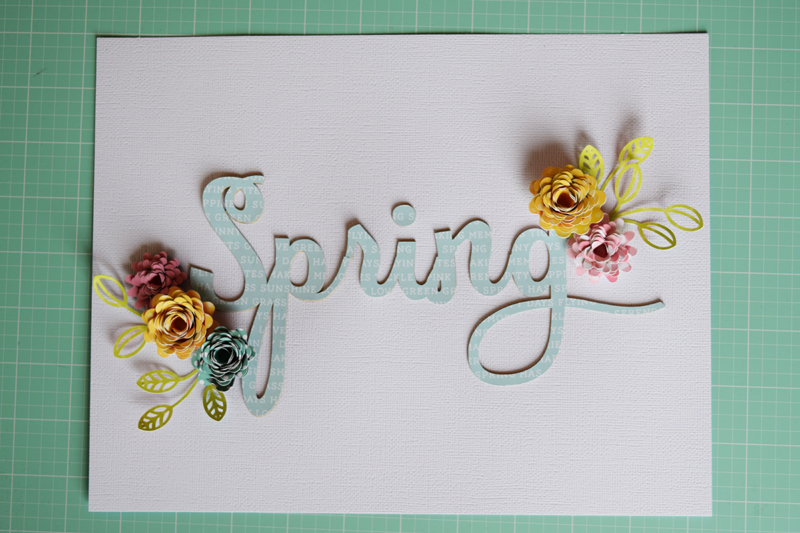
Once I was happy with the placement of all the die cuts, I glued everything down with a strong liquid adhesive.

Then, I was ready to put everything into the frame. I used a white 8 1/2 x 11 document frame. On this frame the glass was scratched but since I didn’t want the glass for this project, it worked perfectly. I took the glass out, threw it away, and put in my Spring artwork.
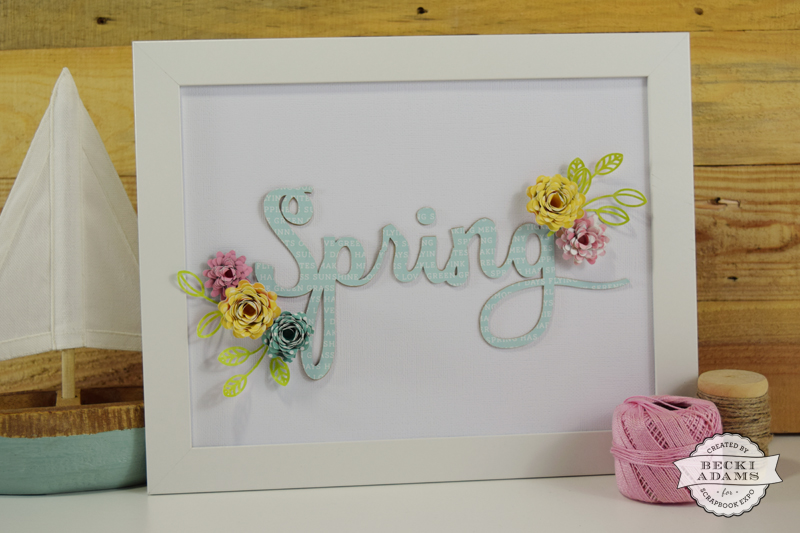
I am so happy with the final project. I love all the dimension and soft spring colors it has.

Thanks for stopping by the Weekly Scrapper blog. I’ll see you next Thursday. I’ll have a great scrapbooking project that I know you’ll love!