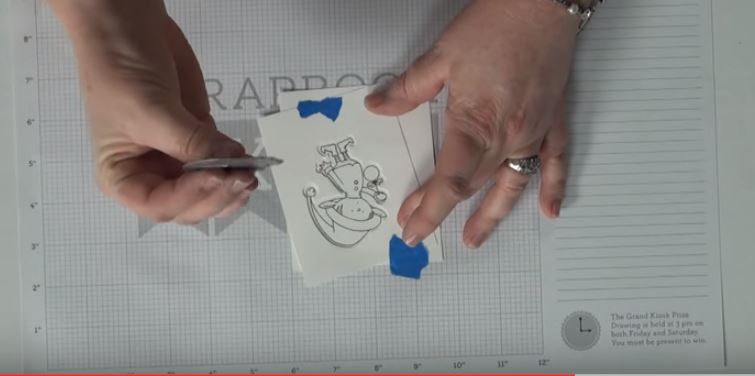
I love designs that come with coordinating dies; they are so much fun to create with! We’re happy to have Nicole Petersen join us today to share a tip on how to easily position those thin dies so you get a perfect cut every time. You are sure to use and appreciate this tip.
Make sure to check out all the workshops at upcoming Stamp & Scrapbook Expos for all kinds of tips and techniques; you’ll be so glad you did!
#SSBE2017 #WeeklyScrapper


Thanks for the tip of the day! Sure appreciate it!
Great idea. Thanks!
Great tip! Thanks Nicole for sharing.
Great tip Nicole! Love the little stamp and die… Too Cute!,,
What an excellent system for cutting matching stamps and dies! I am so excited! Thanks Nicole, how clever!!!
Love this tip – I am going to use it on some of my flower stamp/matching dies since I can never get them lined up perfectly. Thank you,
Wonderful way to
use the dies. Thanks
for showing this.
Carla from Utah
OMG…awsome
Great tip Nicole!!!! Thank you!
Thanks for the tip of the day. I love it. Thanks
Thanks for the tip, we will all be using it.
What a great tip. I can finally use all those matching stamps and dies I have purchased lately.
Brilliant! Thank you!
But you waste another piece of paper…
Great tip! thanks
why dont you stamp on the blank cut out?
Different people do it different ways. You can die cut and then stamp or stamp and then die cut. Nicole was showing the way she has found that works best for her 🙂
Why not die cut first, and then stamp. The stamp is clear and you can see through the acrylic block to stamp the image. Your technique would work for wooden stamps though! ?
Thanks for this tip. It will be used a lot.
Thanks for this great tip! I was also wondering what company makes the die for the zipper openings that is used in your “Add Zip & Flair” class. I see Mama Elephant makes one but I am not sure if that is what is used for your class!
Good tip. also – what brand is that stamp and die – it is adorable.