
Hello everyone, Michelle Hill here today from Wandering Planners to show you how to make a quick and simple Gratitude mini book. I love making these, they are quick and simple but super cute. I always make them in a 4 x 6″ size so they are easy to carry and also fit in a personal size Traveler’s notebook. Let’s get started!
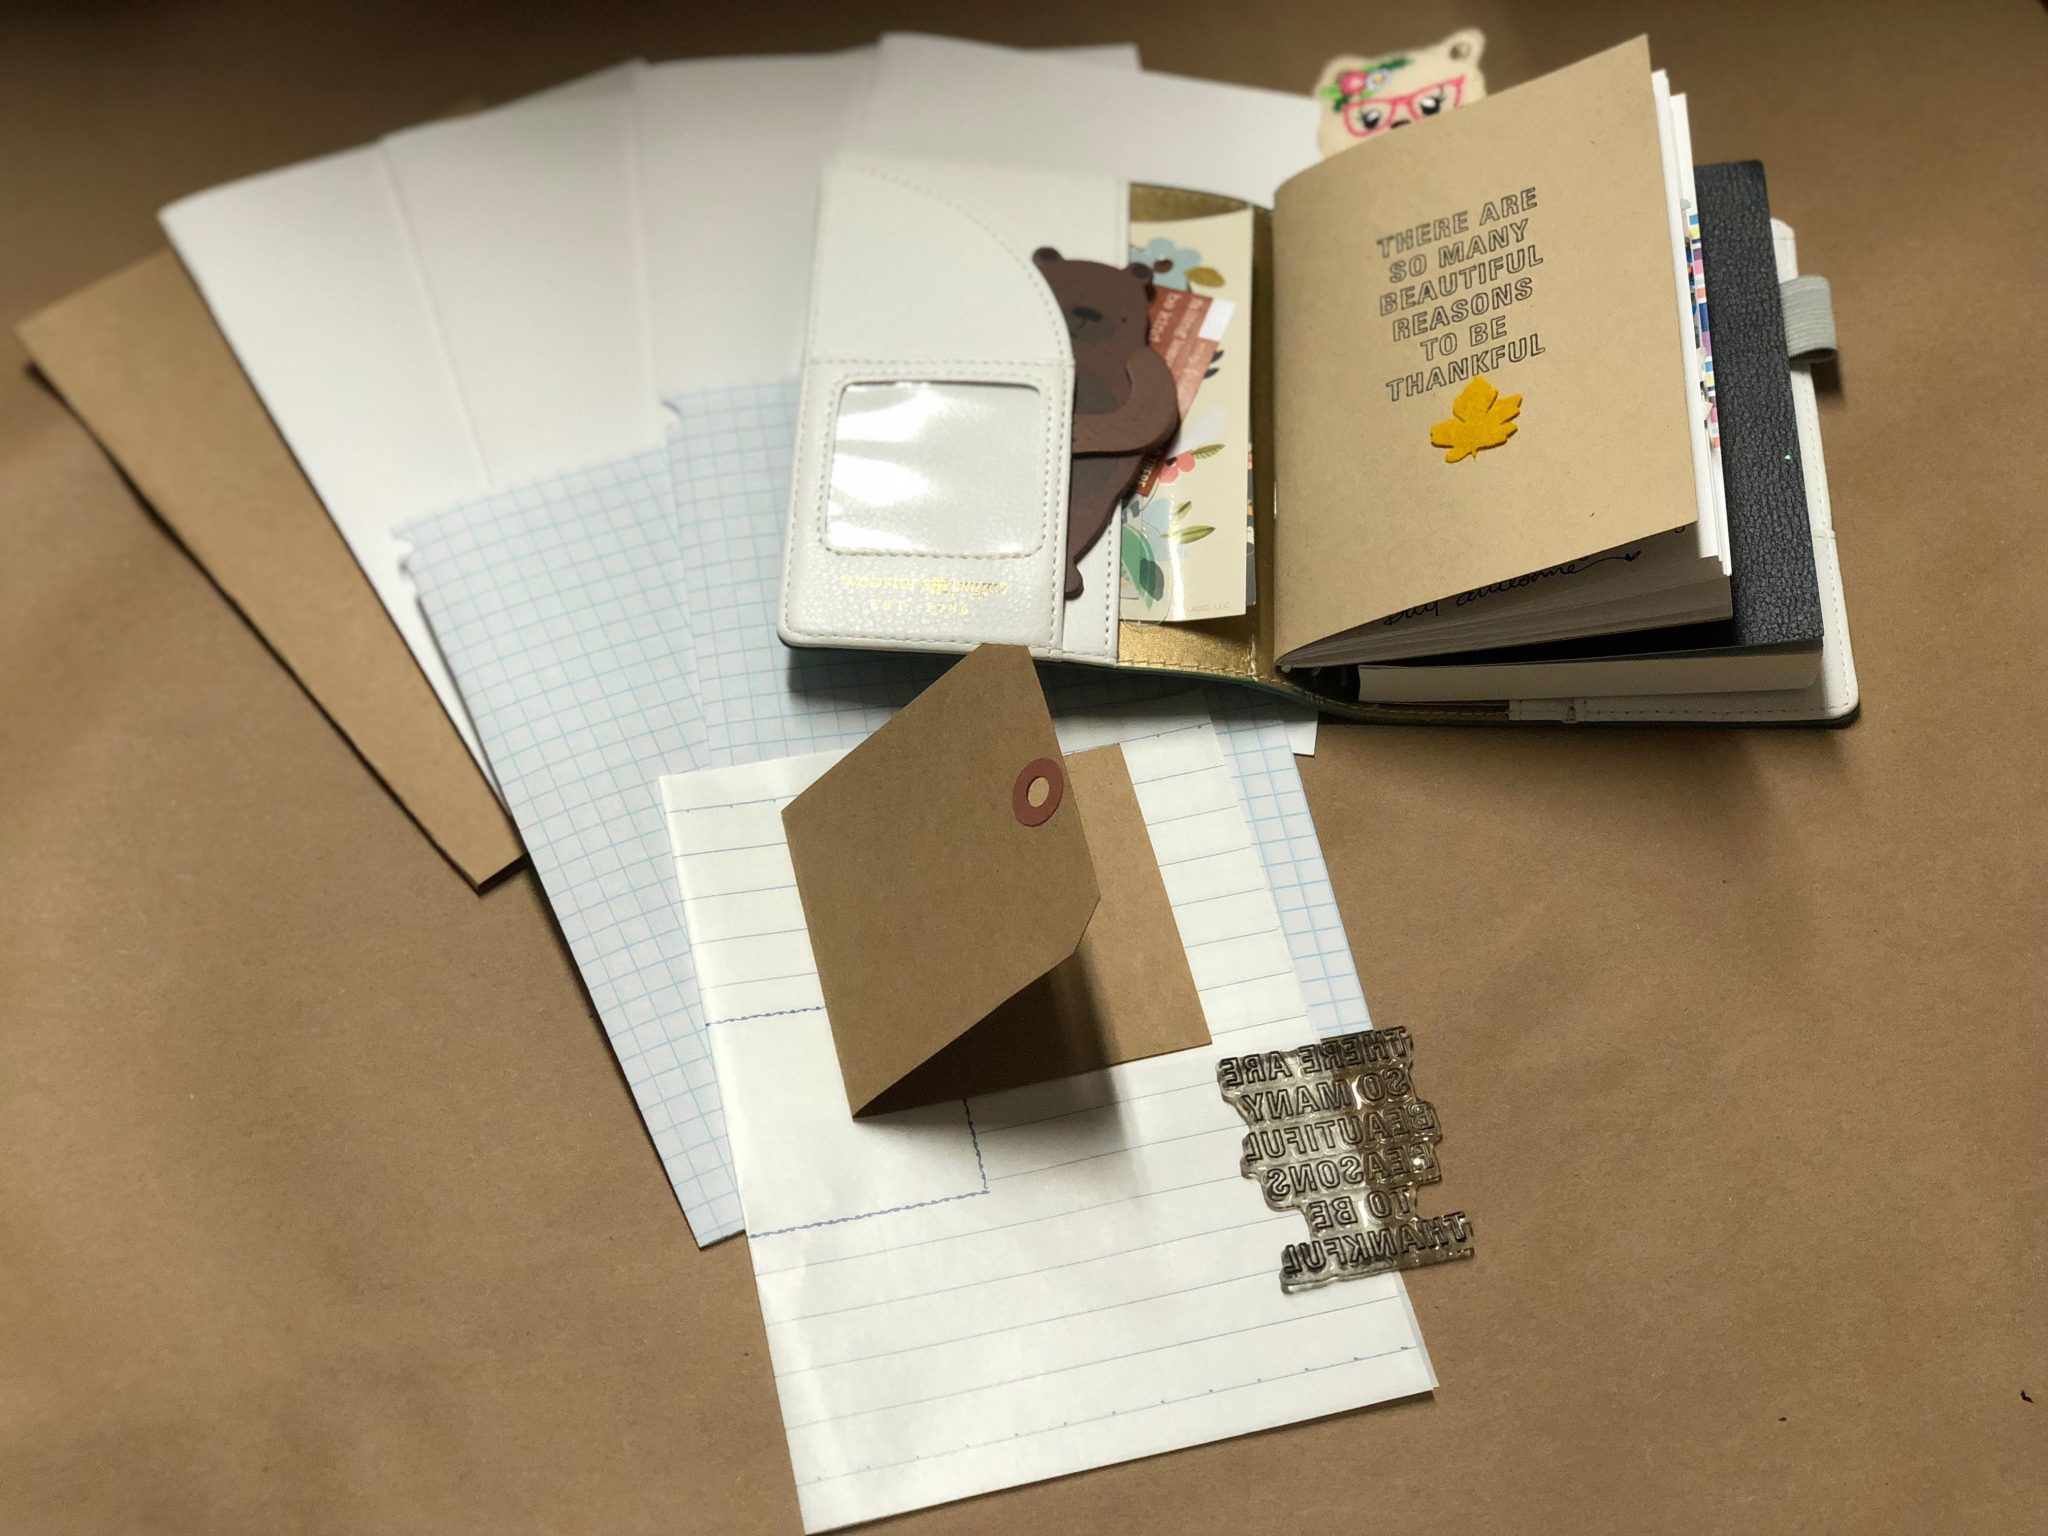
Gather a cover (I use a kraft colored cardstock cover) and then gather the papers that you would like to have placed in the book. I use a 32lb 98 bright paper and always add in some graph paper, tags, and something fun. That could be a map or glassine paper, vellum, anything really that will add some texture. Grab a cute stamp for the cover and a stapler and trimmer.
Now bundle it all together in the way that you would like your book to be. I mix it up and go back and forth with the papers – solid, graph, solid, tag, and then vellum.

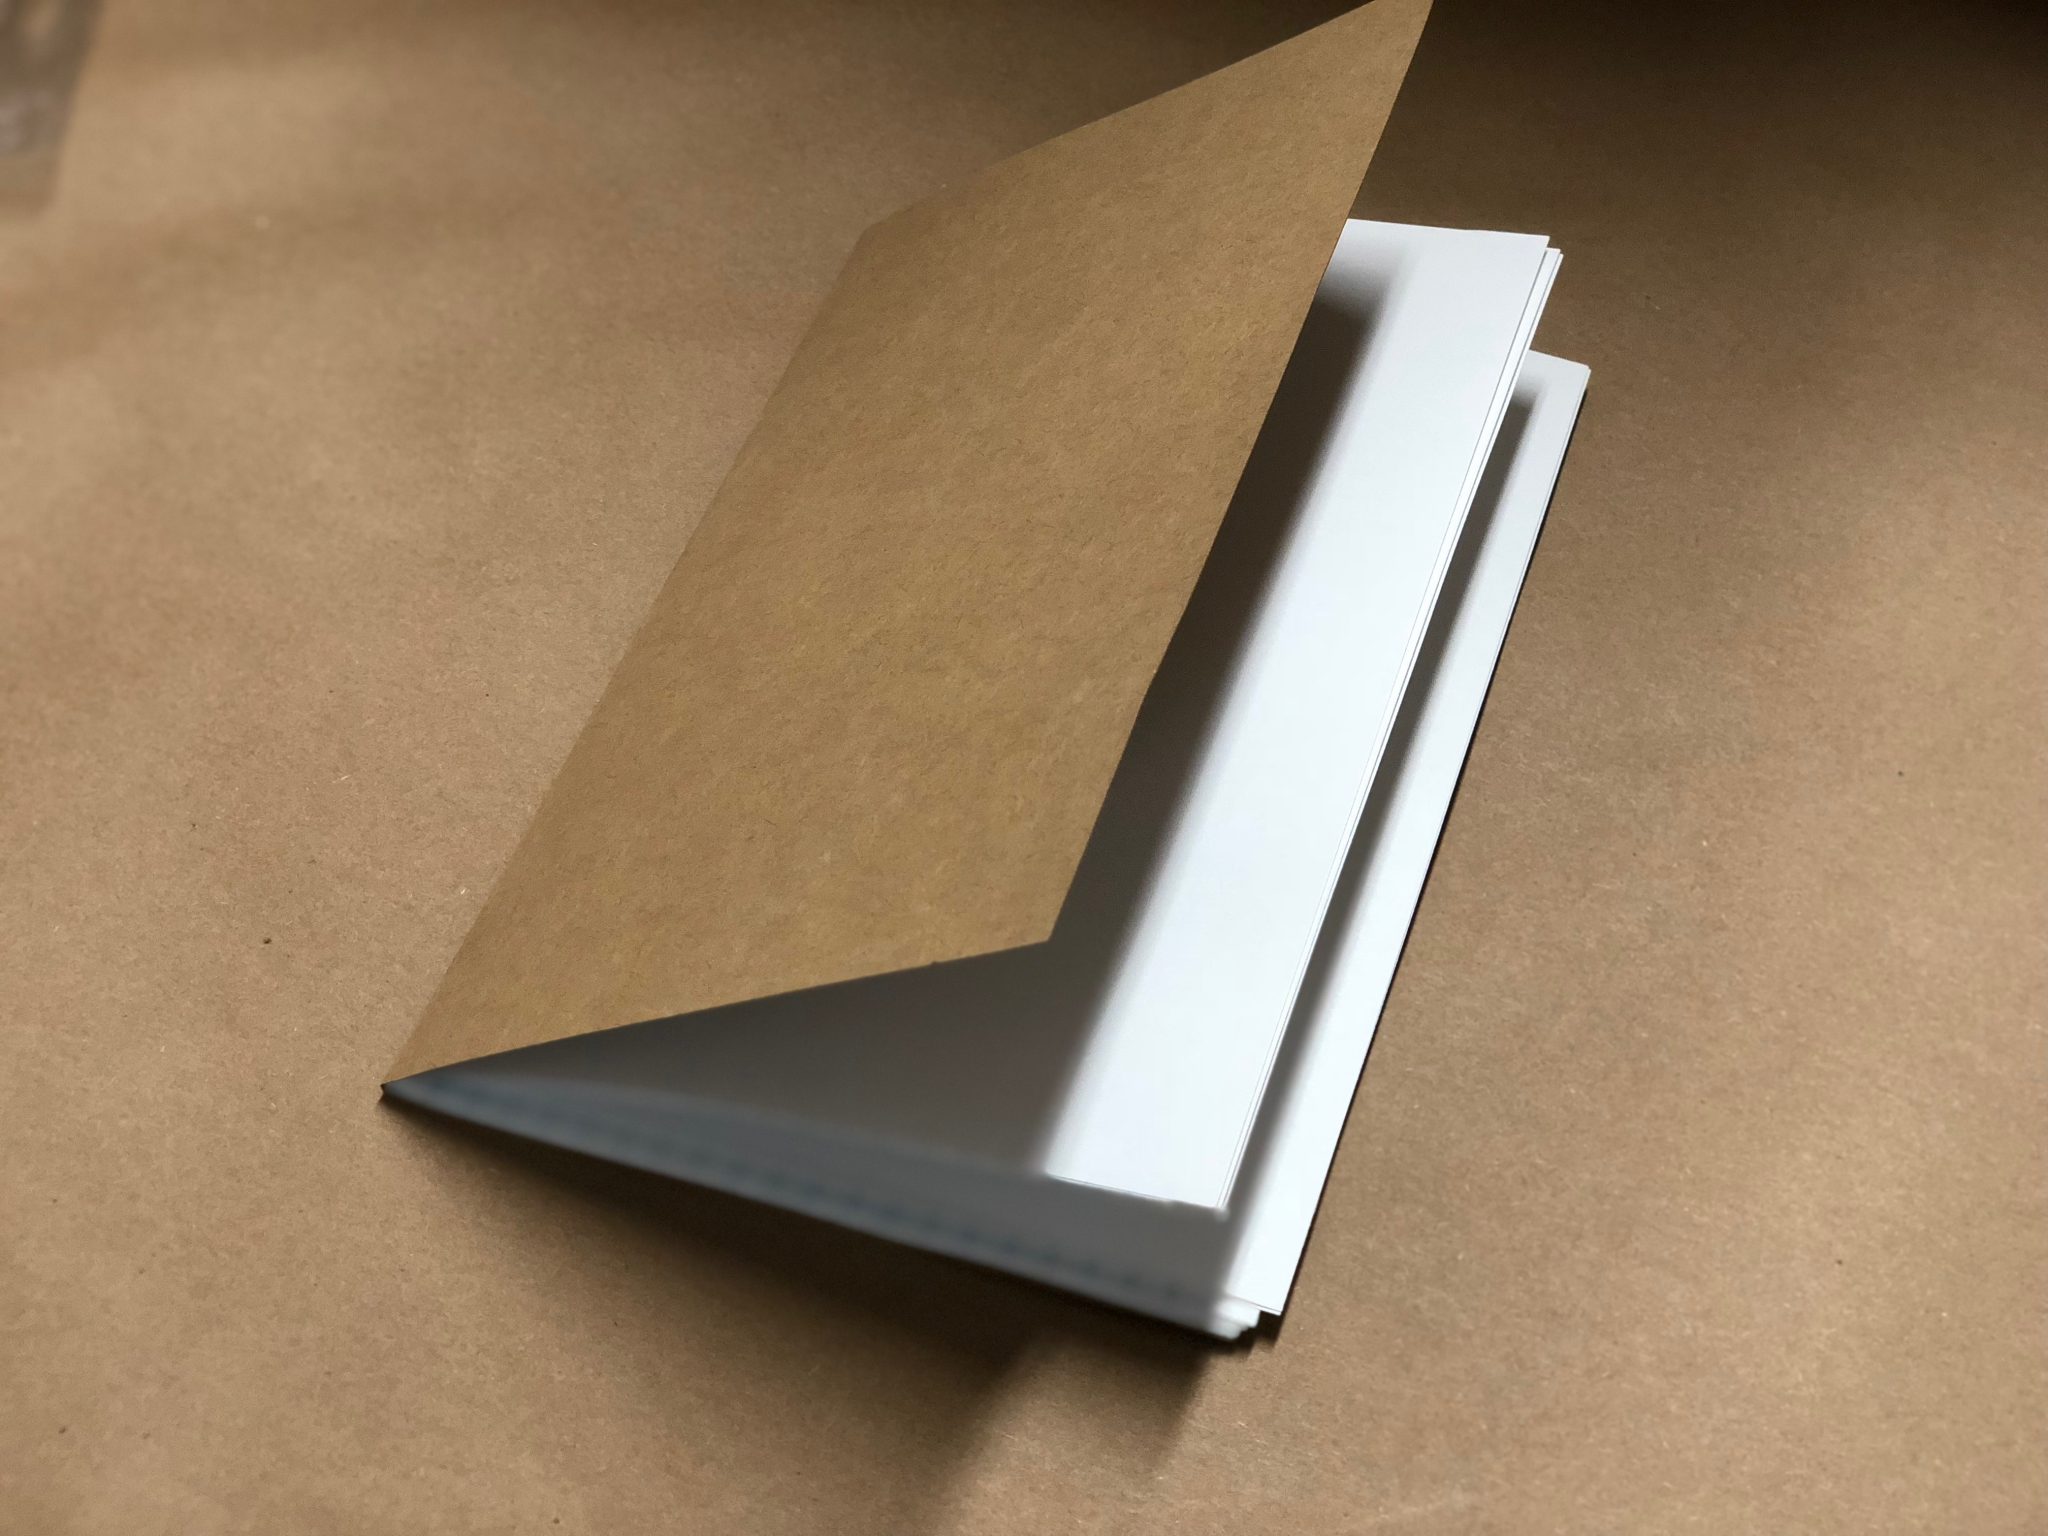
Now you can staple them all together or you can also stitch these books together.

Now trim it all up to size!
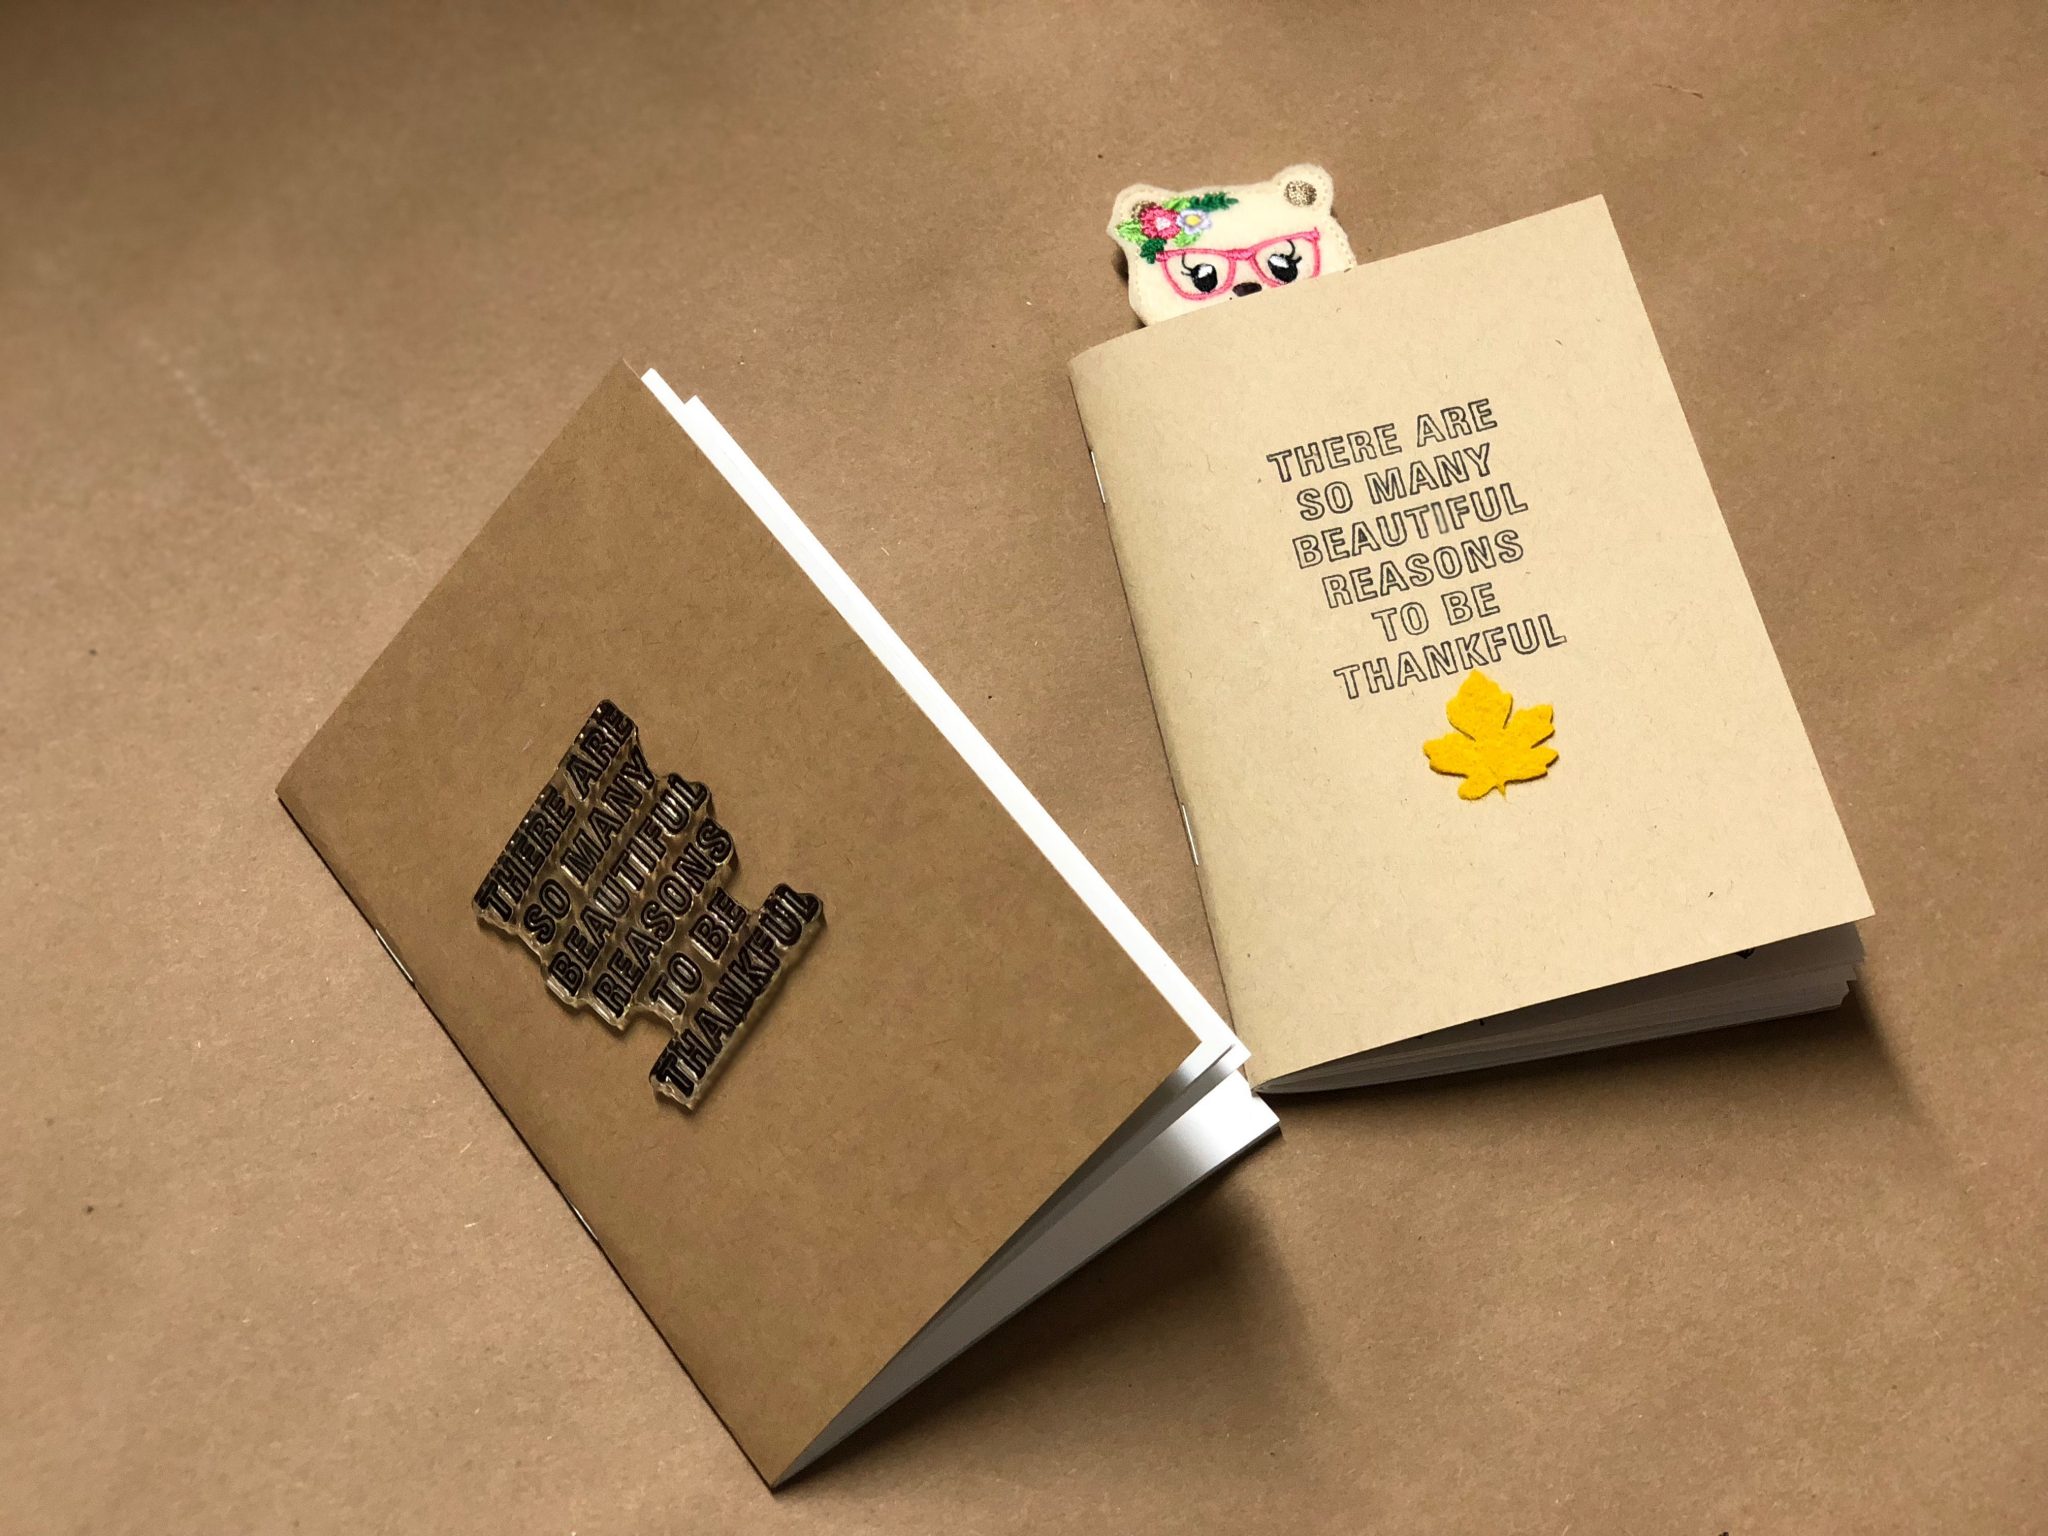
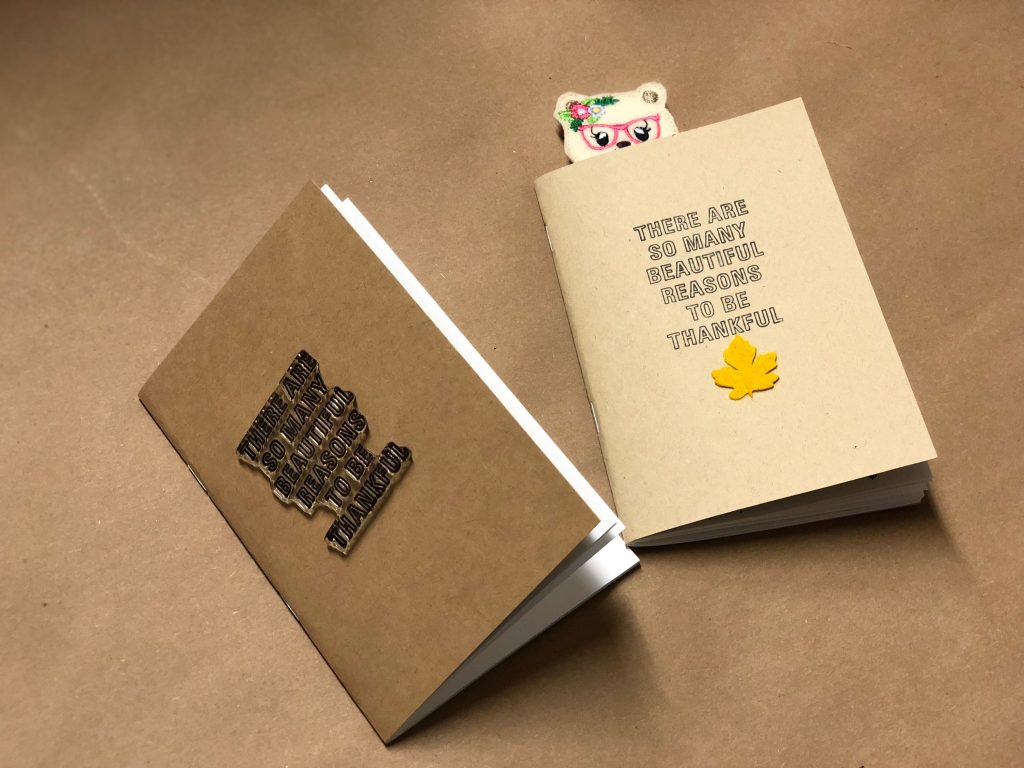
Your book is now ready to be decorated. I stamped a fun fall phrase onto mine and added a little felt embellishment.
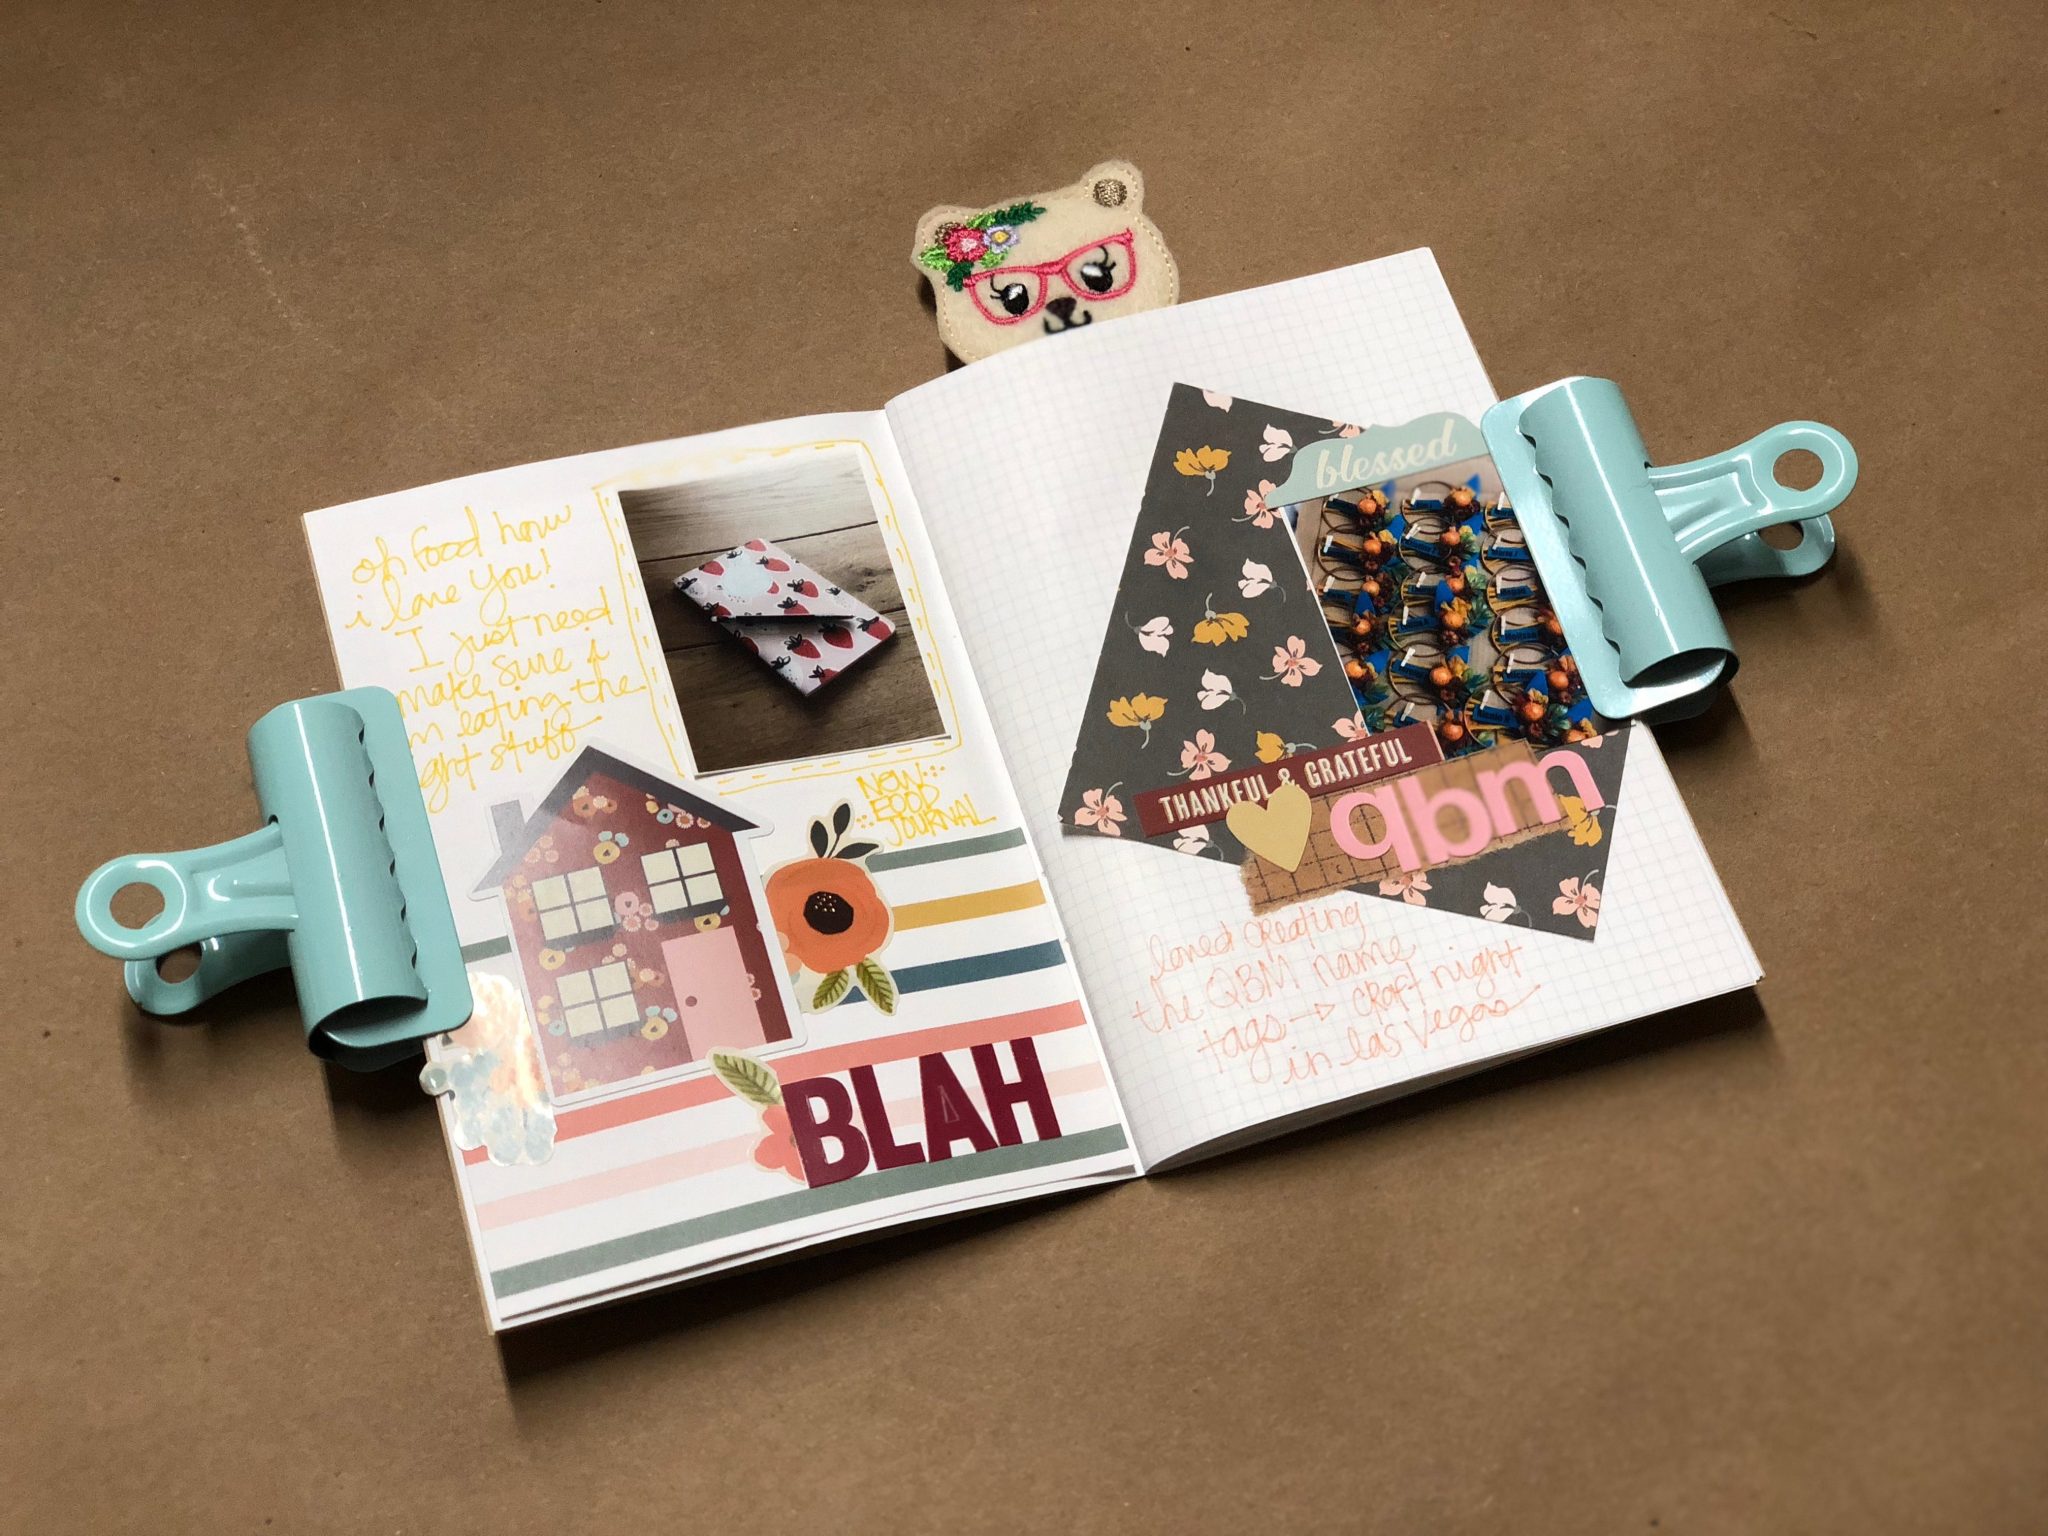
This little book can be started today or in November for a whole month of gratitude. I always love at the end of the day to create my page of gratitude and reflect on being grateful for all that I have! I hope to see what all of you create and come up with. Be sure to share it!
Happy crafting!
Michelle
How do you know what to put on a page. I am trying to put a journal together for my grand daughter who is 12 year’s old. Like to have a project sheet or just some advice.
What a great idea.