
Hello everyone, welcome to Wandering Planners Wednesday. I’m Becki Adams here filling in for the Wandering Planners and today I’m sharing five tips for memory planning.
I started keeping a memory planner a few weeks ago. I will admit, I was hesitant at first but after writing in my memory planner almost daily for a few weeks, I look forward to writing in it in the evening. Let’s get started with the first tip.
1. Don’t over think it!
For the longest time, I thought that one planner had to include all of my work tasks, personal tasks, and somehow fit fun family memories in there as well. It wasn’t until I quit over thinking the whole thing and simplified by keeping a simple spiral bound planner with a few photos and a few sentences about each day that my memory planner really came alive for me.
2. Find a planner that you love
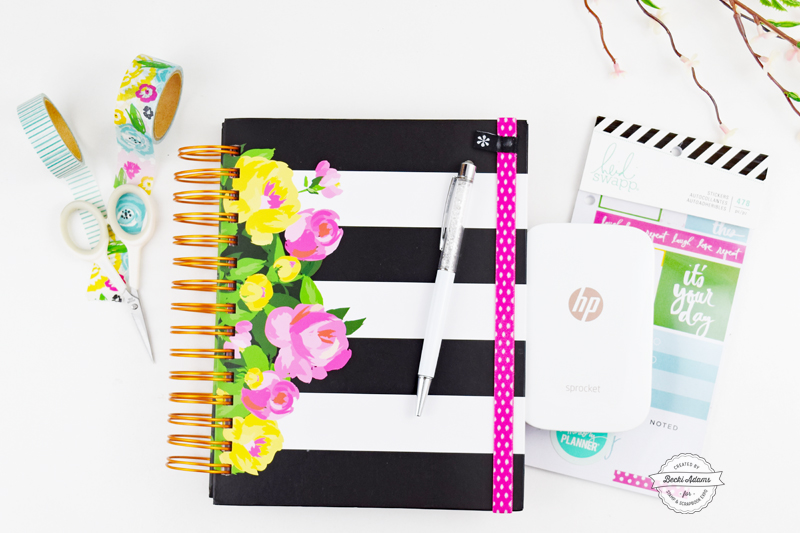
The Heidi Swapp team sent me this adorable spiral bound planner boxed kit from the Fresh Start collection. I immediately fell in love with it and knew that it would work perfectly for me. This planner came in a small kit so that I could get started right away. I also love that this planner is undated so I could start it in the middle of the year. (I started in February.)
3. Keep your memory planner in a place where you can easily access it
My memory planner is on my nightstand. I’ve found that I like to write in my planner in the evening when I crawl into bed. I keep a few planning supplies in my nightstand drawer so that I can do all my planning after crawling into bed . I keep a couple rolls of washi tape, a small pair of scissors, a sticker book, a couple of pens, and a small photo printer in my nightstand drawer.

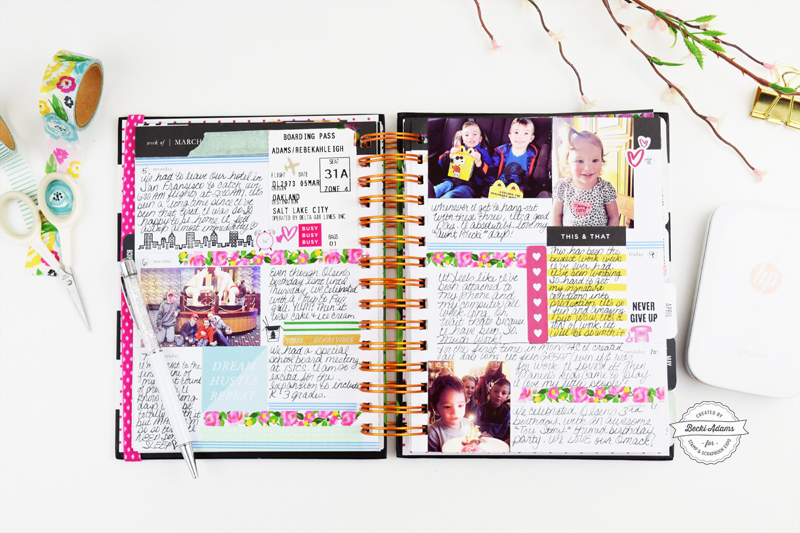
4. Add photos to your planner
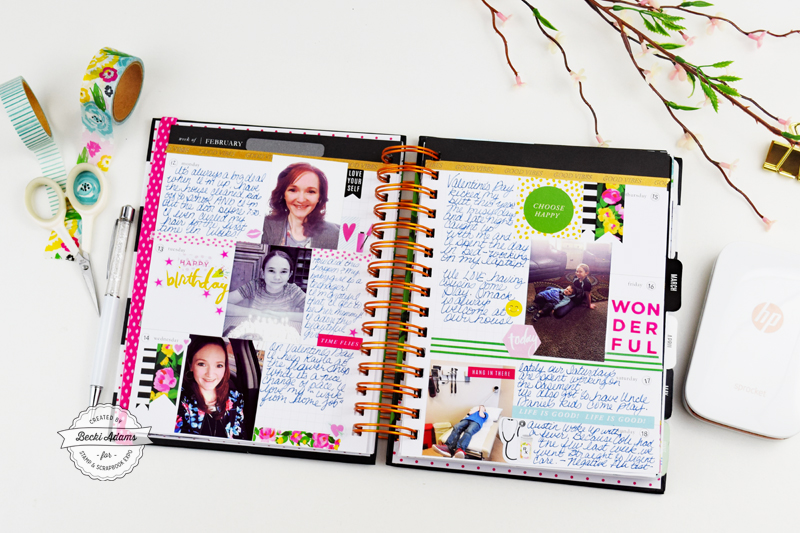
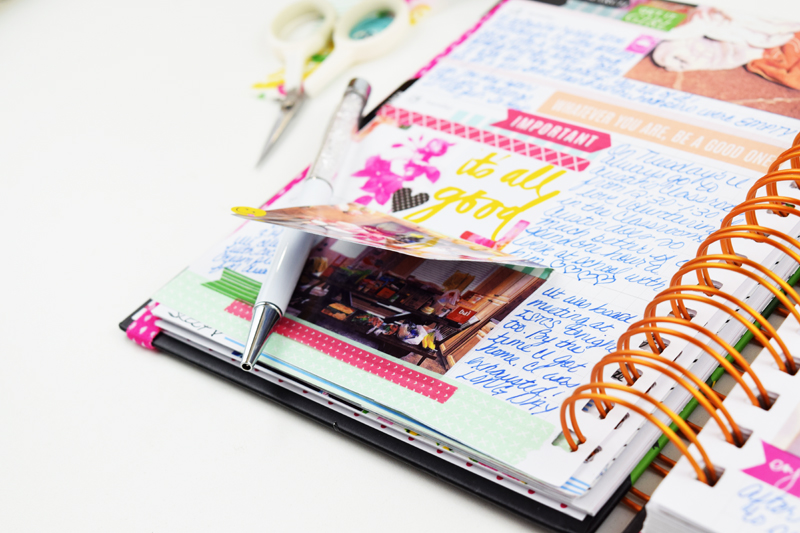
This tip comes straight from my scrapbooking heart. ♥️ I LOVE photos and adding them to my memory planner makes me so happy! The HP Sprocket printer is a great printer for memory planning. It prints 2×3 photos that are adhesive backed and ready to put right into your planner. On the weekly spread above, I added a folded piece of cardstock under the photo to make room for a little more journaling and another photo. That particular day was a busy day at my house!
5. Have fun!
Memory planning wasn’t designed to make you feel stressed or pressure. Use it as a fun creative outlet and a way to document your memories.
Thank you for stopping by today for Wandering Planners Wednesday. Please share your top five tips for memory planning; I’d love to learn some new tips, tricks, and ideas from you.
Thank you Becki I’ve been on the fence about planning…I overthink everything, and I’m never sure how much to journal/document. This is giving me a push to do it!
Fabbie, I overthought planning for MONTHS! I made the process very simple, writing only a few sentences a day and adding a few photos here and there. I’m having so much fun with my memory planner now. Thank you for stopping by the Stamp & Scrapbook Expo blog.
That is a fun way of using planner. I love the ide of making memori every day!
Thank you, Helen! I’m having so much fun with my memory planner. You should give it a try 🙂 Thank you for stopping by the Stamp & Scrapbook Expo blog.
This is fantastic. I’m glad you shared these tips and how you are are doing this. I’m getting ready to start using a planner too and will also add the 2x 3 photos and stickers and drawing. I think it will be lots fun. Take care.