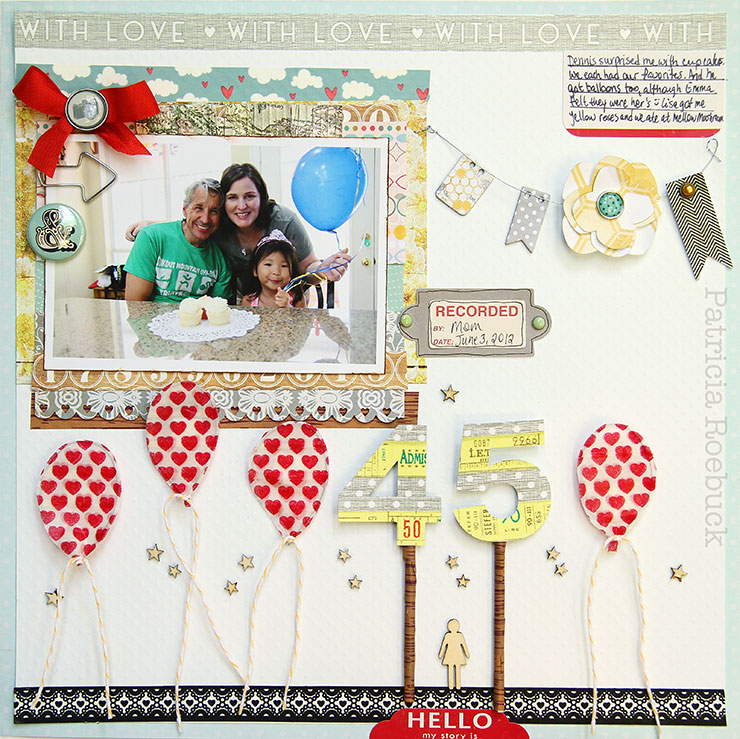
By Patricia Roebuck
After making this patriotic wreath using wire and washi tape, I had more ideas. I thought about flowers, maybe another layout or project, but I decided on balloons in celebrating me turning…ahem…45! Can you spot all the washi tape on this layout?
Making wire and washi tape balloons:
Step 1: I picked the photo and a few papers…next I made loops with 24 gauge wire.
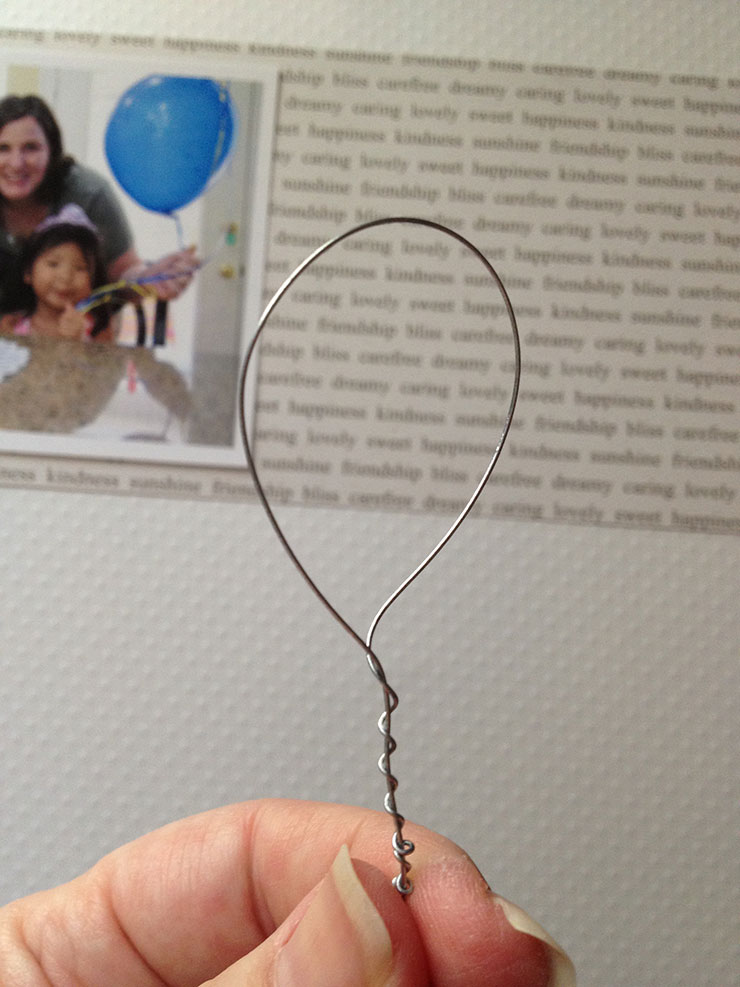
Step 2: I started with this stripe washi tape, but you can see I changed my mind. I started wrapping the tape around the wire, but then since the tape is so transparent, I didn’t like how it looked from the other side.

Step 2: Re-done…I matched on both sides so it looked the same on the front and back…

Step 3: Cut close to the wire trimming the tape.

This is what it looked like but I still wasn’t sure where this layout was going…

Here I decided the red hearts looked best, but wasn’t sure of the placement or how to attach the balloons. I didn’t get a picture…but Step 3: is use the Tim Holtz or wire cutters (for better results-learned from experience) to trim the wire as close to the bottom of balloon as you can.

Step 4: I decided to tie some twine around the very bottom of the balloons…now onto the next…
I used two different colors/patterns of washi tape and adhered to a piece of cardstock…sent it through the Silhouette to out the “45.” I was starting to like the balloons along the bottom, so I took these lollipop sticks, you could use a small dowel/wood stick or even a bamboo stick (Tim Holtz scissors will cut those down for you just fine) and wrapped washi around that.

I used foam adhesive to adhere the balloons and used Zip Dry glue to adhere the “45” to the sticks and then to the page.

So how many washi tapes did I use? 7…here they are…all from Freckled Fawn.
