POSTED BY SEI ART STUDIO
Wedding season is here again! … and family vacation season, and take cute photos of your family season. Many of my friends have recently been asking how they can better control the images they are taking. They have ideas of images in their mind, but when they take the image it doesn’t seem to translate like they had hoped. It seems everyone is trying to take better photos during this season of fun. While I can’t share everything I know in this post, hopefully I can get the juices flowing and inspire everyone to go take photos.
This instruction won’t really work if you have a point and shoot camera that operates only on automatic, but it will still be useful because you can better communicate the image you want to a professional photographer.
With manual cameras you can control the ISO or ASA, the shutter speed, and the aperture or f/stops. I want to focus more on the aperture. F/stops can be tricky, but they don’t have to be. Basically like your eye the aperture lets light in. The larger the opening, the more light that is let in. For a bright day you want to limit the amount of light that is captured to avoid an image of pure white; and vice versa for a night or an overcast day. To know what the lens opening looks like for each f-stop here is a diagram.
Those f/stops aren’t just for controlling your exposure. If you want an image where everything in the frame of the image is in focus you will want to use f/16.
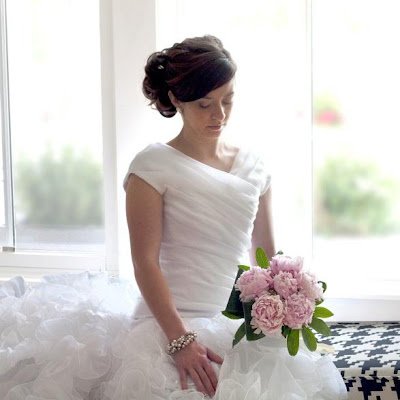
If you are taking a photo of your child and want your child to be the only thing in focus with the background objects all out of focus you will want to use an f-stop somewhere between f/4- f/1.8. This is also a good way to compose your image. Sometimes the objects in the front can be the ones in focus; while other times the objects in the background can be the ones in focus. Now, go out and create those photos.


