
Hey, everyone! Roree here with another Make It! Monday project. Today I am sharing a place card I created using Cricut Explore® and the Home for the Holidays – Fall/Winter cartridge.
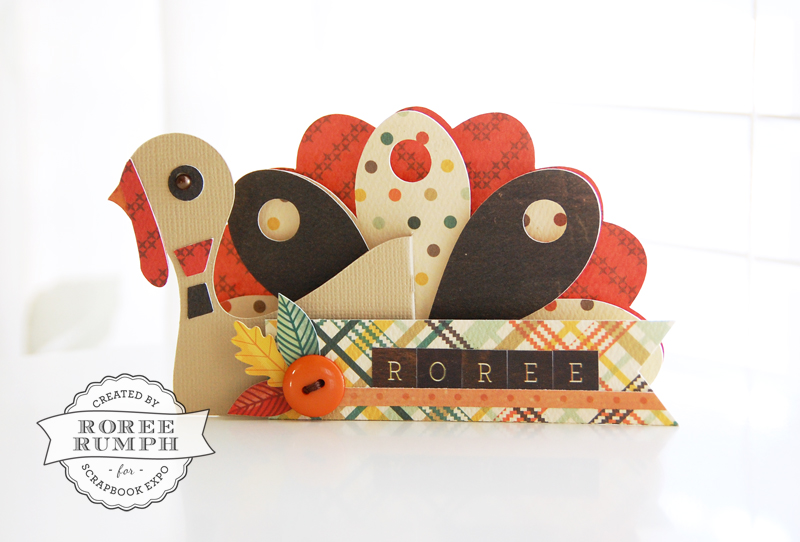
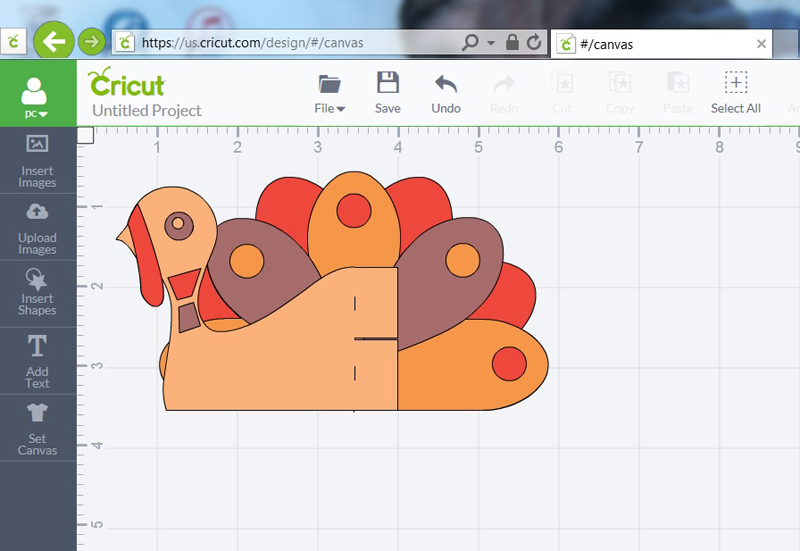
I started my project by finding a fun Thanksgiving image in Cricut Design Space®. It was this adorable turkey from the Home for the Holidays – Fall/Winter cartridge.
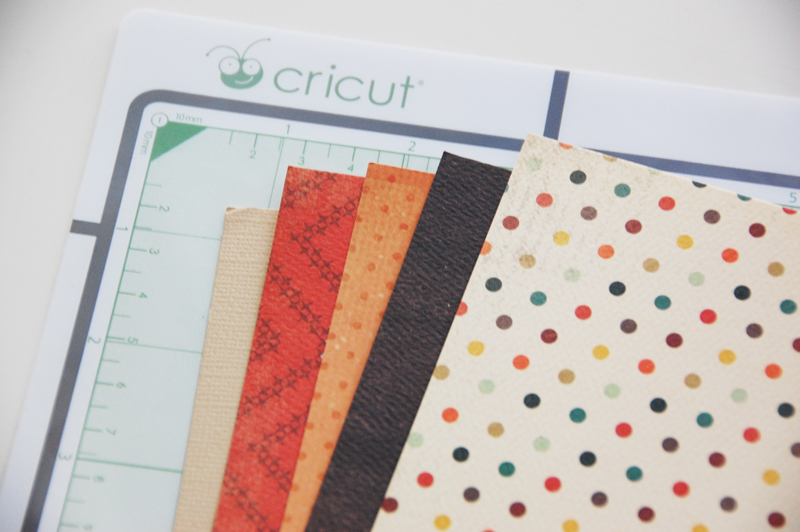
I pulled together some coordinating patterned paper and cardstock in fall colors and started cutting.
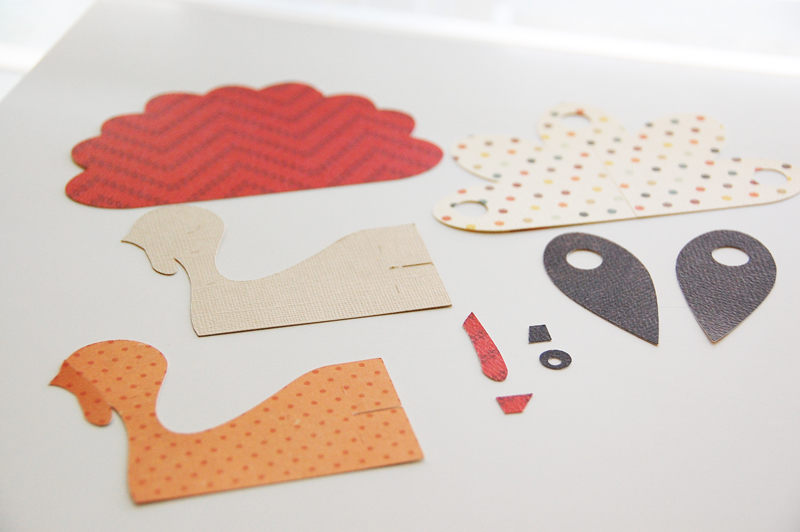
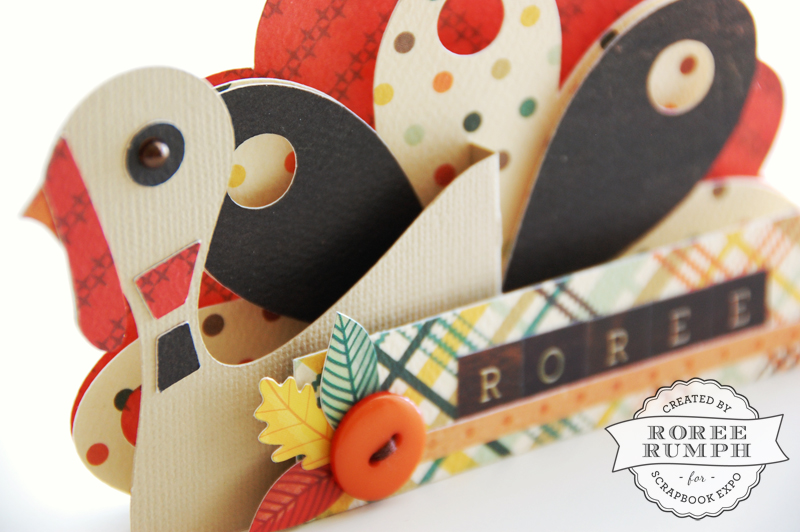
I trimmed the beak and wattle from the orange patterned paper turkey cut and then assembled the front of the turkey and some of the feathers.


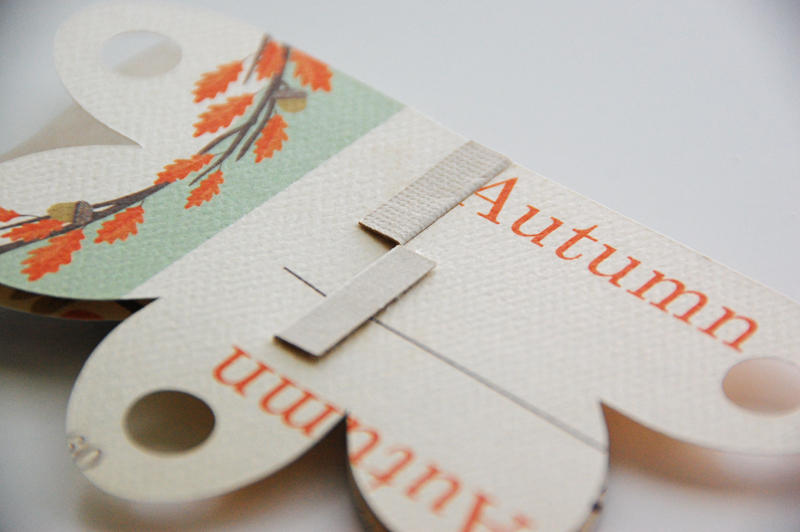
I bent back the flaps of the turkey cut at the score lines and bent them again half way between the score lines and the ends of the flaps in opposite directions, placing foam adhesive on the back of the die cut.
Note: I did this because I wanted to give the turkey die cut some dimension while still keeping flush against the feather cuts. Normally the turkey die cut would stand perpendicular to the feather die cuts.

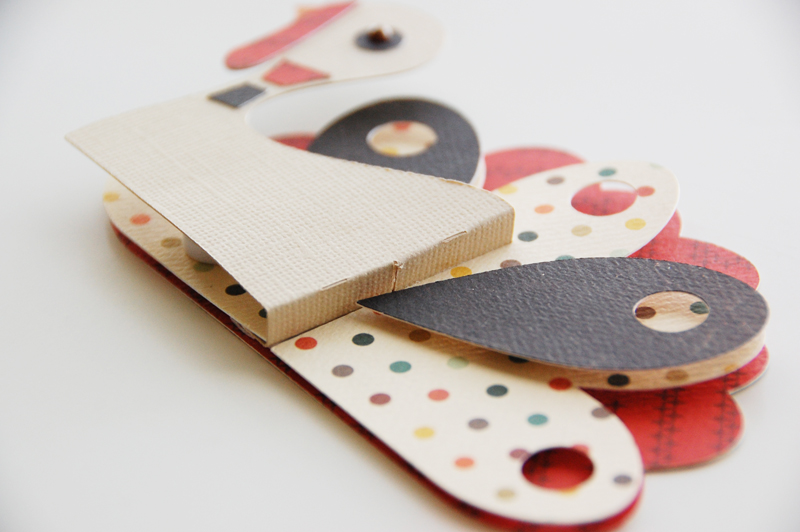
I slid the flaps of the turkey die cut through the slit in the feather cut and adhered the flaps to the back of the feather die cut.
I adhered the turkey die cut to the layered feather die cut and added the remaining feather cut with the foam adhesive.
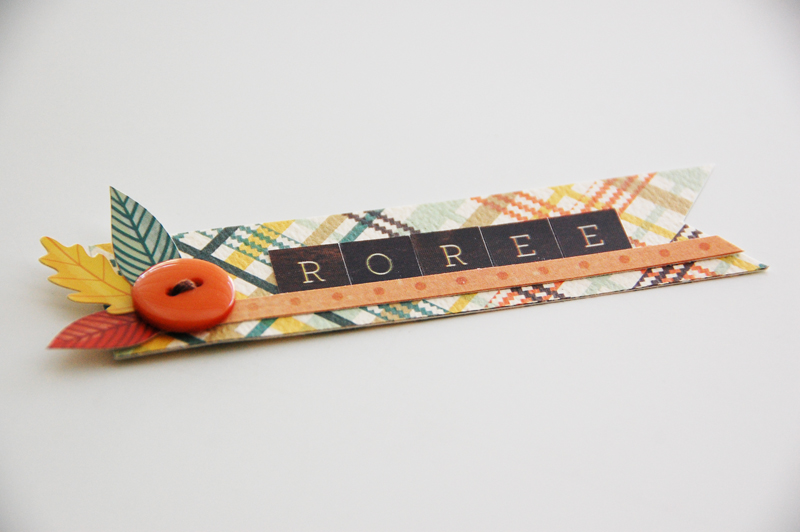
I created a banner shape with some plaid patterned paper. Then I added some letter and shape stickers, a strip of orange patterned paper, and a button to create a tag.
I adhered the tag to the front of the turkey, along with a brown pearl for the eye, to finish.
That was pretty quick and easy, don’t you think? Such a fun way to add a festive feel to any Thanksgiving table. Now it’s time to get started on the others.
I hope you enjoyed today’s Make It! Monday project. Thanks so much for stopping by!