
Welcome back to another creative cardmaking post! Today I want to show you how to create a card with an “Inlaid Die Cut Technique,” which really creates a professional look to your cards! Let’s get started! All you will need is a die cutting machine, dies, and some different colors of cardstock. I’ve used black and gold cardstock for this card.
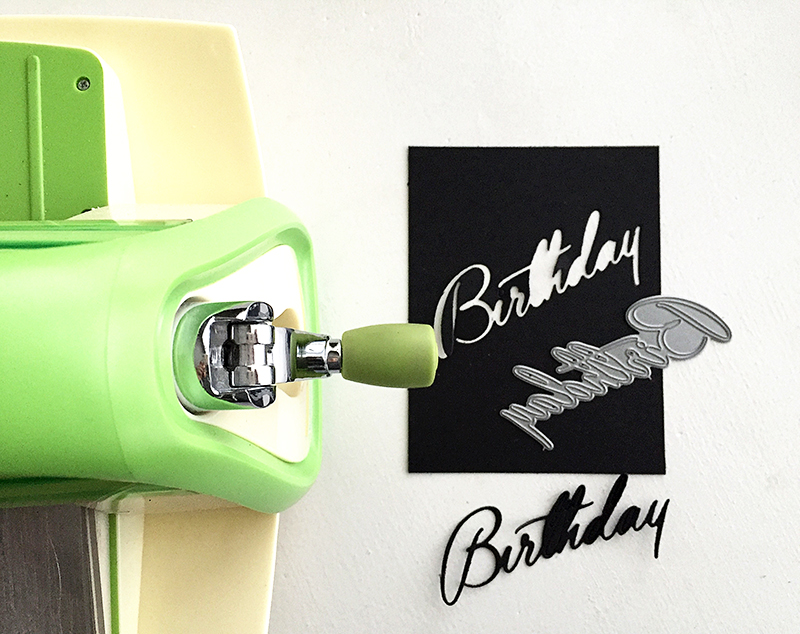
First, you’ll cut a word or shape out of your card front with a die cutting machine, like the Cuttlebug that I’ve used here. I’m using the Birthday Cheer dies by Papertrey Ink. I cut the “birthday” out of black cardstock and removed it. You can save the die cut word and use it on another project if you’d like. We are just going to use the background.
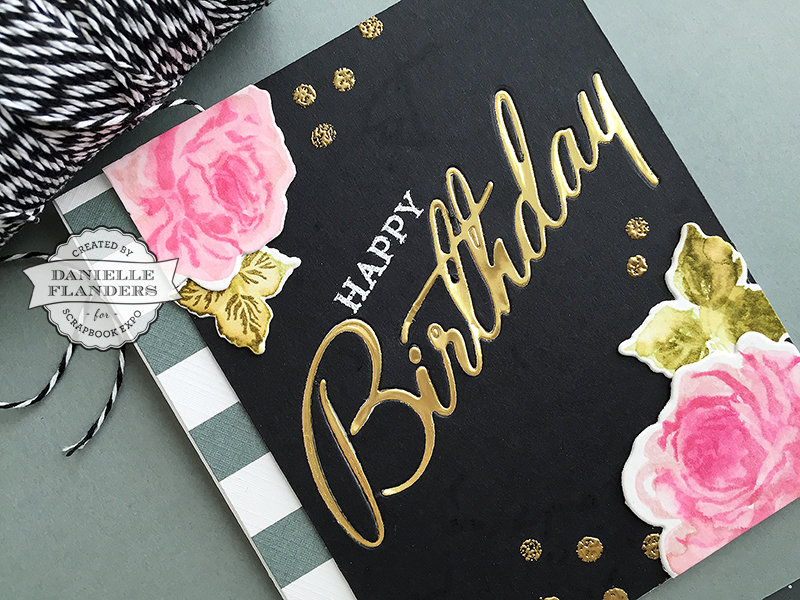
Next, I cut another “birthday” word from gold cardstock. I’m going to place the gold one into the negative space where I removed the black word and adhere it into place. This gold cardstock is actually adhesive-backed, so it was easy to attach into the cut out.
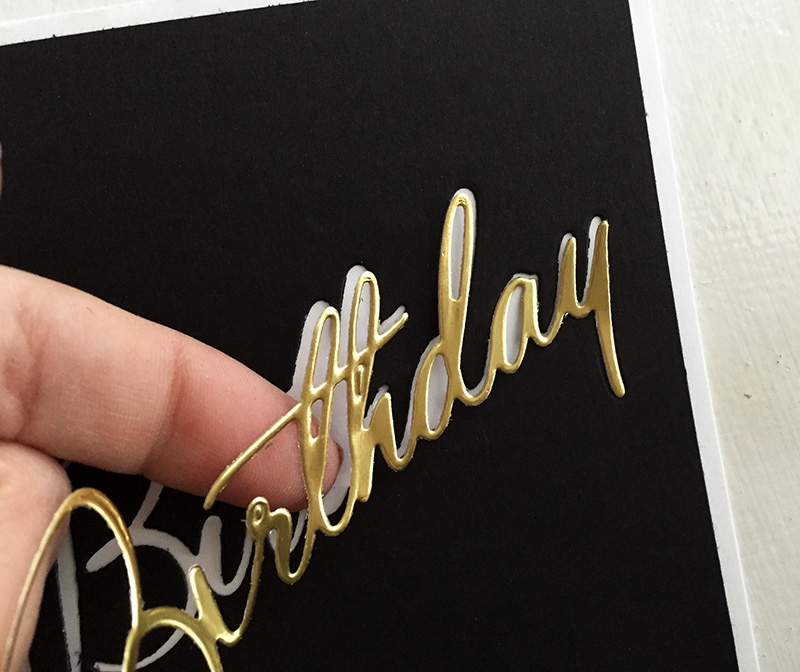
It fits right inside and lies flat with the card, creating an inlaid look.
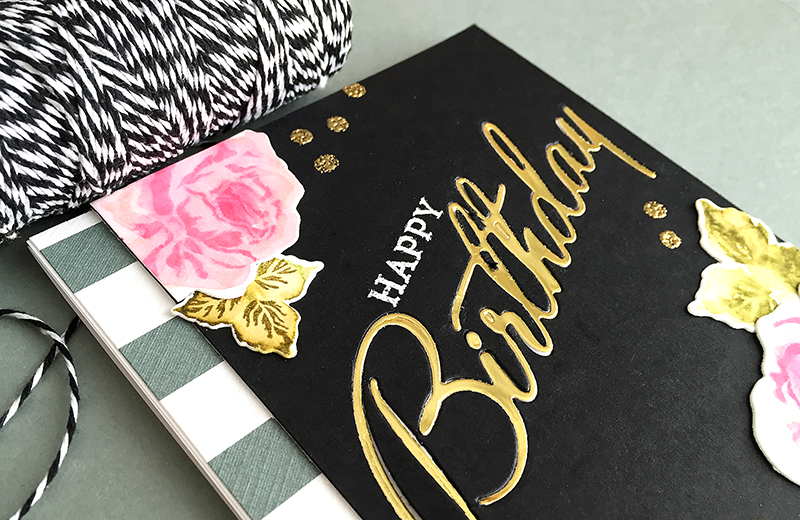
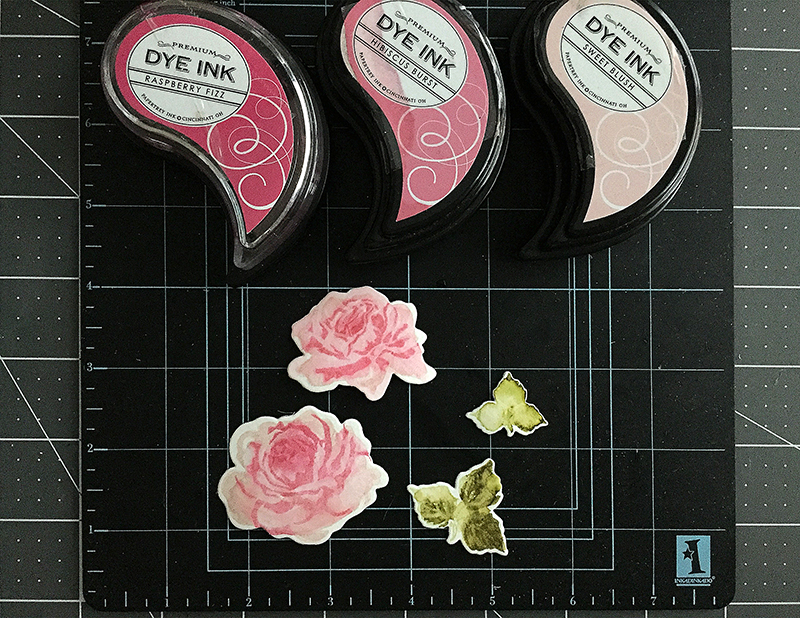
To create the watercolored flowers, I die cut some flowers out of watercolor paper with The Sweet Life stamps and dies by Papertrey Ink. Then I stamped the flowers with Sweet Blush and Hibiscus Burst inks. Last, I simply used a paintbrush and a little bit of water to blend the inks. I dipped my paintbrush in the Raspberry Fizz ink to add some darker color to the flower centers. I did the same with the leaves with Spring Moss and Ripe Avocado inks.
Last, I added some little polkadots with the Confetti Toss stamps and gold embossing powder. HERE is the image that inspired me!
I hope you enjoyed this technique and will give it a try soon. Have a great day!
Danielle
What a beautiful card!! I love the gold with the black and your lovely pink roses.
Thanks so much, Nora!
I really like the techniques you used to make this card. 🙂
Thank you, Renita!