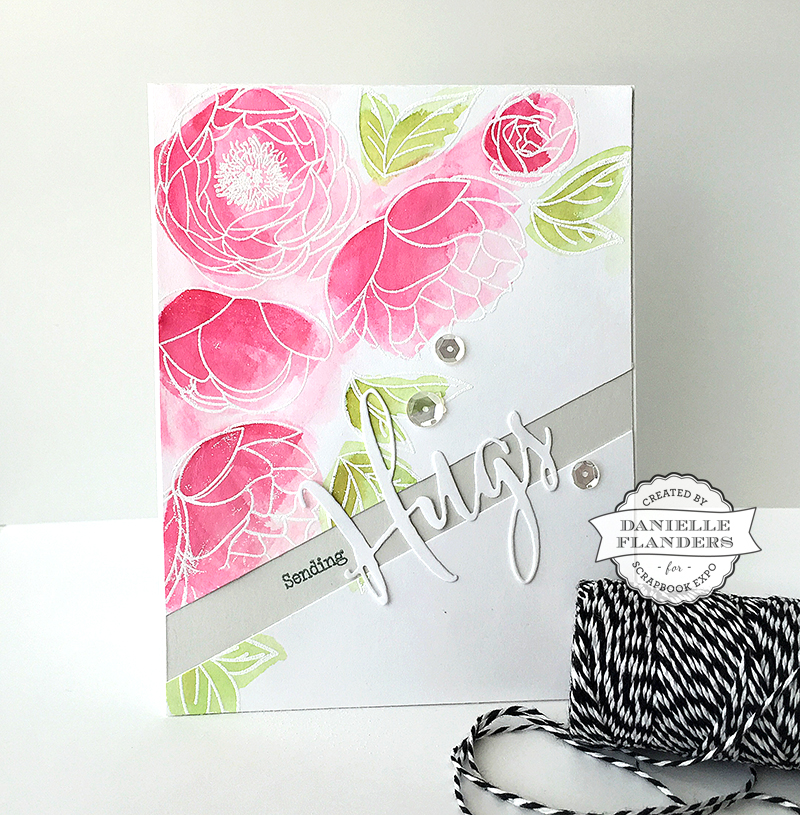
 Hi, this is Danielle Flanders with another Creative Cardmaker post, and today I want to talk about a trend I’ve been seeing more and more of lately in cardmaking, which involves splitting up your card front to reveal a sentiment in between! It’s a fun way to add dimension and a little something unexpected to your cards. You can use a shaped edge die to trim the card into two pieces, or simply create a card front first, then trim it apart with a paper trimmer and add the sentiment in between, like I did here.
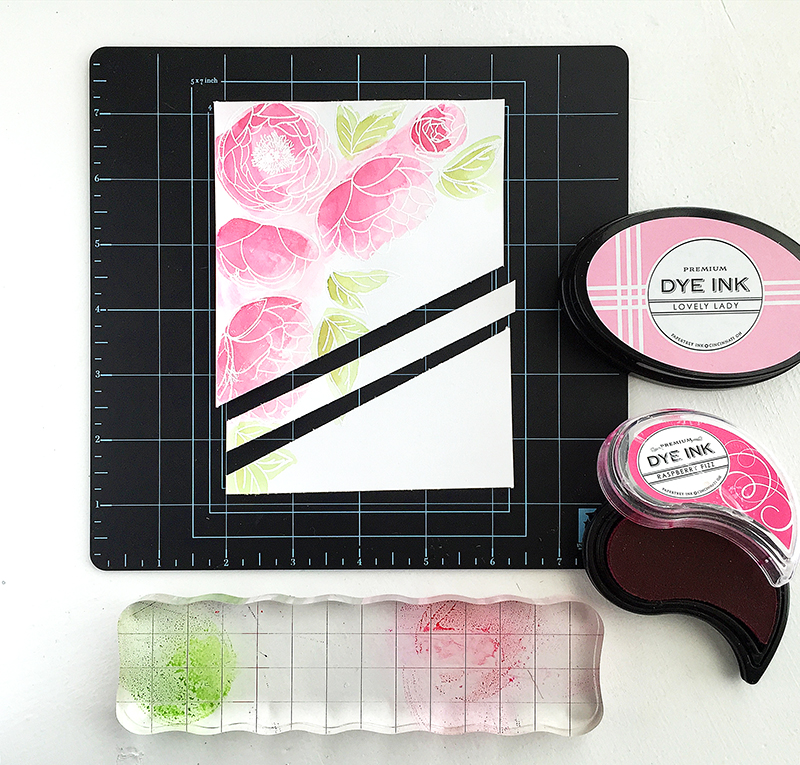
To create this card, I first stamped some peonies from Papertrey Ink’s Peonies on Parade stamp set with Versamark ink, then heat embossed them with white embossing powder. This creates a resist and allows you to paint in the flowers and leaves, leaving the flower outline white. To paint the flowers, I simply used dye ink (ink pads that I stamp with). I stamped the ink pad onto a clear acrylic block, then used a clean, wet paintbrush to pick up the ink from the block and paint in the flowers. I always start off with the lighter ink color first, and then if I feel like I need more color, I will add a darker color over the top.
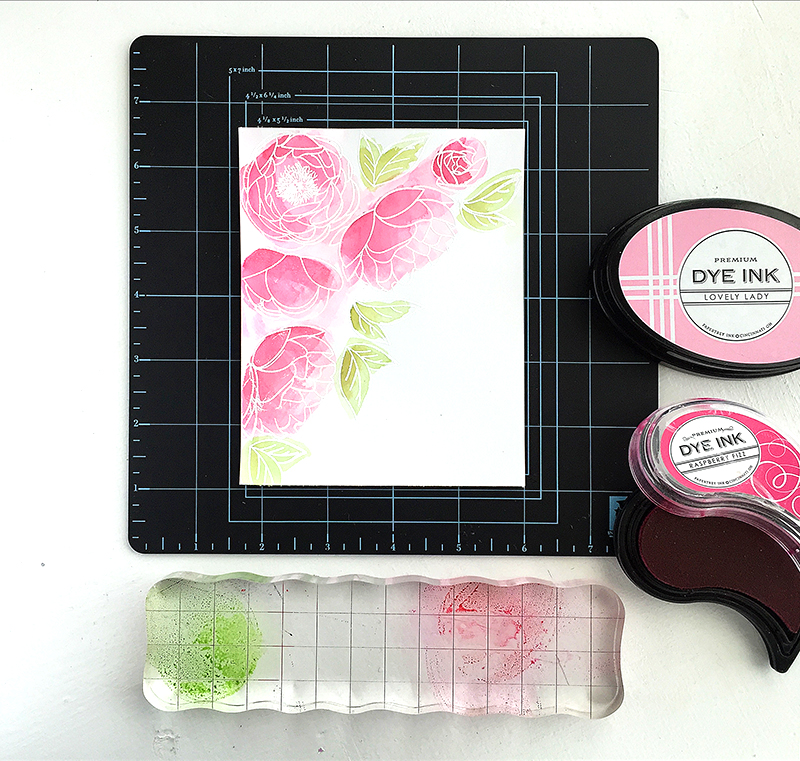
I love to shade the flowers with a darker ink on one side and gradually make them lighter on the other side. This makes them look like the light is hitting the whole bouquet on the same side. The flowers are painted with Lovely Lady and Raspberry Fizz inks, and the leaves are painted with New Leaf and Ripe Avocado inks by Papertrey Ink. You can add a little bit of color in between the flowers also, so they aren’t so spread apart.
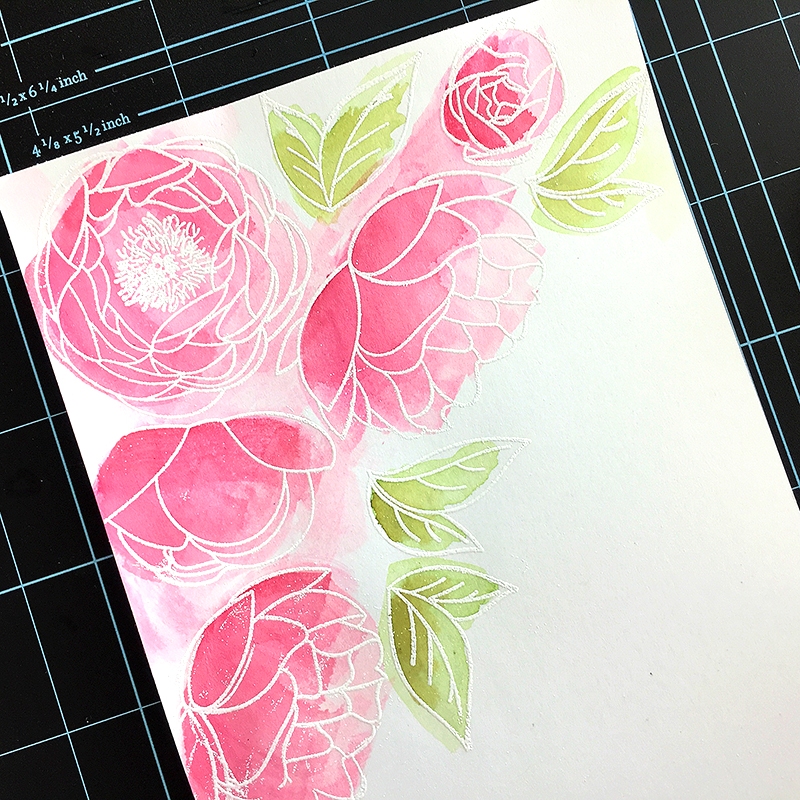
Next, I just used my paper trimmer to slice a piece out of the card at an angle. I’m going to remove this piece and back the card with a Soft Stone gray cardstock.
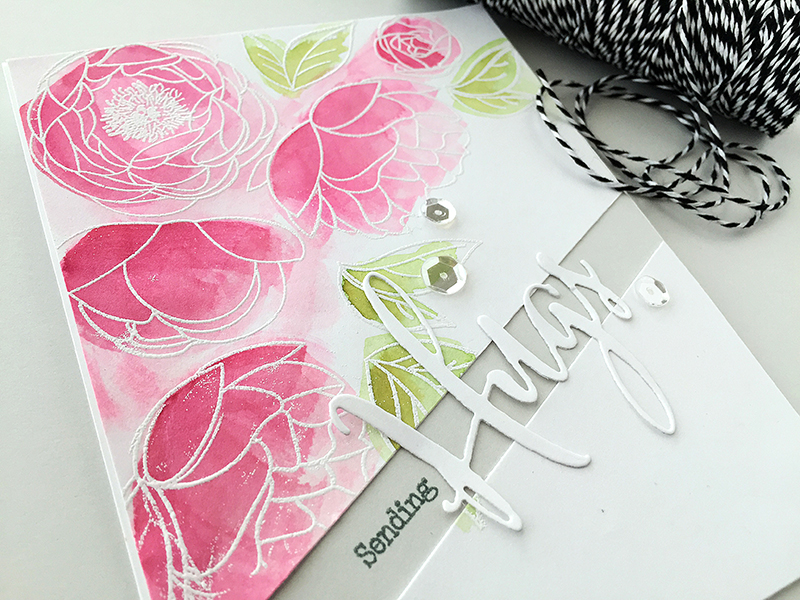
The front panels are adhered onto the Soft Stone card base. I trimmed a Big Hugs die to attach to the cut out and stamped “sending” with the Big Hugs stamps.
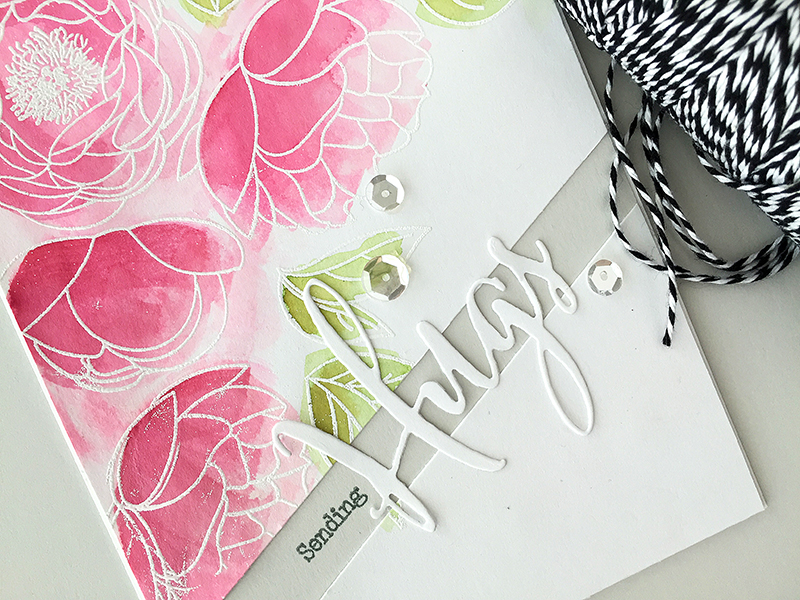
You could raise the front panels up off the card also if you wanted to give it more dimension, but I decided to leave mine flat, as I used regular cardstock with the water/paint and the paper had warped a tiny bit. I wanted to adhere the whole piece flat to the card to even the cardstock out.
See you next week!
Danielle
Brilliant idea and design, Danielle! Love this!
Stunning card Danielle, the water coloring is just lovely and I do like the “spilt” area for highlighting the sentiment 🙂
Beautiful Card Danielle! It is amazing how drawn you are to the sentiment despite your lovely flowers! I love this technique! Thanks for sharing!
Beautiful card!
SUPER gorgeous!!!In love with your card!