
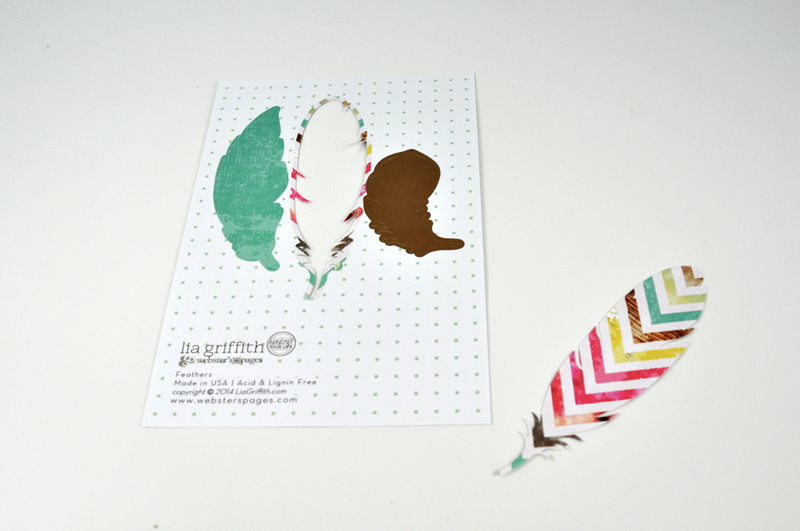
 Welcome back to another “Inspiration Station” blog post! Today I wanted to share with you how a paper crafting kit can make card making super quick and easy. For this tutorial, I’m using the “Feathers” handcrafted paper kit from Webster’s Pages. This is just one of their paper crafting kit options so be sure to check them out. Here’s a peek at how the kit looks when you open it:

Step 1: To create the feathers simply pop them from the paper backing.
Step 2: Then following the crease line, fold the feather down the center.
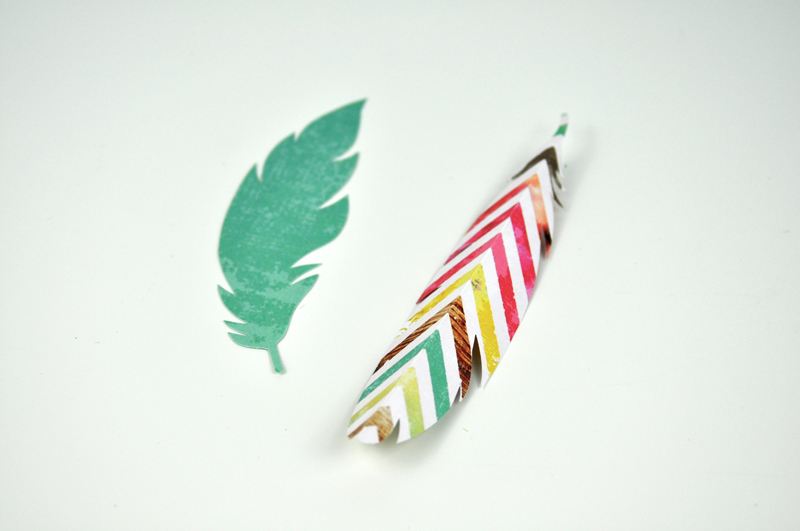
Optional step: You can also use fringe scissors to further embellish the feather elements. A sample project using this step is included on the packaging.
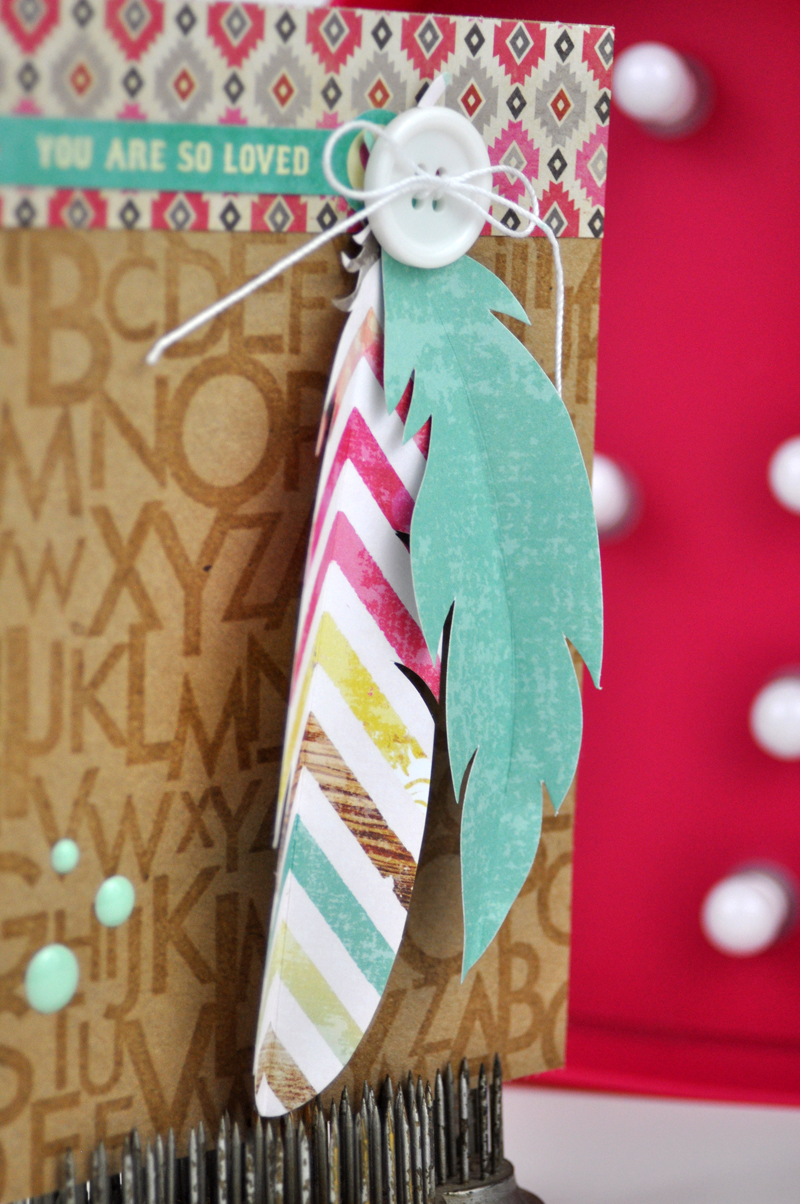
After creating the feathers, you can mount them on a card. I really love the urban style I’m seeing in fashion and in home décor items so I added some elements that keep the theme fresh and hip. Here’s another look at the card:
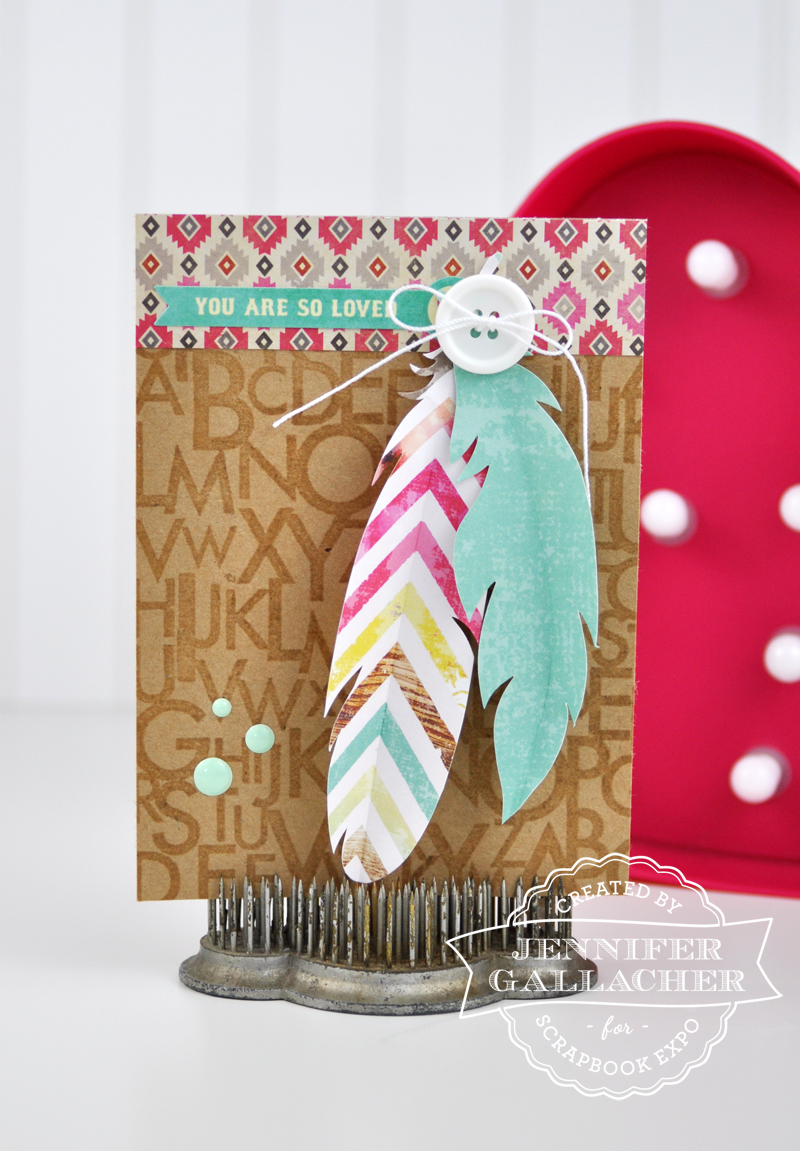
And here’s a closer look at the feathers all folded and assembled. The entire card took less than fifteen minutes with the feathers taking less than two minutes. Now that’s a quick and easy project!
Join me next week as I share a fun DIY project I know you’re going to love.
This is gorgeous! I love that feathers are making a comeback!